God mode restorations
Member
- Messages
- 8,098
- Location
- uk colchester
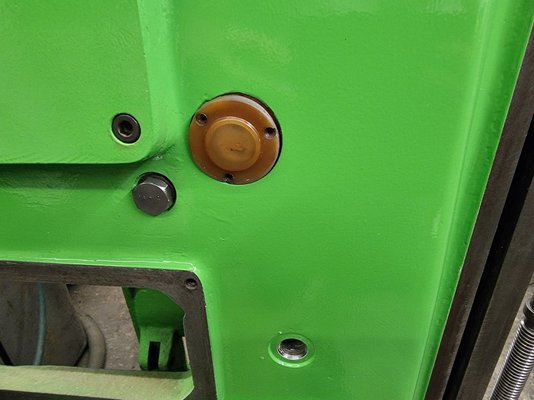
Carful now pete...paint don't make the machine apparently.....leave it as is mate. Changing it will be a faff...

I have a few litres of thatLooks good to me, I should have got @pressbrake1 to paint my mini wheel that colour!

I have a few litres of that
 Don’t tempt me
It’s crated up ready to go , I’m not sand blasting and doing it again!

 I know, I wouldn’t expect you to.
Good enough for the aerospace industry, there's buckets of that stuff in an aeroplane.Just tidying up this morning and I found the lump of cast iron I used as a mixing board for the araldite 2013. This stuff is tough as hell, here's a video of my attempt to chip it off. Bear in mind that there's no prep or particular care in cleaning here just a quick wipe off with brake cleaner.

My son painted his 2 litre redtop.mini that colour. LolI know, I wouldn’t expect you to.
Funky colour though
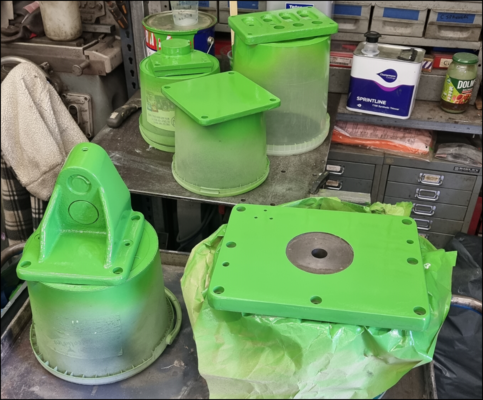
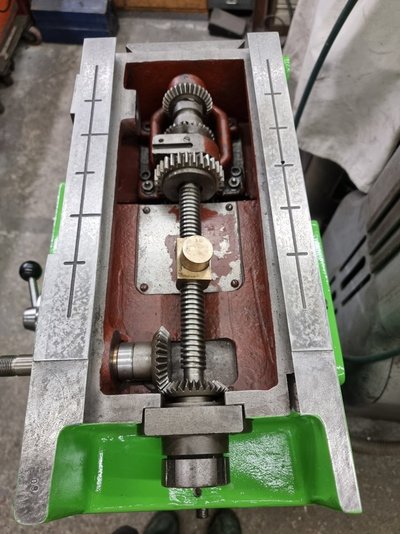
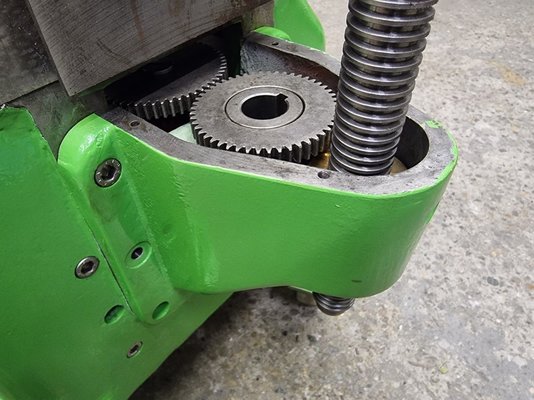
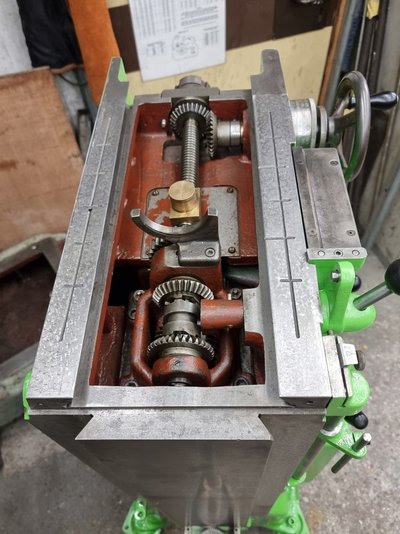
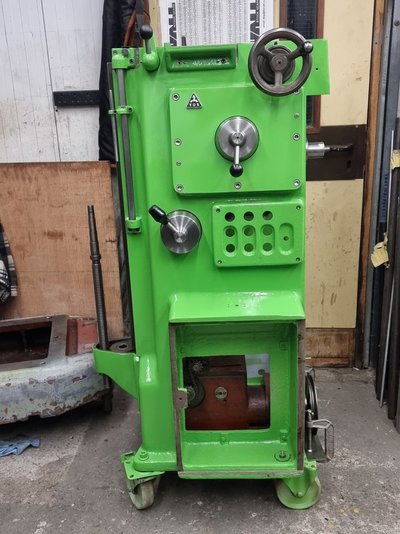
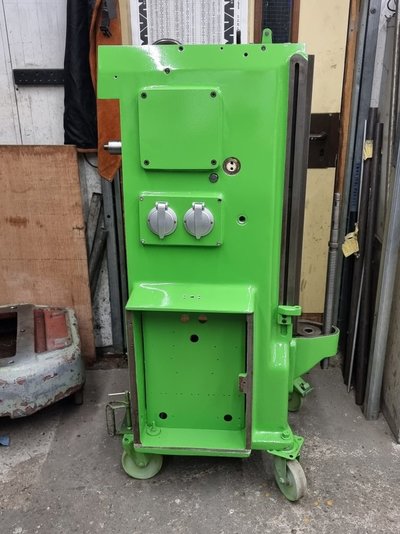
Beautiful progress! That gearbox.. is heavy AF..I painted some more bits Friday evening. Gearbox cover, button plate, z-nut housing and a couple of other covers and bits. This allowed them to harden over Satuday as I was working.
I paint them outside in the alley sat on plastic buckets so I could turn them around to paint all sides and then carry them inside afterwards.
View attachment 416630
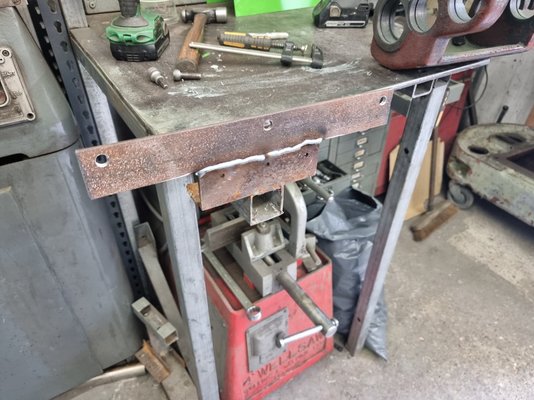
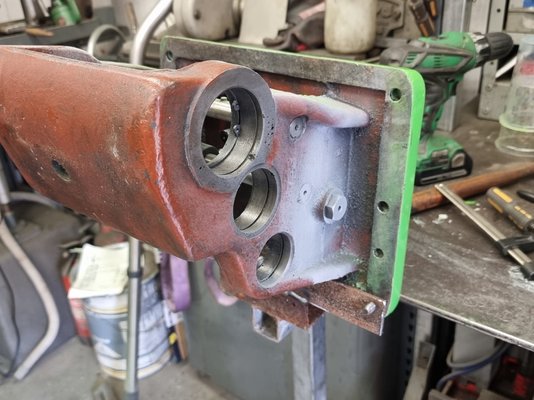
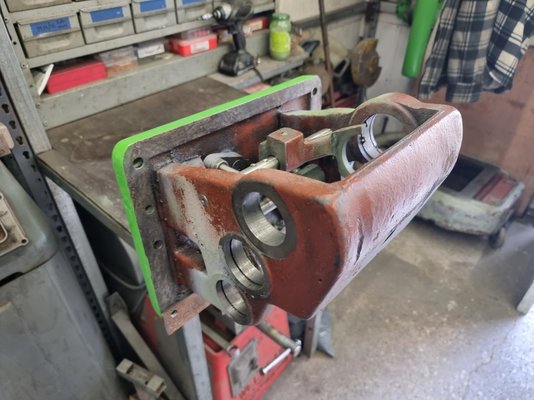
Today I wanted to rebuild the spindle speed gearbox which has 3 shafts with gears and 3 selector forks working from a single speed dial. This item is damn heavy even without the gear cluster fitted (probably 30kg), plus it was already painted so I needed to hold it in such a way that I could fit the gear clusters and selectors without damaging the paint. I fitted two box-section tubes under my bench for just this kind of thing so I made this bracket from scrap.
View attachment 416641
And the gearbox plate/housing bolts to this bracket holding it nice and secure for me to rebuild it with new bearings etc.
View attachment 416636
View attachment 416637
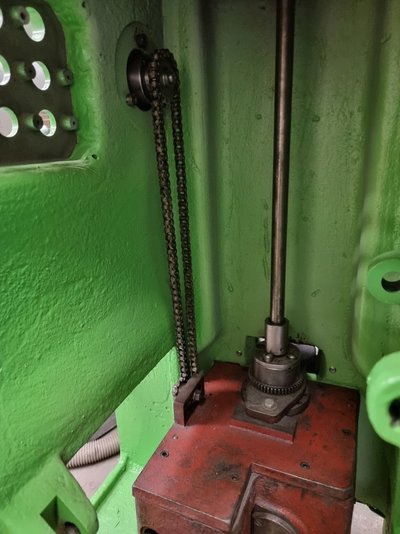
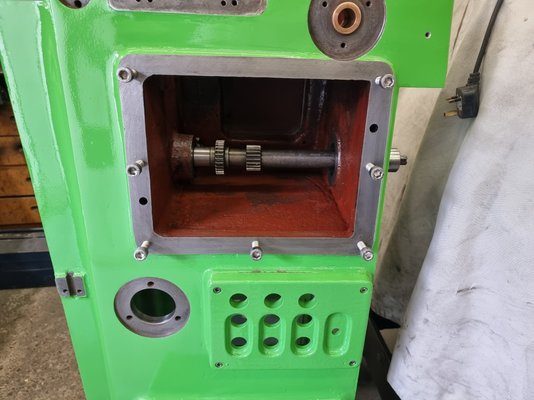
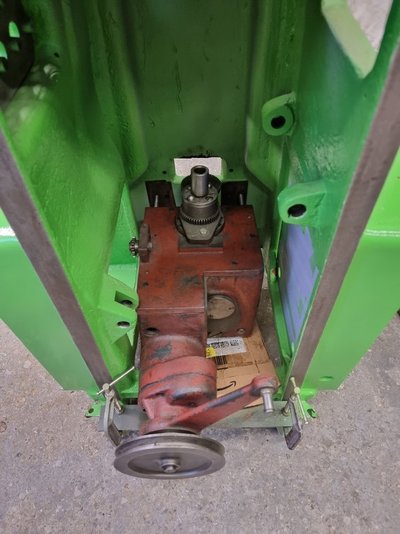
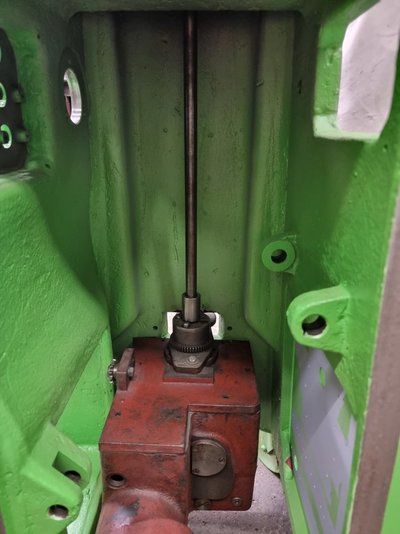
I got the whole gearbox assembled with it's new bearings, but alas the pic I took was blurred so not worth posting. It plugs into this hole here and engages with the input shaft you see.
View attachment 416638
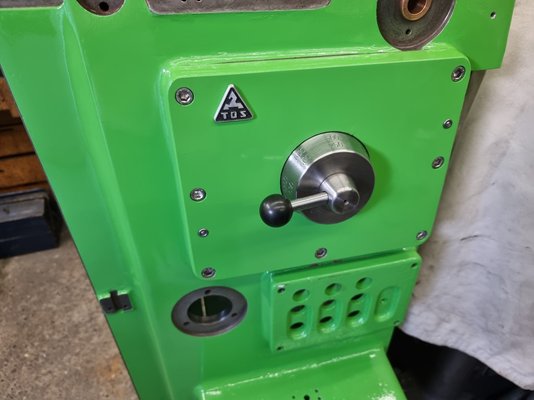
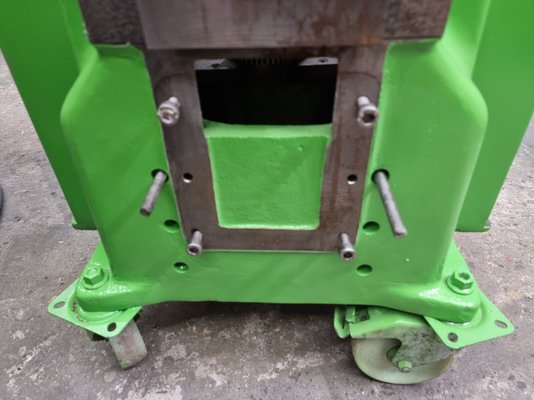
Unfortunately I didn't think to remove the button plate before trying to fit the gearbox and found out that even though the bracket provided a great way to hold the now 40-odd kilos of iron and steel it also took the paint off the edge of the button plate so I'll have to re-do that later. You can also see where some of the paint has chipped away with the masking tape, I've been having a constant battle trying to get stuff to stick to this 1960's red filler, I dread to think what is in it so I've been using my dust vac on the DA sander the whole time.
Eventually I got the button plate off, the gearbox fitted then the button plate put back on. The gearbox is secured by these 7No M10 bolts and two taper pins.
View attachment 416639
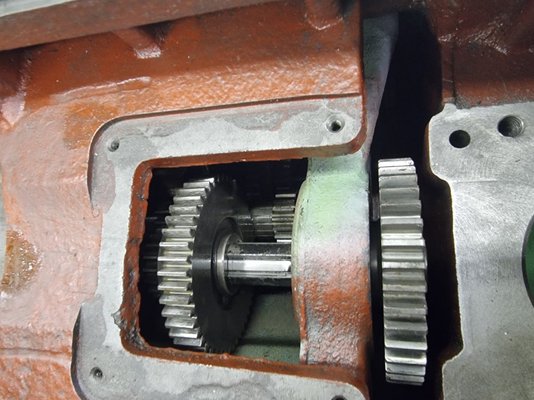
Here you can just about see the clusters before I put the cover plate on and the output gear is the one on the right which meshes with the idler on the next assembly.
View attachment 416640
You know what @Pete. that green colour has really grown on me! Seeing a few odd bits and pieces in your workshop I wasn't so keen, but now you have more of it done and it's all coming together I really like it - I think it looks great!I painted some more bits Friday evening. Gearbox cover, button plate, z-nut housing and a couple of other covers and bits. This allowed them to harden over Satuday as I was working.
I paint them outside in the alley sat on plastic buckets so I could turn them around to paint all sides and then carry them inside afterwards.
View attachment 416630
Today I wanted to rebuild the spindle speed gearbox which has 3 shafts with gears and 3 selector forks working from a single speed dial. This item is damn heavy even without the gear cluster fitted (probably 30kg), plus it was already painted so I needed to hold it in such a way that I could fit the gear clusters and selectors without damaging the paint. I fitted two box-section tubes under my bench for just this kind of thing so I made this bracket from scrap.
View attachment 416641
And the gearbox plate/housing bolts to this bracket holding it nice and secure for me to rebuild it with new bearings etc.
View attachment 416636
View attachment 416637
I got the whole gearbox assembled with it's new bearings, but alas the pic I took was blurred so not worth posting. It plugs into this hole here and engages with the input shaft you see.
View attachment 416638
Unfortunately I didn't think to remove the button plate before trying to fit the gearbox and found out that even though the bracket provided a great way to hold the now 40-odd kilos of iron and steel it also took the paint off the edge of the button plate so I'll have to re-do that later. You can also see where some of the paint has chipped away with the masking tape, I've been having a constant battle trying to get stuff to stick to this 1960's red filler, I dread to think what is in it so I've been using my dust vac on the DA sander the whole time.
Eventually I got the button plate off, the gearbox fitted then the button plate put back on. The gearbox is secured by these 7No M10 bolts and two taper pins.
View attachment 416639
Here you can just about see the clusters before I put the cover plate on and the output gear is the one on the right which meshes with the idler on the next assembly.
View attachment 416640

