


Restoration - Rebuilding a suspension mounting
The first rule for welding suspension mountings is to get them in the right place. A jig of some sort will almost certainly be useful.
This mounting was rebuilt by fabricating new component parts and welding them together with the aid of a full chassis jig.
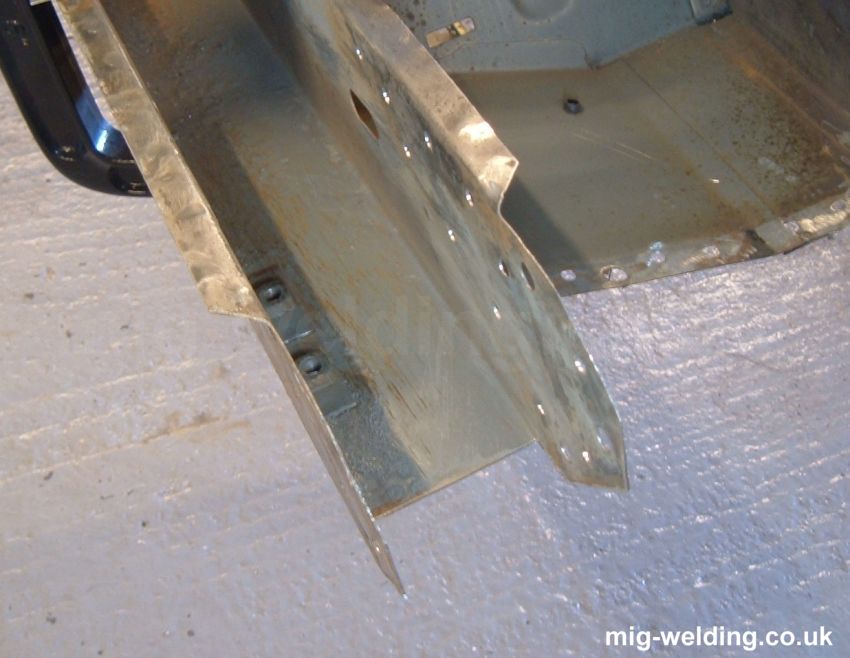
Another job from the Renault 4 Gordini project. The rear suspension mounting is a rust trap on this car due to mud trapped between the suspension flange and the chassis mounting. It's upside down in the photograph.
The rust hole towards the top of the photo is obvious and that's what killed off the floor panel on this car. The innards were getting a bit thin too, but my hope was to replace just half of the internal reinforcements.
The mounting is not bad as these cars go. I once bought a car cheap as the entire mounting had detached from the car. As the car was still MOT'd I took a welder and patched the mounting back in place on the seller's driveway, then drove the car home for proper repairs.

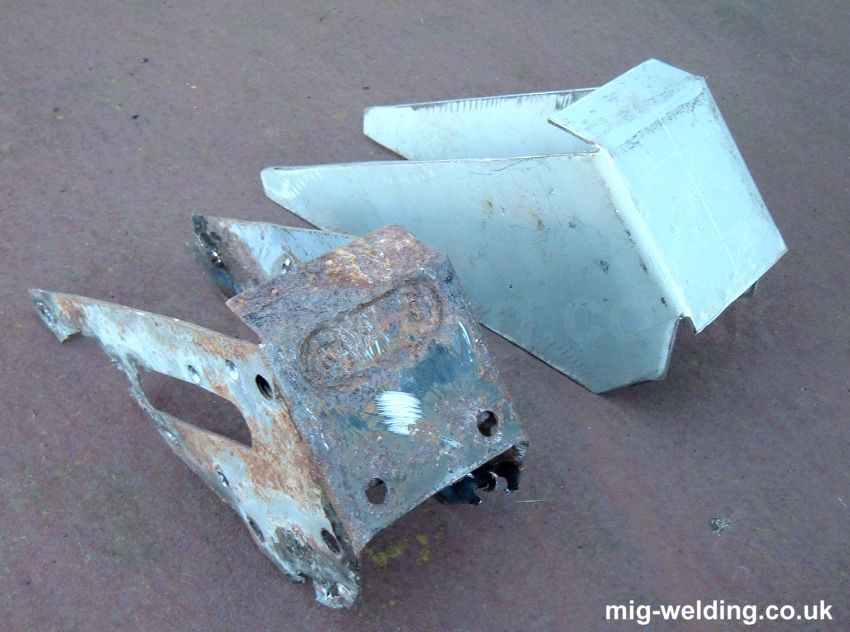
The reinforcement didn't take much effort to remove, and at first glance the remaining parts didn't seem too bad. The light weight chassis member (about 1.2mm thickness) is reinforced near the mounting with a tapering second skin of 2mm thickness.
The sides of the second skin had thinned a little, but there wasn't any evidence of rot between the two skins. Sadly the top of the reinforcement has rotten, and that would have been difficult to replace without cutting the whole reinforcement out.

With the double skinning removed (spot welds drilled through) the outer skin turns out to have survived unusually well. It's a little thin at the edges, but otherwise is in surprisingly good condition.
Normally water inside the chassis gets between the reinforcement and outer section and rots it away until the whole rear end of the chassis falls off.
I made a cardboard template from the old reinforcement, then modified the template to add a little more metal where I needed it, then cut the new reinforcement from steel.
Bending a shape like this is fun. One bend is possible in a vice, but after that it gets tricky. I tend to clamp the sheet to a steel bench and hammer the bend around the edge of the bench. It tends to result in a slightly more rounded edge, but that can be straightened by hammering the corner against a block of metal.
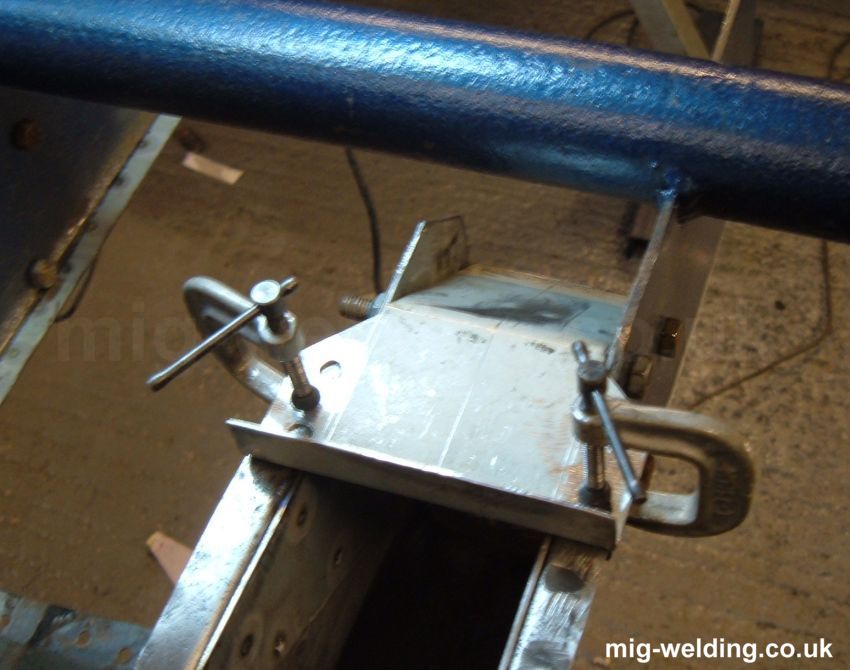
The suspension jig came into play for lining up the new section. I've found that getting the hole alignment more than 1mm out can result in the whole car leaning to one side, so accuracy is very important.
That's why I built the jig in the first place - I had a leaning car after suspension mount repairs and had to take the suspension off again to re-drill the holes.
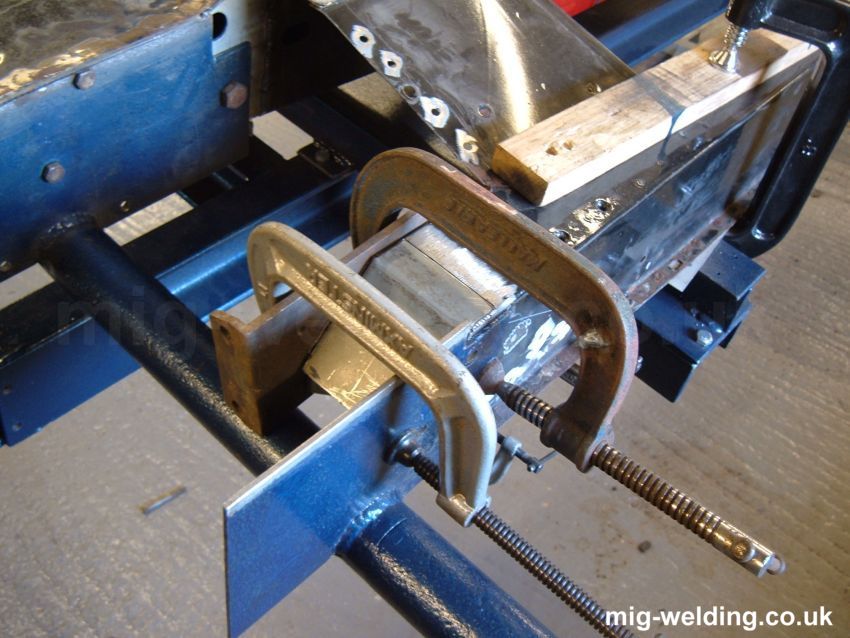
The reinforcement was originally spot welded. I've used plug welds which are roughly equivalent but a little stronger. A panel that would have appeared to the right of the photo has been removed to allow access for plug welding from the outside face.
The only snag was I forgot to drill mounting holes for the suspension mounting before installing the new strengthener. Space was very limited between the chassis rails, and I ended up borrowing a smaller drill and shortening a drill bit so I could get in to drill the holes.
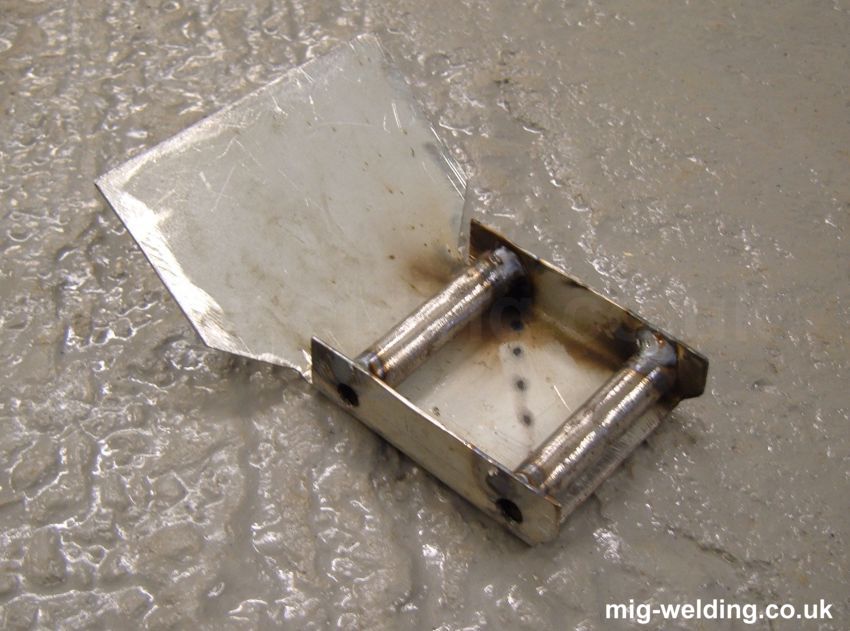
In the original construction the compression tubes for the suspension mounting bolts were placed on the outside of the suspension mount. This was presumably to allow access to the securing plate for spot welding.
Problem was the area is bad for collecting mud at the best of times, and these tubes provide ledges for the mud to sit on.
I've done a little redesigning to mount the tubes on the inside of the mount section. I don't need a flange for spot welding - plug welding doesn't require the same access, and in any case I'm planning to seam weld.
Once again the chassis jig holds everything in position for welding.
I drilled the holes in the reinforcement before welding it to the car this time. The bolts are 8mm diameter, and the original holes worked out about 8.5mm. I'm planning to leave all the holes at 8mm until both sides are completed when I'll run a 8.5mm drill through to make the suspension easier to attach.
Re-mounting the suspension is an extraordinary fiddly job as it attaches in 1 piece to 4 mounting points with the torsion bars already fitted. No need to worry about that yet - still plenty of welding to do.
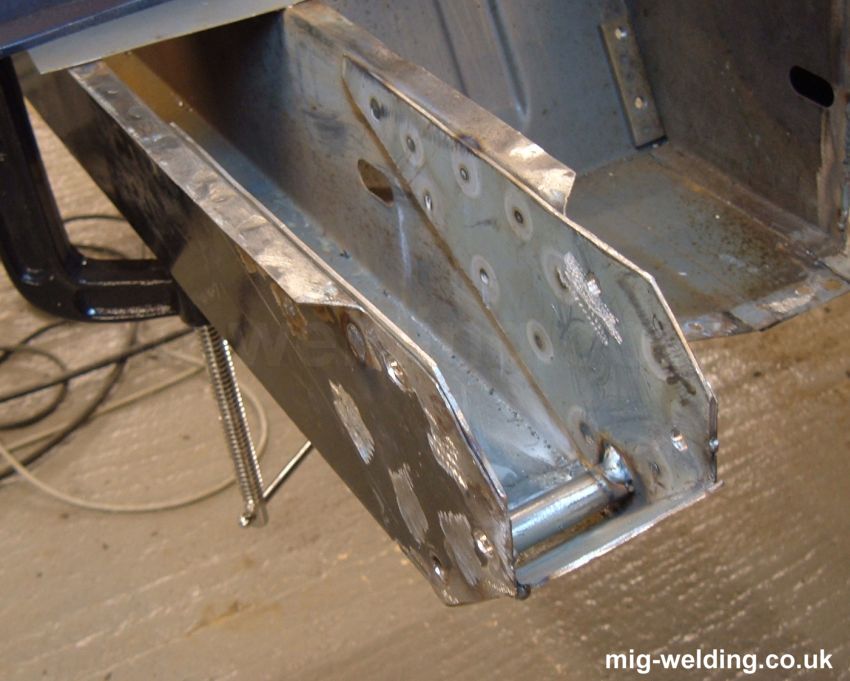
The only welds in the photo that need to be structural are the fillet welds holding the second reinforcement to the first one.
But I'm paranoid about rust in this area so I've welded around all of the other edges to seal them from water.
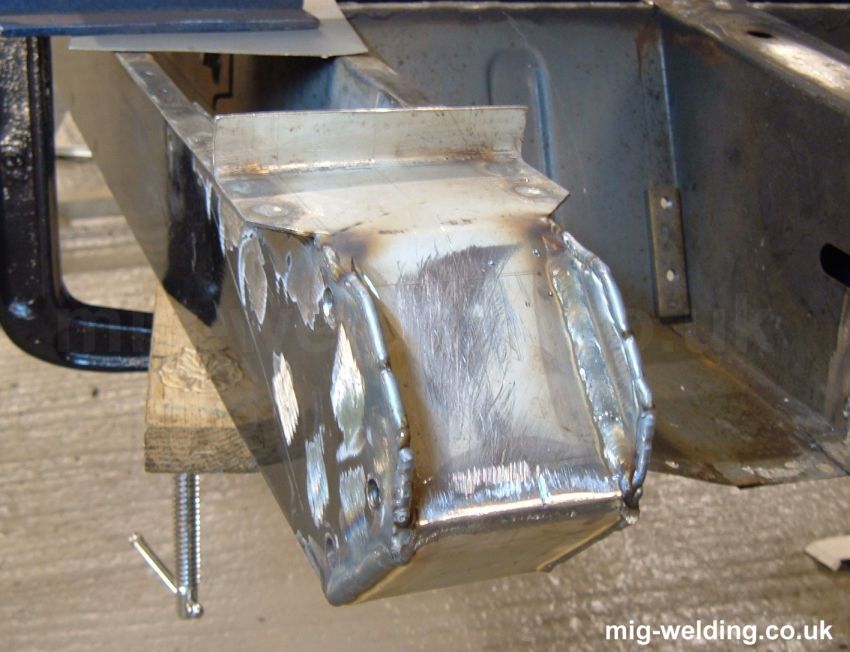
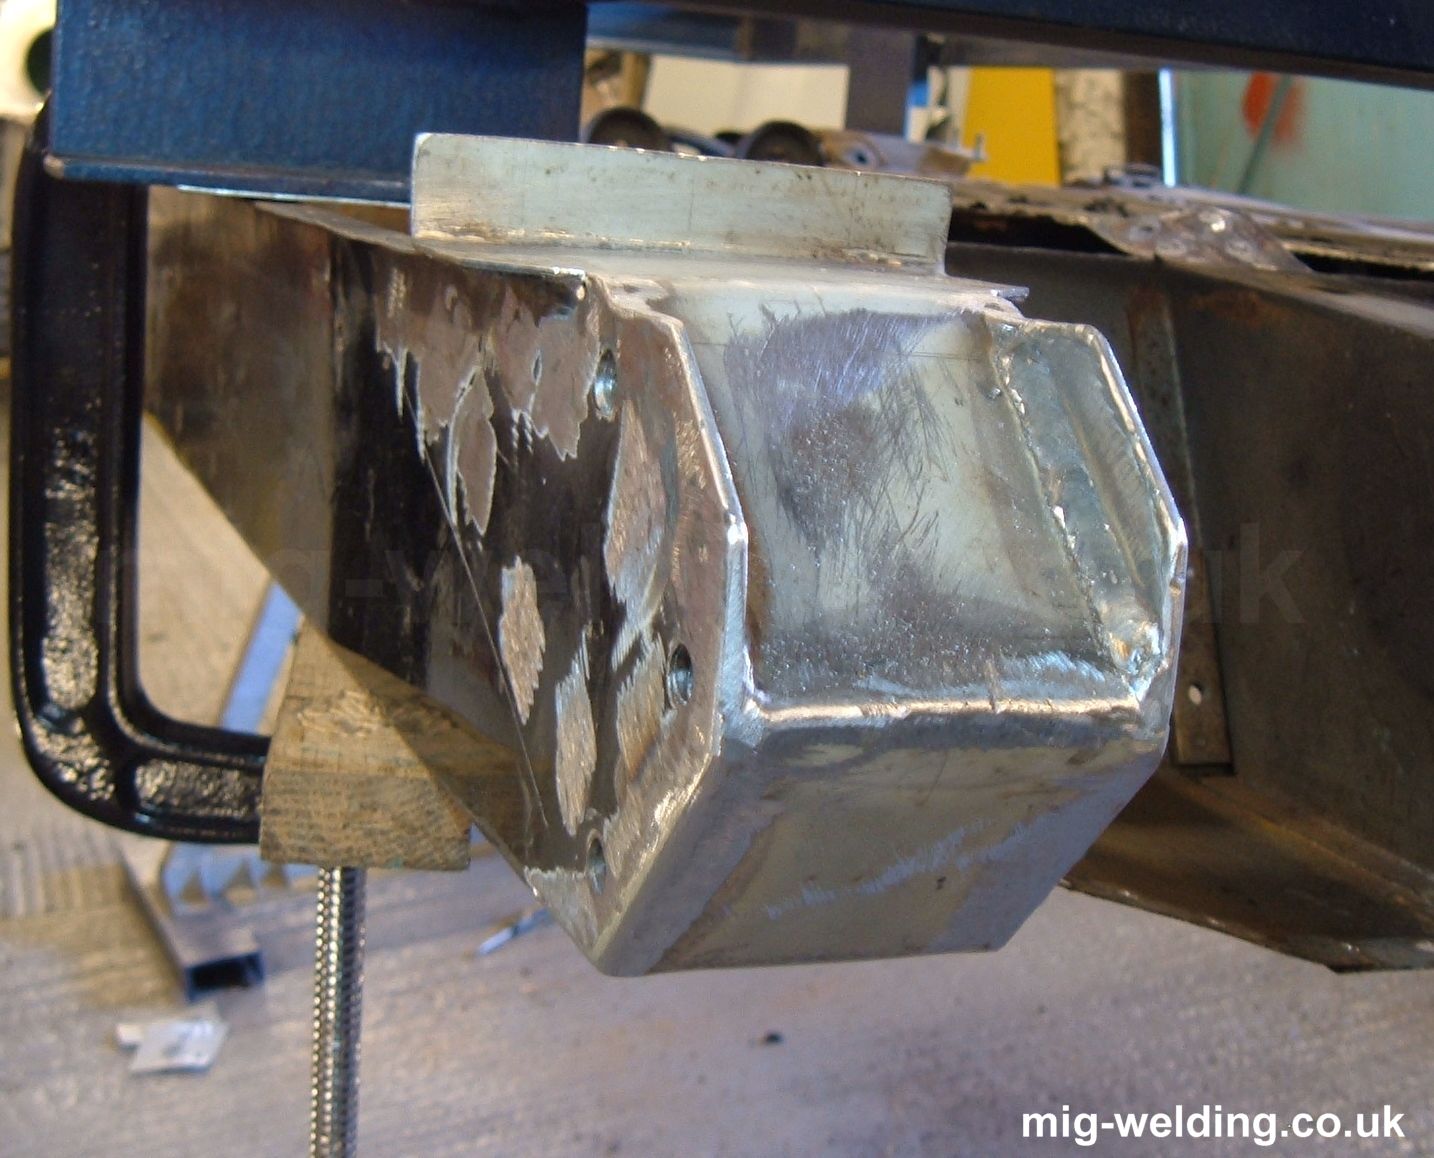
These additional welds needed to be ground to provide a flat area for the suspension mounting to clamp in place.
A bit of paint and it should look tidier than it does in the photograph. More importantly there is nowhere for mud to sit, so as long as I can stop it collecting in the suspension mounting itself the repair ought to last much longer than the original, Hopefully there will be no need to schedule a replacement until long after the year 2030. Watch this space.
This repair took about 2 days, so the economics are silly. The beauty of DIY welding is the time doesn't really matter. Nice to finish the project at some point, but if the process wasn't rewarding I'd never have started it in the first place.


