inner arch...I tried to replicate the original look...was worth spending the extra time on cleaning the welds. Finished torquing down the new suspension...just need to get the wheel back on. Next job the passenger side!!
Cheers guys...it's been a steep learning curve....there were some small imperfections which the camera didn't pick up. I figured this would be a good practice run for me as the end result would be hidden by the bumper anyway. All the products I'm using are U-POL...am using etch primer on the bare metal...then filler...then sand...then normal primer and then top coat. The seam sealer is called "grey stripe" by U-POL. I haven't used other brands but this seems to go on really nicely and stays workable for quite a while (I use a cheap paint brush)...filler is P38. Also happy with the U_POL paints so I'll stick with them I think. On the inner arch I finished off with hammerite stone chip...I also used this on the sill.
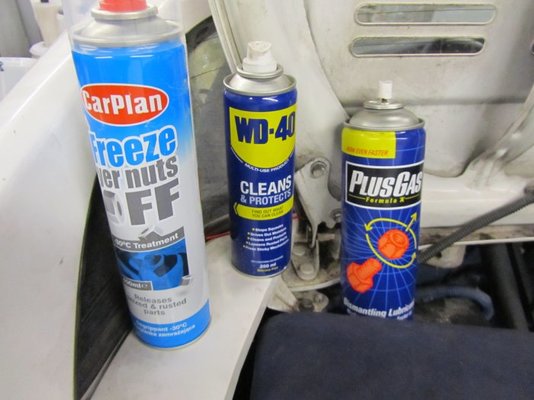
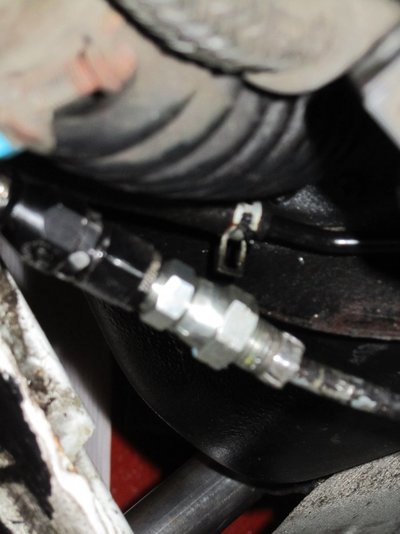
Am in need of new suggestions for tackling my latest problem. Unfortunately my fuel line is totally corroded...before I can do any fixing of the passenger side rear quarter I want to get this sorted out. Have been trying to get the hard line coupling off for near on 4 days now with no success. Am in real need of a new idea (or ideas) from anyone who has faced a similar problem on a fuel line...I really don't want to drop the tank or cut the line given access is very poor. The hard line has a double flare on the end which I want to hook the new line to. First pic is of the suspects I've already tried...repeatedly over the last 4 days. Am using the correct ring spanners with the gap in the ring. I have another can of freeze spray on it's way but any suggestions would be really appreciated at the moment as I've exhausted the obvious. The "freeze yer nuts off" didn't really work...from what I can tell it just made the nut slightly uncomfortable
Forgot to add ...I do have a double flare tool but wanted to avoid cutting the tank hard line...not sure I should be cutting the hard line with fuel in the tank and the tank in the car!...anyone have any suggestions...I'm not big on taking unnecessary risks so would like to go with the safest approach (am partial to both car and garage!). I have access to the underside (it's a mk2 mr2)...problem with dropping the tank on these is it is very involved from what I have read...although I already have the engine bay heat shields off and the under trays off for other work I was doing (renewing hanbrake cable etc)
Cheers for the quick response...have the pipe spanners but still no joy. Can I cut the hard line with the tank in place or do I need to drop and drain it before I can cut...am guessing a regular pipe cutter will be fine (compression type with the cutting wheel?)...if I'm honest fuel lines make me nervous
Tried another freeze spray but again no joy...even better I've now nicely rounded off the nut so will have to cut the line and/or drop the tank...any pointers would be much appreciated
well now that its rounded, you can try a good quality genuine wise grip on the make side, one with sharp jaws,the medium sized one with moon shapes serrated jaws tightened to the point just before squashing the nut out of round
Cheers mate...I hadn't thought of that - I'll give that a go as I have nothing to lose if it doesn't work. I spent today stripping the exhaust manifold out of the way to give me better access....lots of broken bolts...these cars do like to rust!
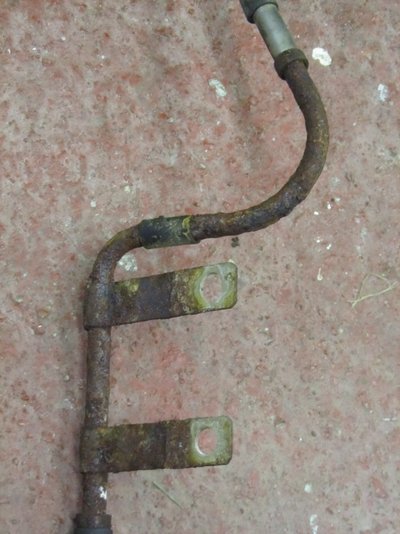
After a week of trying I finally managed to get the connector off...thanks guys for all the suggestions. I used a pair of mole grips and squeezed the center of the connector...I think there must have been enough give in the connector to break the hold on the threads...then grips on the end and managed to get it moving. What was strange was that the thread was completely clean of any corrosion and very tight all the way off...there was evidence of some thread lock which might have been the cause of the bother. Steel fuel line and double flare end were both in perfect condition so I attached up the new braided hose replacement. Decided to follow the original path of the line...I made up some custom brackets so I could adjust the line to sit where I wanted it. Had to order the AN6 to stock toyota hardline connector all the way from the USA...shipping was pricy so I ordered a few...it has the correct inverted flare inside the connector to seal the stock line which has a 45 degree double flare. I've seen others use a flat connector and just rely on ptfe tape to seal but didn't fancy that setup given the connector sits right above the exhaust down pipe!
nice better use braided teflon I've used fuel /ethanol resistant rubber but you can still smell the fuel through the rubber when its parked up in the garage for a few days (live and learn)
Cheers mate...yep the braided hose is teflon. The hard bit was sourcing that double flare connector for the stock hard line. There was definitely a wiff of petrol from the old pipe...glad I spotted this before starting the passenger side sill repair.
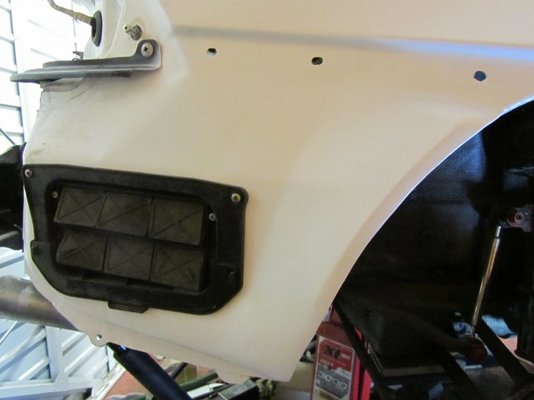
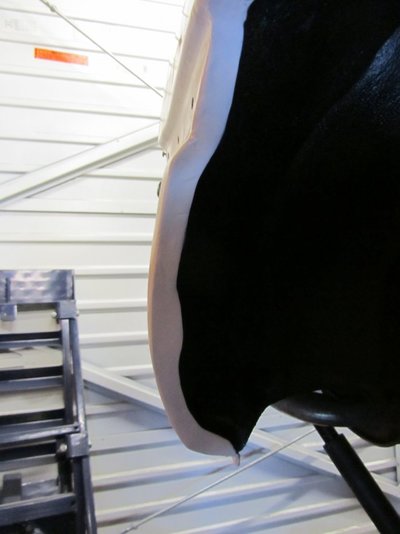
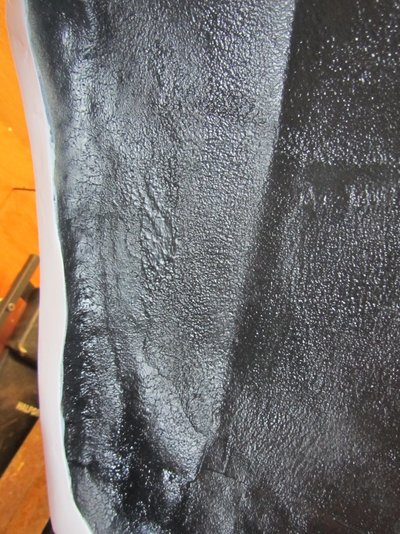
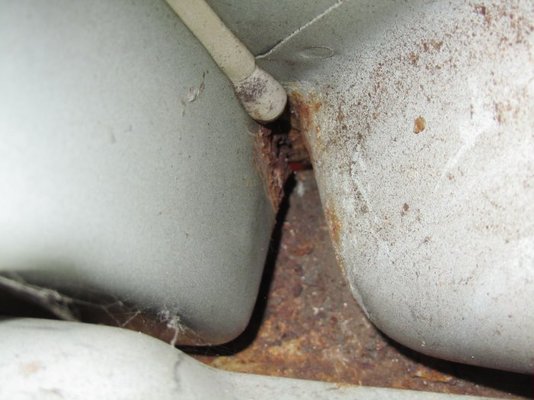
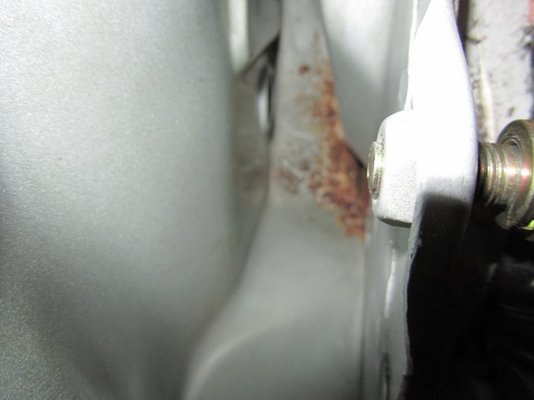
Spent most of the day clearing out the garage so not much progress today...I did have some time to get the car in the air and strip the trim from the passenger side. I've read lots of forums that say if the sound deadening sponge comes out clean then the sill might be OK....we'll have to judge that once the cutting starts :-). The second pic is down the inside of the car...looks like there is a little rust down there but not nearly as bad as the drivers side was.
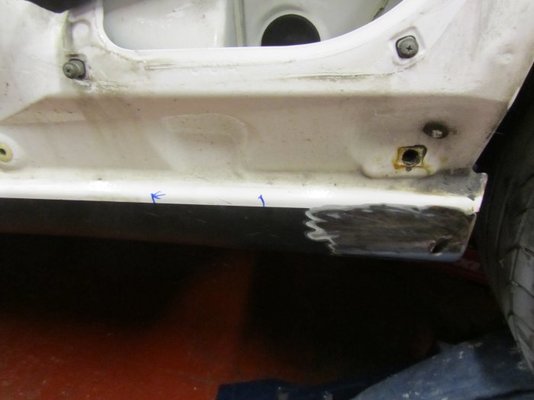
Am hoping that the inner arch has survived OK on this side. Here are a few more of the outside and the inside. For the record there was no hole visible on the outside before I started cleaning off the paint. I could "get away" with a patch over the top for the mot but I'm looking to keep the car longer term. The blue sharpie marks are my guess at where the rust will end.
Had half an hour to spare this evening so decided to make a start on the passenger side sill. I had lots of questions about the sill forming when I did the drivers side so I figured I'd take step by step pictures this time...apologies if this is too much detail but figured it's worth it given repair sills aren't available for the mr2 mk2 so the options are make your own or fit similar ones from another car...the latter can change the shape of the sill which can result in a lot more work.