Looks like the shape of the roof repair is not quite right from the pic. It seems to come in a little rather than a smooth curve. It's one of the reasons why I don't replace bits of the roof skin as filler work will be a nightmare once the gutter is in place. I would normally replace the whole skin.
I'd say looking at the pic's it needs moving in about 1/4", it's hard to describe but the end of the gutter bends round more abruptly than the gentle curve the rest of the gutter has.
Sorted. I went and had a look why it wasn’t sitting right. I assumed the Heritage panel would be good enough. Lo and behold my brace was stopping the inner door frame moving enough to accommodate the new frame. Just cleaned back the edge of the roof to bare metal and put a thin coat of etch primer and it looks ok. I want to get a stainless shrinking disc to try after looking at @lchris21 mini thread on TMF as I reckon it’ll be close once I’ve stopped fannying around.
Heck of a difference. My built up drip rail might even be stopping it sitting in even further. I’ll probably radius that a little too. before After
The problem is the roof skin has a rolling contact weld (not sure what it’s called) not spot welds so getting it off and back on is a mare!
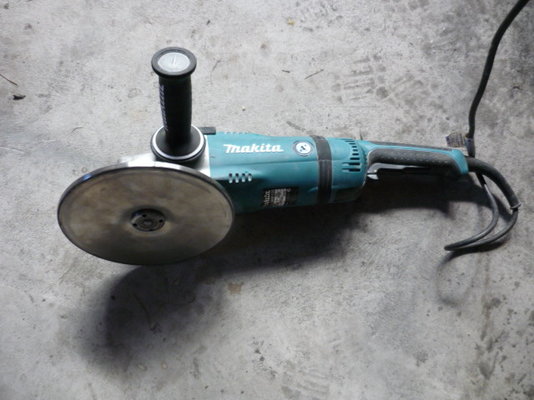
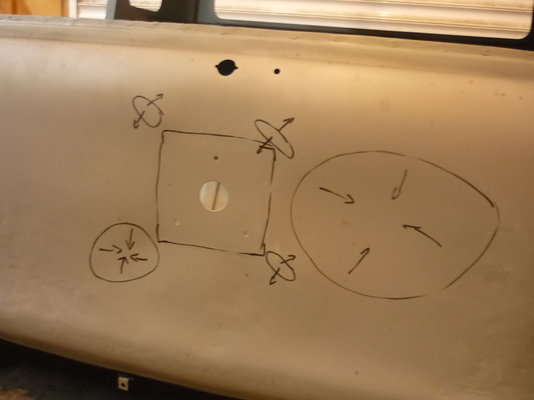
I used a shrinking disc on my truck and it was amazingly effective. A bit easier job for two people - one does the 'grinding' and the other has a wet rag for cooling. I marked up the high spots first
Got my arch to door repair cut in, also shaped the sill section and cut back my door step. Not too happy with the Heritage panel as it seems to fall short if the sill line and lower door corner line. Something seems amiss. Probably have to make up a piece in the B pillar once it’s welded in. I have to make up the companion bin closing panel repair next then maybe I can fit the door frame. My BMW panoramic roof also arrived from Kent BMW Mini Spares. That’ll be fitted in a few weeks once I’ve put some strength back in the shell. Collected both my Argon & Argoshield Light too so I can carry on.
Thats going to be a big hole !! I used one of my big angle clamps holding s fuel filler in place on the pop, didn't half mess the mig about !!
First things first was to tidy up the garage and my bench which I haven’t seen in about 4 months! I then mounted my adjustable Heuer bench vice which was a freebie from work, then I welded a piece of angle to the clamping section of my shrinker/stretcher so I could mount it solidly for modifying panels as required. Once my space was clear I cut out the rusty section from my companion box closing section and welded in a new piece (this aldi rotary tool with extension and these little 30mm x 1mm discs is probably my favourite tool just now for accessing tight spaces). Then I cleaned all weld faces on the door frame and painted with galv weld thru primer before masking the edges and etch priming and stuck some old topcoat on the pieces of frame which won’t be accessible once fitted. Weld time tomorrow.
Got my A post sorted and ground back and after getting fed up of trapping the cables and water pipe for the washer bottle I decided to make a few cable retainers so they didn’t get melted or trapped when fitting the frame. I borrowed a spot welder from @Mike J, who also kindly gave me few Mini bits from when he was building his old Mini Turbo and got a few spots on the frame and test fitted the door. All gaps look good so tomorrow I will complete the door frame install.
You'd have been better off pulling the cables and pipe out of the A post and refitting them after the weldings done. Chances are there'll be a small fire/smoldering that can melt them when you weld the frame on.
That was one of the reasons for the cable supports to keep them away from the edges. I’ll only be welding with a spot welder across the roof so there will be reduced heat. I think it’ll be ok. If the worse happens I’ll run them through the car like the old school ways.
Cut a piece to take up the gap in the lower B-pillar before welding it in. Got my rear arch to door repair welded in and dressed back, had an issue when shaping the lip around the curve where there was too much metal to made a relief cut and beat the excess into the void then welded it up. Made a start spot welding the roof gutter and tidied a few welds up. Distortion is minimal. May have gone overboard on the spots though
Cheers bud. Well happy with the outcome. Still a few hours work to finalise the door frame install but it’ll need to wait till I’ve replaced the floor / sills section. That means subframe out and at least one healboard repair if not both sides.
that rear subframe mounting looks like it's breaking away should be at 90% angle i know you used to be able to buy the ends of the panel done a fair few in my time