You are using an out of date browser. It may not display this or other websites correctly.
You should upgrade or use an alternative browser.
You should upgrade or use an alternative browser.
Stuff you have made today
- Thread starter God mode restorations
- Start date
The_Yellow_Ardvark
I'm a citizen of Legoland travellin' incommunicado
- Messages
- 20,248
- Location
- Going Away.
I only helped.
The idea was to see what glue was best to make them.
The lil Human was having fun.

The middle one was with white PVA, left outside over night, in the rain.
Opps.
The idea was to see what glue was best to make them.
The lil Human was having fun.
The middle one was with white PVA, left outside over night, in the rain.
Opps.
Mick Annick
Forum Supporter
- Messages
- 2,992
- Location
- Burgundy, France (450 miles SE of Somerset)
Dr.Al
Forum Supporter
- Messages
- 2,770
- Location
- Gloucestershire, UK
A very quick and simple project, knocked up in next to no time:

The plank is an off-cut of a bit of 40 mm thick oak worktop I used to make a couple of desks a few years ago; the rails underneath are some bits of sweet chestnut I had lying around. Finish is two coats of Mike's Magic Mix. The rails are simply attached with some 5 mm diameter, 80 mm long screws sitting in oversized holes in the chestnut so that any expansion can be coped with.
It gets attached to the end of my desk with a couple of clamps (I could have used screws again, but it's only intended to be temporary):

With Carolyn needing someone around most of the time until she's fully recovered from the car accident, I'm having to work at home much more at the moment, but there's a lot on at work at the moment and I'm needing a reasonable amount of lab time. Therefore, I decided it was time to upgrade my home desk with a little more space so that I could bring home the "proper" oscilloscope from work rather than using my picoscope:

The plank is an off-cut of a bit of 40 mm thick oak worktop I used to make a couple of desks a few years ago; the rails underneath are some bits of sweet chestnut I had lying around. Finish is two coats of Mike's Magic Mix. The rails are simply attached with some 5 mm diameter, 80 mm long screws sitting in oversized holes in the chestnut so that any expansion can be coped with.
It gets attached to the end of my desk with a couple of clamps (I could have used screws again, but it's only intended to be temporary):
With Carolyn needing someone around most of the time until she's fully recovered from the car accident, I'm having to work at home much more at the moment, but there's a lot on at work at the moment and I'm needing a reasonable amount of lab time. Therefore, I decided it was time to upgrade my home desk with a little more space so that I could bring home the "proper" oscilloscope from work rather than using my picoscope:
Sergei Slovenija
Member
- Messages
- 1,256
- Location
- Slovenija Ljubljana
A small but troublesome project to assemble into a single unit a water tank and a powerful tubular cooler for a liquid ring vacuum pump. The pump operates with fairly hot gas, and for ideal operation of the pump, a temperature is needed, preferably no higher than +20. Otherwise, a tank of 100 liters of water can be heated with extracted gas to +70 in 4 hours of operation. Low partial pressure inside the pump head and all that.
water boiling at this temperature reduces the effectiveness of the vacuum
water boiling at this temperature reduces the effectiveness of the vacuum
Mick Annick
Forum Supporter
- Messages
- 2,992
- Location
- Burgundy, France (450 miles SE of Somerset)
Blobber
Forum Supporter
- Messages
- 3,669
- Location
- lincolnshire
Very nice

Duisky
Member
- Messages
- 55
- Location
- Scotland
A little Massey Ferguson made over the past couple of months. Dogs for scale!
Fabricated completely from steel and powered by a 24v mobility scooter transaxle in the rear; it will punt an adult about swiftly enough. The loader is removable, and is controlled by a 3 liner actuators - 2 on the arms, 1 on the bucket- operated via joystick; I've since tided the trailing wiring for them after taking the pic. I did weld up a deck and use the components of a battery mower to allow it to cut grass but that will need further tweaking for it to work acceptably in practice. Recreating a tractor isn't a particularly easy task given its aesthetics are largely driven by 'form following function' which doesn't translate well to a smaller scale when using electricity as a power source; I just feel it looks rather austere without the visual depth and character that a proper engine would provide. I'll try and get a video once i've rounded up some kids! PS. I have no idea what happened with the welds in the inside seam of the bucket, they look awful in the image! I'll rectify them at somepoint.


Fabricated completely from steel and powered by a 24v mobility scooter transaxle in the rear; it will punt an adult about swiftly enough. The loader is removable, and is controlled by a 3 liner actuators - 2 on the arms, 1 on the bucket- operated via joystick; I've since tided the trailing wiring for them after taking the pic. I did weld up a deck and use the components of a battery mower to allow it to cut grass but that will need further tweaking for it to work acceptably in practice. Recreating a tractor isn't a particularly easy task given its aesthetics are largely driven by 'form following function' which doesn't translate well to a smaller scale when using electricity as a power source; I just feel it looks rather austere without the visual depth and character that a proper engine would provide. I'll try and get a video once i've rounded up some kids! PS. I have no idea what happened with the welds in the inside seam of the bucket, they look awful in the image! I'll rectify them at somepoint.
finyuk2005
Member
- Messages
- 859
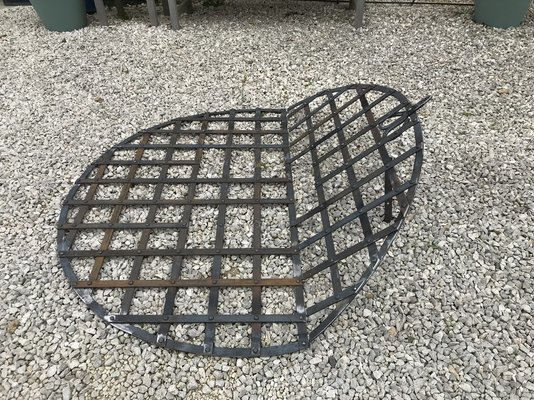
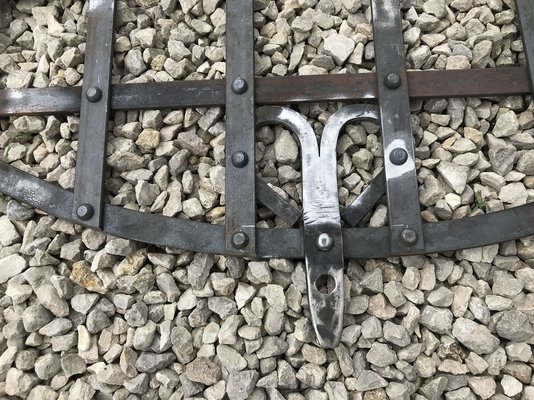
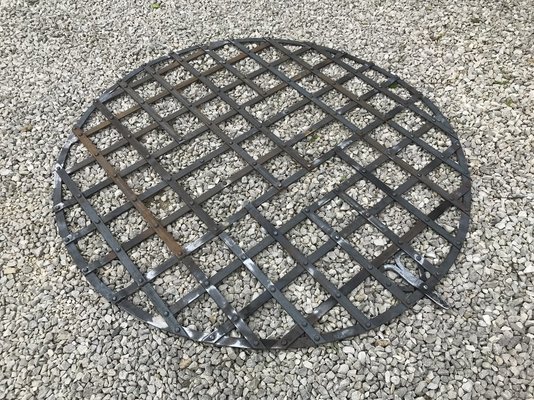
magic!! i love the grill, looks great!
droopsnoot
Member
- Messages
- 1,442
- Location
- South Cheshire, UK
A "special tool" to undo the top of my struts on the daily driver, so I can change the top mounts and maybe the dampers at some point.

Yes, I know you can buy them, and they're not very expensive. But that's a box spanner (50p from a box of rusty ones at a show recently) with an old nut from my mate's box of old nuts, so mine's cheaper and does the job. As I've actually used it now, what I need to do is measure the nut size and get an old spanner from somewhere - I used an adjustable on it, and it's really frustrating as the jaws randomly spread and tighten up while I can only use one hand. I'm pretty sure I could have held that and then just turned the inner allen key on the ratchet, but not sure enough to actually do it without wondering if I'm undoing something inaccessible.
Didn't cure the clonk, but at least I know it isn't the top mounts now. Interestingly despite it being a 2000 car, the best fit on the strut top mount nut was actually a Whitworth socket, the correct sized metric was quite loose - having not done the job before, I wasn't sure how tight the nuts would be and didn't want to turn it into a "how do I get this rounded nut off?" job.
iNf
Forum Supporter
- Messages
- 723
- Location
- Hereford, England
Loving the tigerA couple of bits cut on the plasma this afternoon. Ran out of paint so a bit patchy.
20l drum for scale.
View attachment 457437
View attachment 457438
 Your file or one you found?


