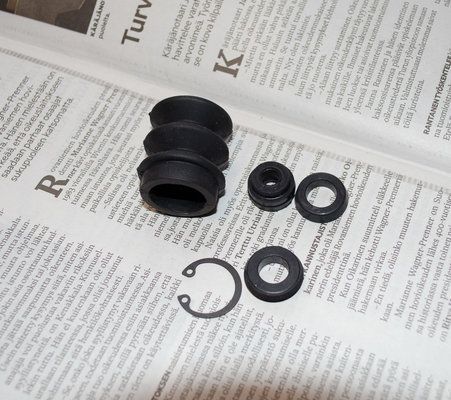
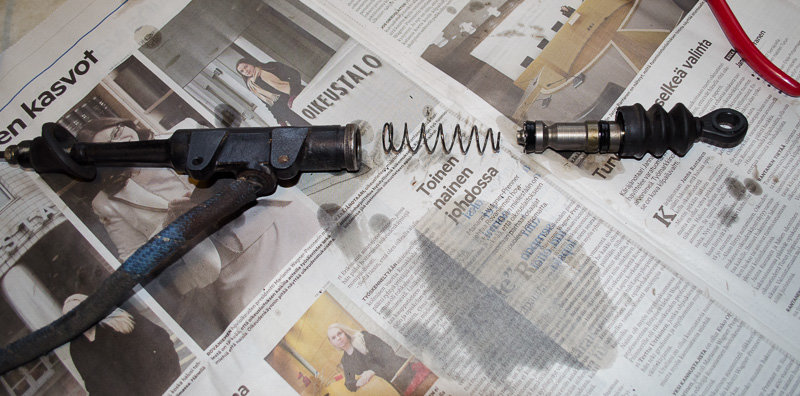
Back on E30! After being few months in shed for winter storage you can always expect some minor technical issues. Clutch had stopped working and pedal went to the floor. Brake fluid seemed to be on a low side, didn't found any obvious leaks but I made assumption that clutch slave cylinder might have been leaking. Instead of replacing complete clutch slave cylinder I opted for more hobbyist solution and went for cheap rebuild kit. Original slave cylinder and what came in a rebuild kit: Disassembled clutch slave cylinder was in rebuildable condition. Honed insides of cylinder with scotch brite pad and put it back together with new seals. Power steering has been leaky and making some puddles. Got power steering pump seal kit from BMW dealer and followed some Youtube guide for Porsche ZF power steering pump seal installation for instructions. Old shaft seal was like hard plastic and was difficult to get it out, no wonder why the pump was leaking. Power steering pump and new seals: Went shopping for new anti-roll bar links, even when old ones were still in decent condition new ones might provide marginally improved stability and cornering capabilities. Went for Meyle HD front links, they seemed really sturdy but never know how they will last: While doing front anti-roll bar links spotted another problem. Roll bar should be movable by hand after disconnecting the end links but mine was fused solid with chassis bushings and needed pry bar to move it, not good. Removed roll bar bushes from the chassis, cleaned them and bar with brake cleaner. Rubber bush was dirty and probably sticky from all kind of chemicals. Minor pitting was found from the bar as well so I may need to return to this issue with more serious bar restoration activity, but for now just cleaning everything seemed to help and got the bar moving much more easily. Sticky anti-roll bar bushing: Then on the rear end. Rear anti-roll bar mounting tabs are weak on E30 and can fracture off from the trailing arm. Mines were still fine but found that i could flex these tabs fairly easily. I wanted to fabricate and weld something so made some DIY reinforcements and welded them in to the car. Original mounting tabs: Fabricated reinforcement plate from 3 mm flat steel to something like this: Attacked welding job with 0.8 mm wire on a mig and this is how it turned out: Reinforced non flexing anti-roll bar mounting tab after painting and ready to be finished with brushing some stonechip for extra corrosion protection: This was all for now! Thanks for viewing!
This time in a shed we were detailing wheels. Spokes are still in reasonable condition and clear coated so didn't want to mess with them but lips have seen better days showing oxidation, pitting and dull finish. Washed wheel before starting: Polishing methods of choice: Fine steel wool followed by 1500 grit wet sanding, 2000 grit wet, 4000 grit abralon pad by hand, mirka c20 polishing compound and final touch of turtle wax. End result: Didn't get all the pitting out but I think it looks much better and shinier than it did before. If I need to redo this process again I probably start with 800-1000 grit wet sanding to attack more pitting and finish it off with polishing ball on a drill. It took me about 2 hours to do all the four wheels to this level of shine.
Project itch hitting again so wanted to get something done for E30. Rear subframe dropped: Differential mounting bush is on the go for the bad, developed tears and allowed too much movement. Trailing arm bushes with some cracks, not too bad yet but while I was there... Then welding some additional 3mm thick reinforcement plates to the differential mounting points. Before: After: New Strongflex poly bush for differential, much stiffer than original rubber bush: Thanks for looking! Cheers!
I love jobs like that. Visible, useful, cheap, not complicated, sensible and ultimately satisfying. Any one of the above drops off and you start muttering. Good work!
nicely done....its nice to have the luxury of being able to drop the whole rear assembly. very cool....the wheels look awesome polished up by the way... JP
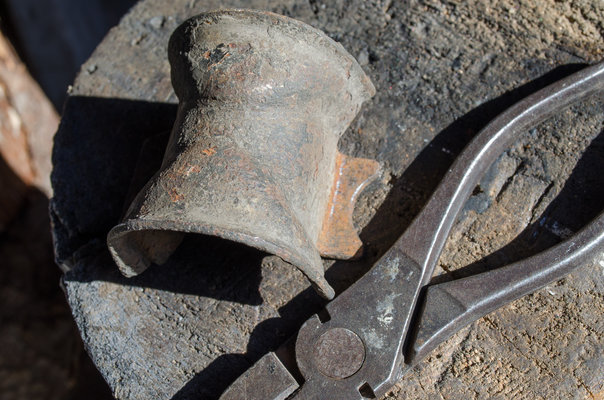
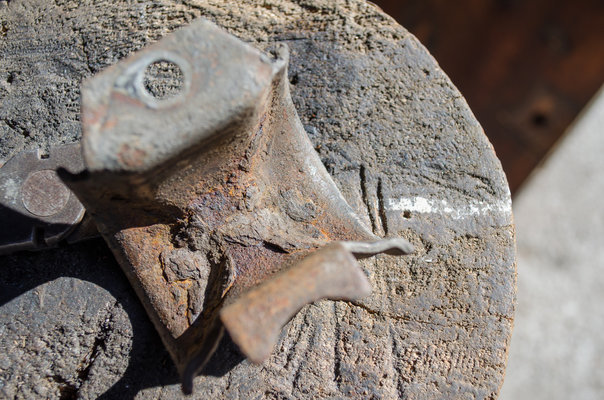
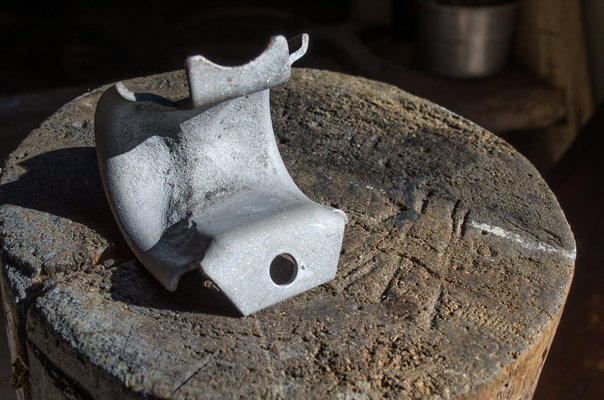
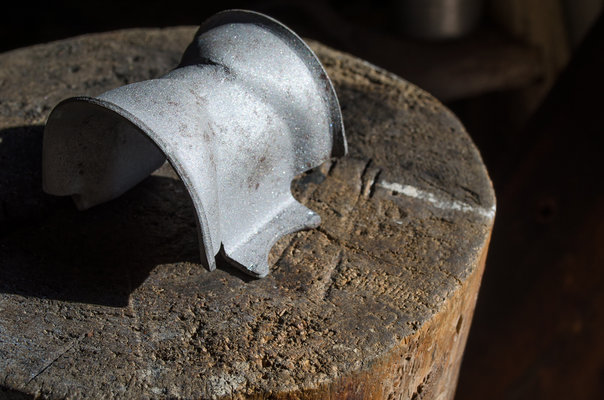
Thanks Mark and JP! Short weekend reinforcement special once a again. Been planning of adding some extra support to the rear anti roll bar chassis mounting points, never seen fail pictures but big boys said mounts can tear away from chassis channel. It really should be issue with thick aftermarket bars and tiny OEM bar like mine shouldn't be causing problems, but it got me thinking about it so here we go. Factory mounting points: Reinforcement with seam weld to the bottom edges of original mounts and added piece of 2 mm sheet for support:
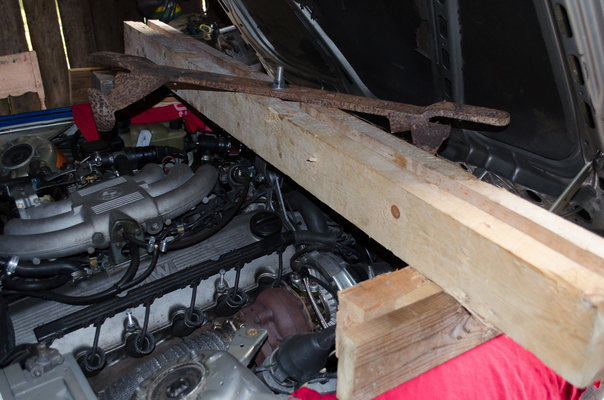
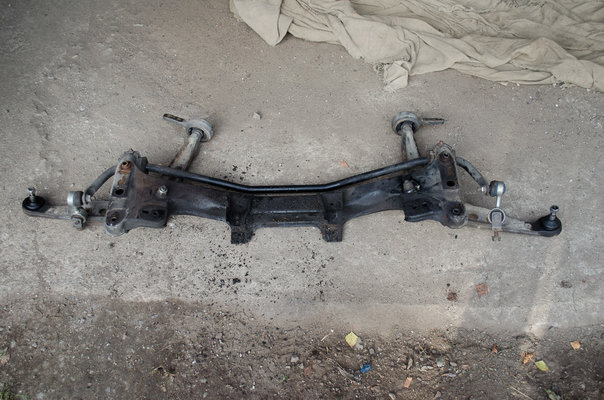
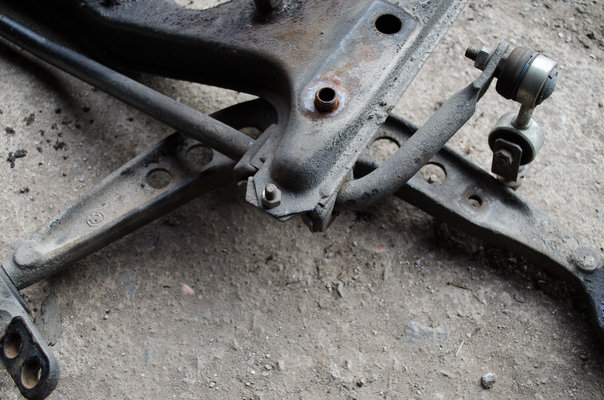
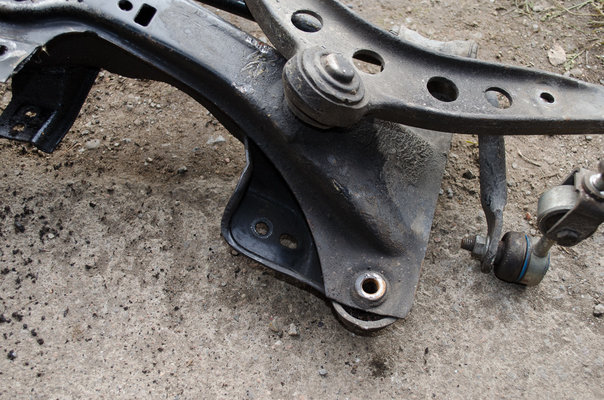
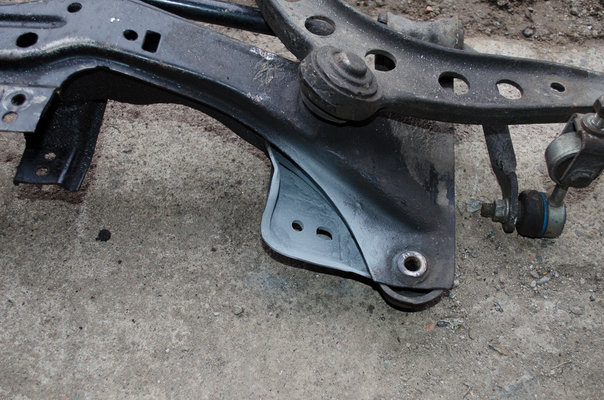
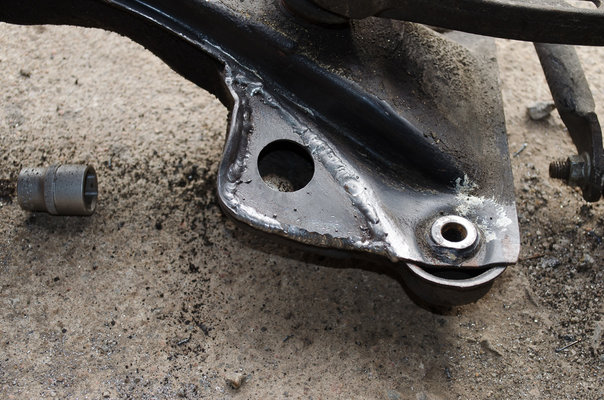
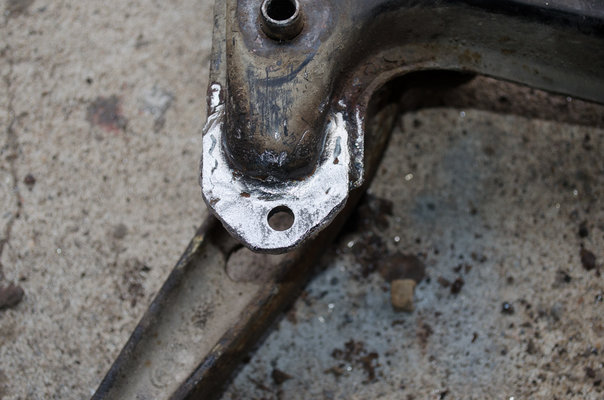
E30 update from the shed, this time strengthening front subframe with 3mm steel plates. Quick and dirty arrangement to support engine while removing subframe assembly: Front subframe removed: Engine mounting area and anti roll bar mount to be reinforced: Inner doubling plate welded to the engine mount: Extra stiffening plate added: Anti roll bar mounting ear reinforced with piece of 3mm plate: Finnish winter is approaching and weather is starting to feel quite chilly for my taste so I think I'm done with any major work for this fall, maybe smaller updates if something comes up. Thanks for viewing and Cheers!
I loved my E30 325 and wished I had never got rid of her but she was a working vehicle with over 300,000 miles and never a problem. I have restored many cars over the years and youngest daughter got the bug and started nicking ones I bought for spares, I found a M635 CSI and restored that, this was followed by a couple of 8 series which were restored and actually Daughter learned to spray on one of them and did such a good job. She nicked an 8 series I bought for spares and replaced the rotten floor pan, gutted it, fully resprayed it in red as she didn't like it blue and when I found a vandalised 6 series for spares which had been vandalised, every panel was scratched to the metal and rust was forming but they weren't dented and she nicked that and sprayed it and kept it for herself. Grandson at the age of 4 started TIG welding and this was the first TIG project he did, he is a brilliant TIG welder and its no patching for him, only invisible repairs, it was great because he was so small we could put him anywhere and he did a beautiful job, unfortunately they grow and cannot always get into spaces they once got into.
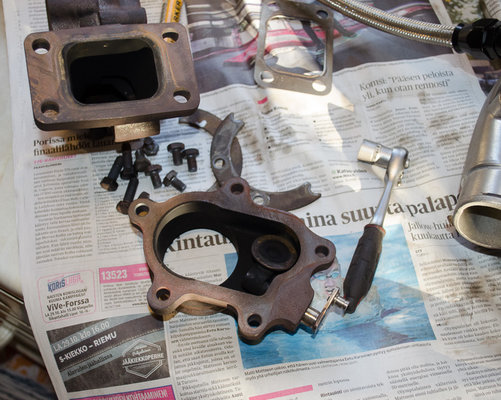
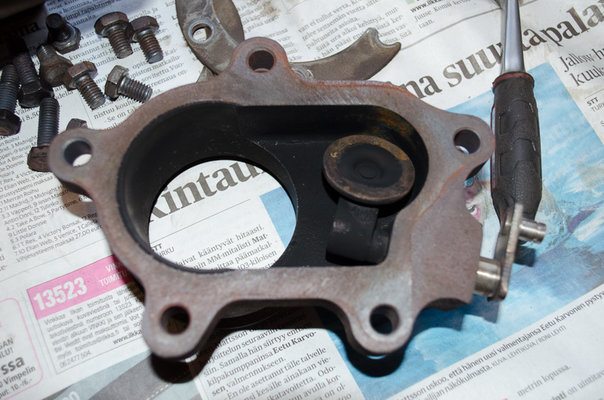
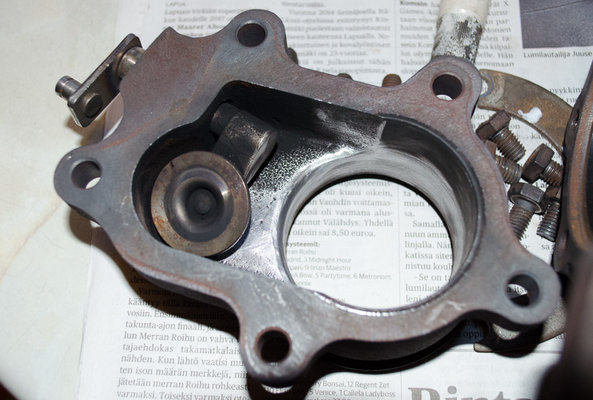
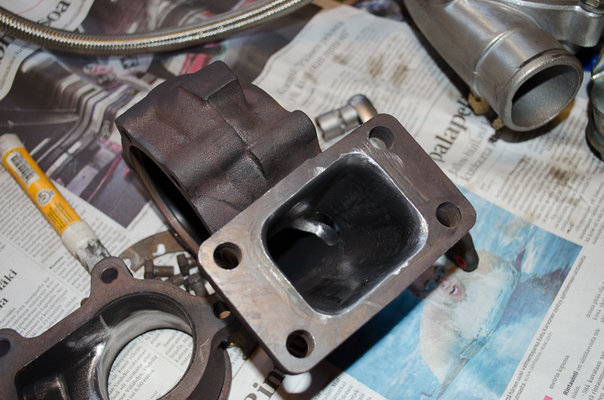
E30 is on it's way for becoming 80's classic, liked by many people. Your M635 restoration sounds nice, old 6-series is rare sight these days and cool that you have whole family interested working with you and restoring cars. In this post light porting job for a turbo. Turbo hot side in parts: Back plate with chamfered edge: Exhaust inlet ported with carbide burr and sanding roll, wastegate hole cleaned from casting imperfections and flow path made smoother:
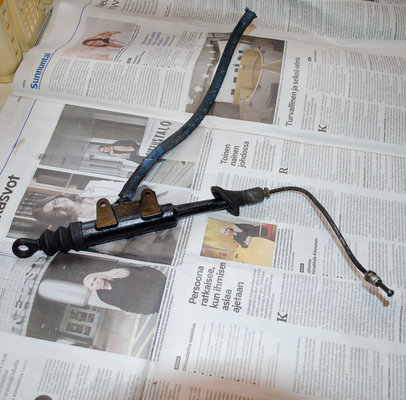
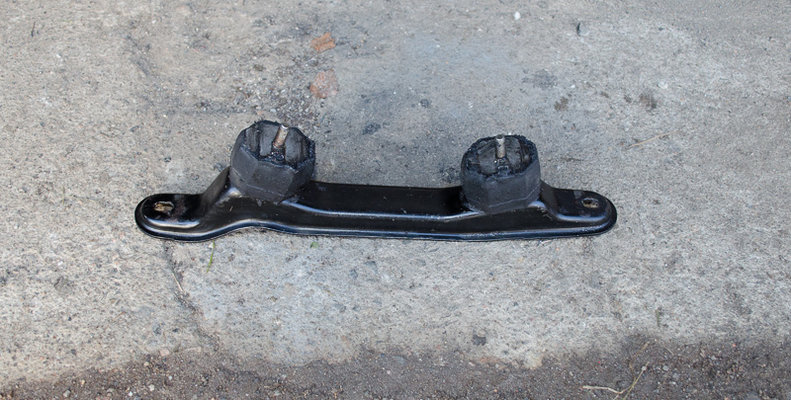
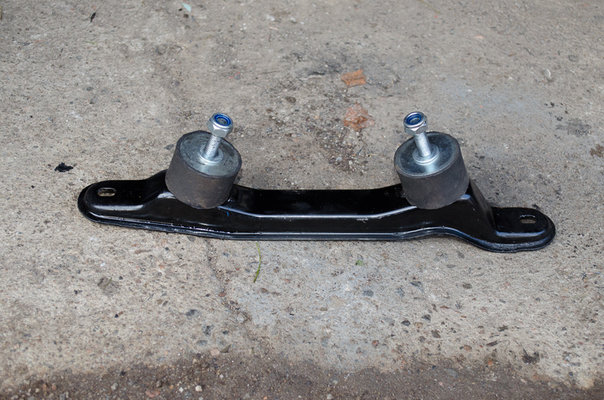
That's great from young fella and even with TIG process. Took clutch master apart for seal kit installation, here's some pictures of that: Here's what came with the seal kit: Inside configuration of the master cylinder: Another upgrade was to replace tired E30 style transmission mounting rubbers with E21 320i mounts, supposedly E21 mount is marginally stiffer rubber and should be good option for street use. To fit the E21 mounts holes in the transmission crossmember and slots of the gearbox needs slight enlarging to accommodate bigger M10 mounting hardware instead of original M8. Crossmember with original mounts: Ready to go back with fresh E21 mounts: Cheers till next time!
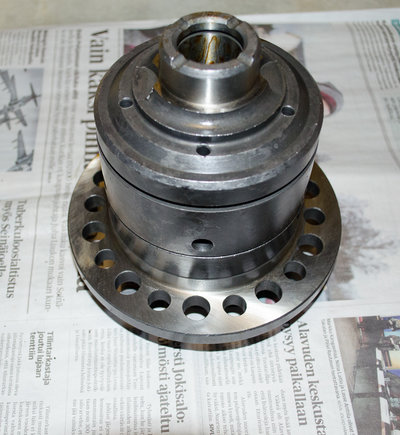
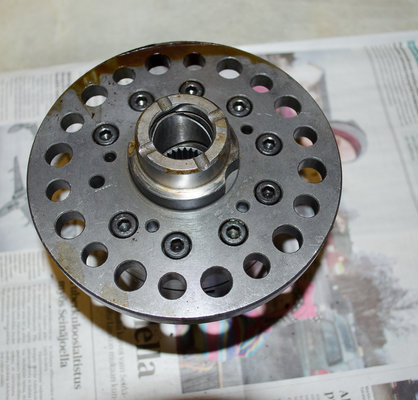
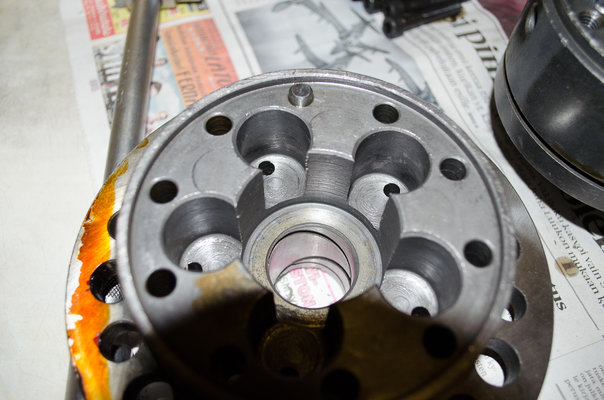
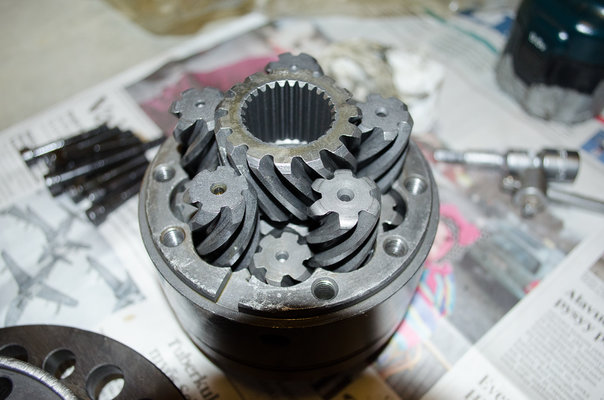
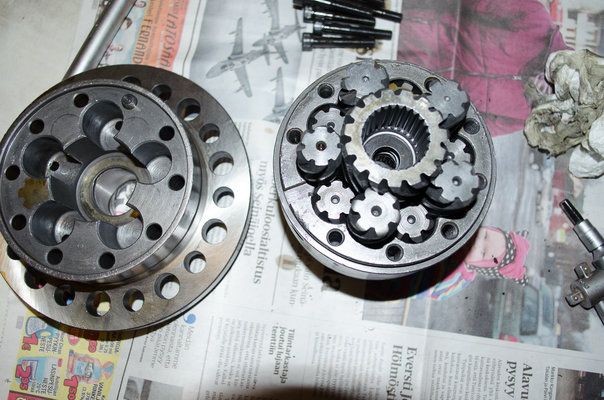
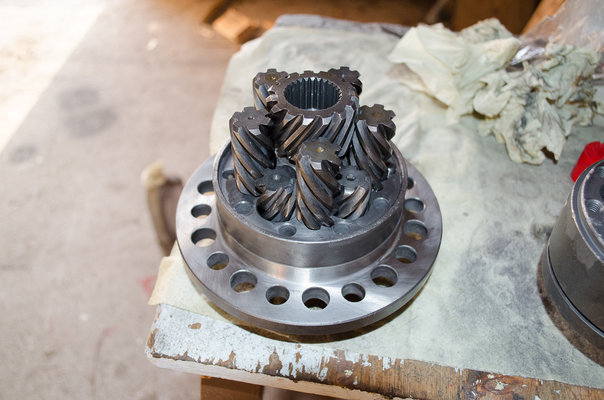
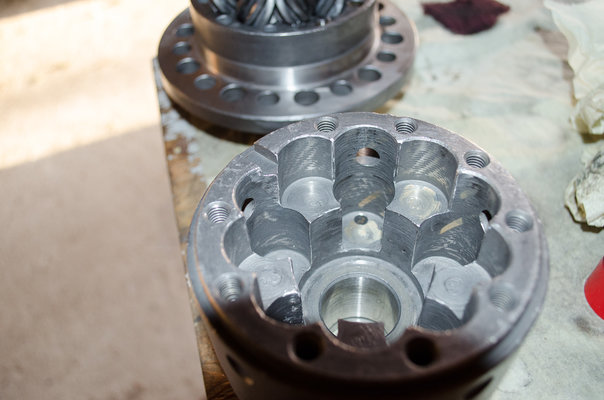
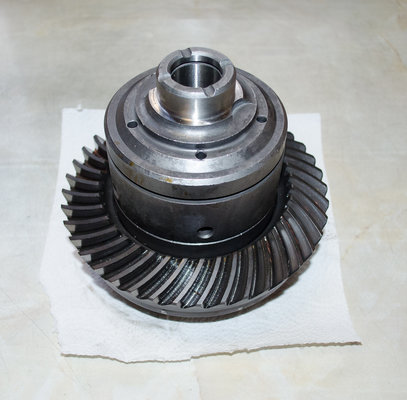
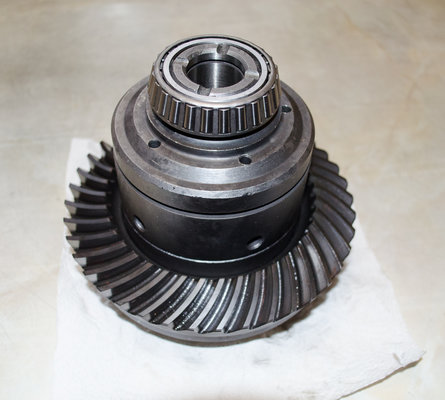
Update time! Like any rear wheel drive fan it's the one wheel wonder that leaves something to be desired. It was time for limited slip diff and solution I got is a helical diff, wanted to see how it would work for my use. Installation story of the good, bad and ugly helical differential. It has been documented that problem with these diffs is a poor quality belleville washer stack that is used to preload the helical gears and prevent the noise. Also bolts can be unknown quality so I got rebuild kit with better bolts and washers. When I disassembled the unit I tested one original washer with the hammer and all honestly it seemed to take it just fine but replacements were obviously better made. Some internal edges were sharp and rough so they would need some smoothing with sanding roll + there were some metal burrs at the oil passages that could have gotten into the gears and cause damage: Here we can see the belleville washers in the middle of the gears: After some cleanup: Smoothed edges: Original bolts were torqued unevenly some were very tight, some not so tight and they didn't use any thread locker. I tightened new M8 12.9 bolts to the 40 Nm and used thread locker for extra safety. Ring gear transferred from open diff: With new bearings: This is pretty much where the problems started...
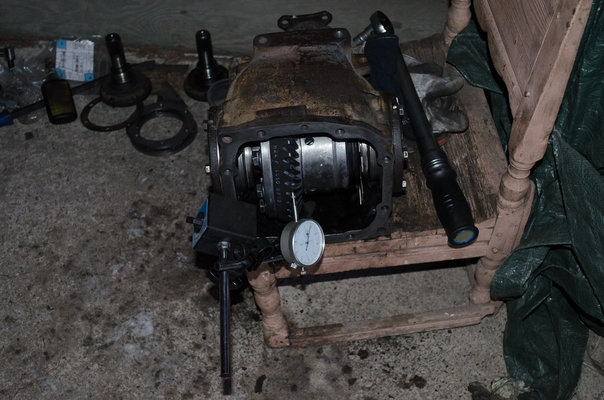
I had to get shim package from dealer to adjust backlash and bearing preload. Ended up using thickest one available for the ring side, I believe it was 1.95 mm thick shim. Other side I had to grind original shim down quite lot to get some bearing preload. Major problem was the runout of the diff and ring mounting surfaces. After taking ring gear in and out several times and assembling diff several times it came clear that machining of this this wasn't quite right. Had to make sketchy things to make it barely acceptable. After everything it still has some variation of the backlash and runout, we'll see how it will last. Testing backlash: If any one wants to see this differential in action I took a vid of the useless slides around the yard:
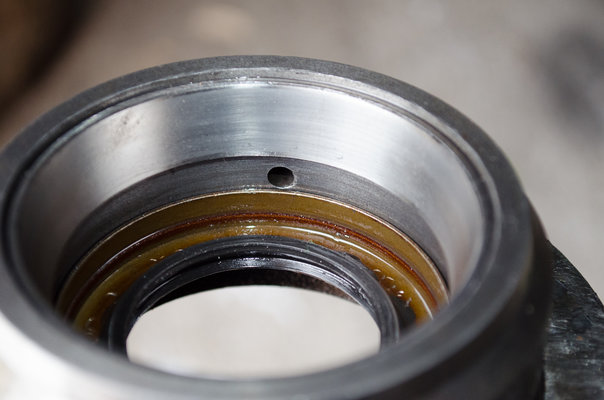
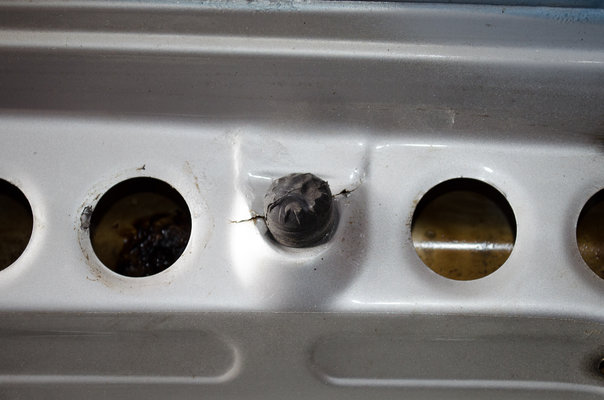
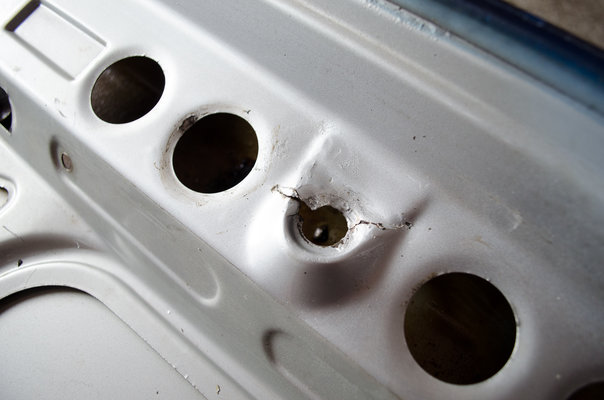
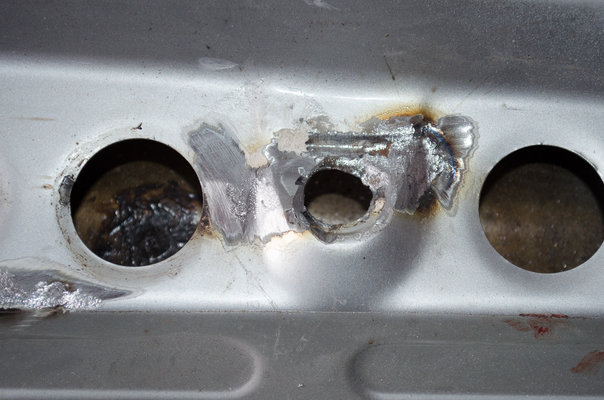
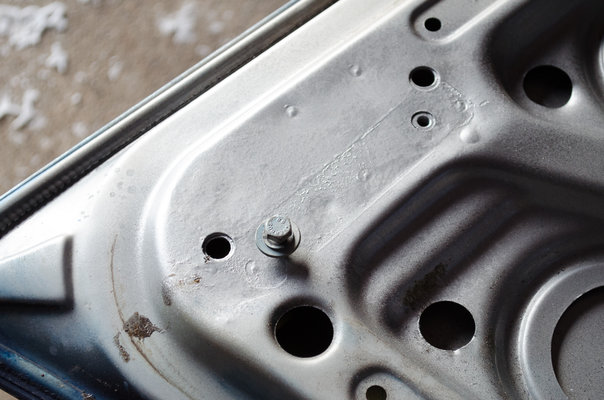
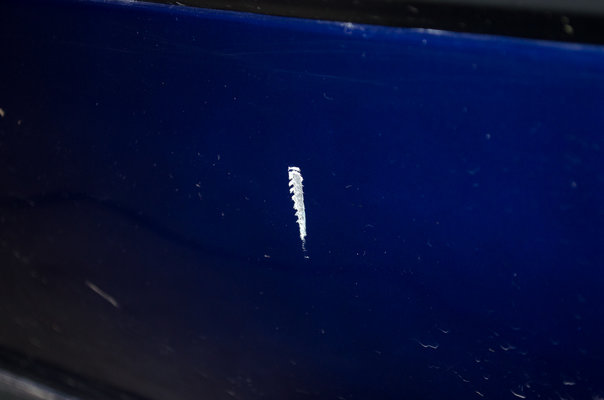
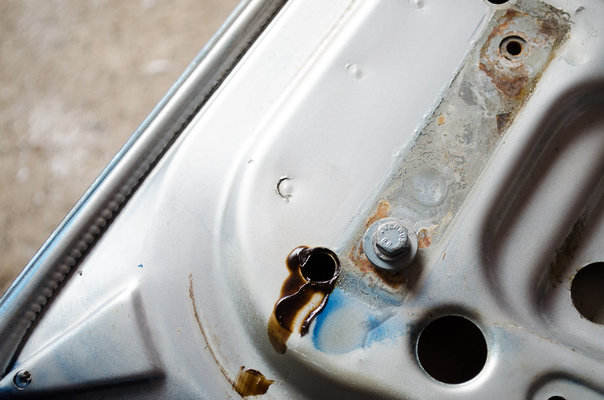
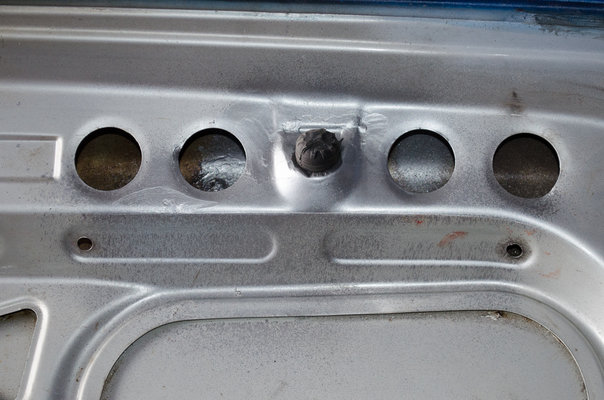
Thanks slim_boy_fat! Been quite happy how exhaust note turned out especially while opening throttle. What I have this time consist of fixing mess up, quick fix to the boot lid and the bad luck. Starting from mess up. Well got bad feeling that I had installed differential output seals too deep and blocking oiling hole. Had to go and check, sure enough too deep it was: Backed out to better position: BTW found a half tea spoon worth of metal shavings from indentations of the center carrier where output stub goes in. What got smoother I couldn't tell but my guess goes to the output shaft or the bore for it and blocked oil hole wasn't helping the situation. Everyone can place their bids for diff puking it's gears or taking it like a champion. Then the boot lid repairs. Metal around stopper rubber had been fatigue cracked: Once rubber was removed: One spot weld looked suspicious to me: So I stop drilled ends of those cracks and the spot weld I drilled it out with spot weld drill and welded everything up. After grinding away metal feces of some rare animal: After quick paint job: Bad luck saved for last. I don't know how but was jacking car up and then it started to lean into the jack and oh well see it yourself: Rear 1/4 took some good old scratch. Better start planning a repair paint job....
cool vid...sounds good....but, ah...not so good in the snow, eh?....( I know, thats not what its intended for either!)....great fun.... JP
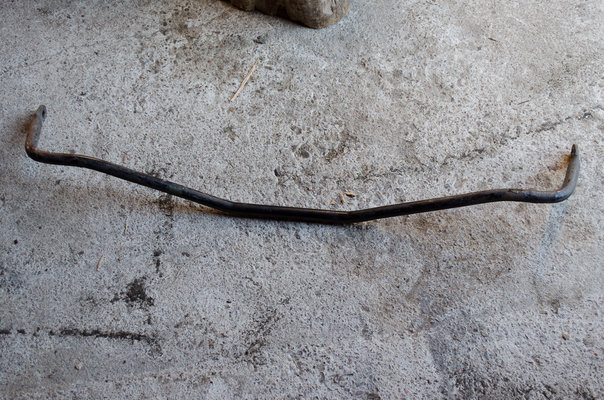
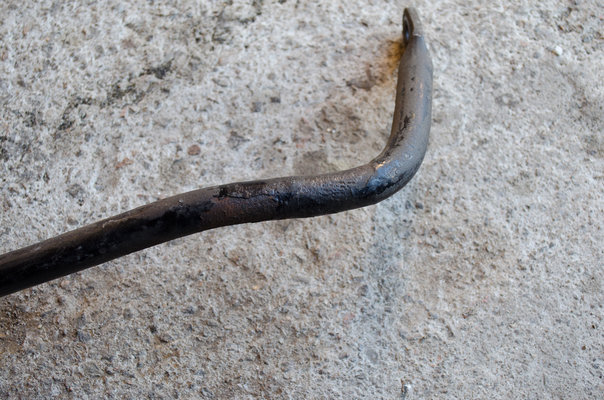
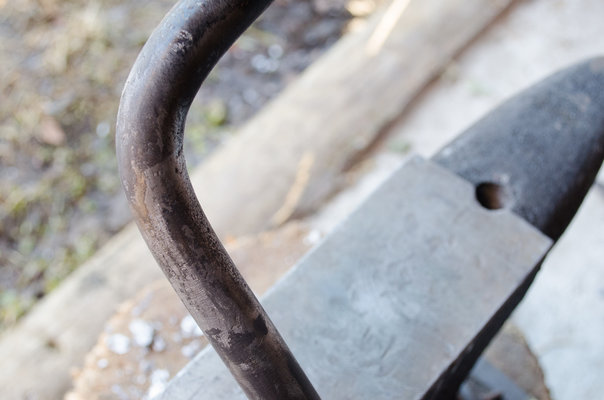
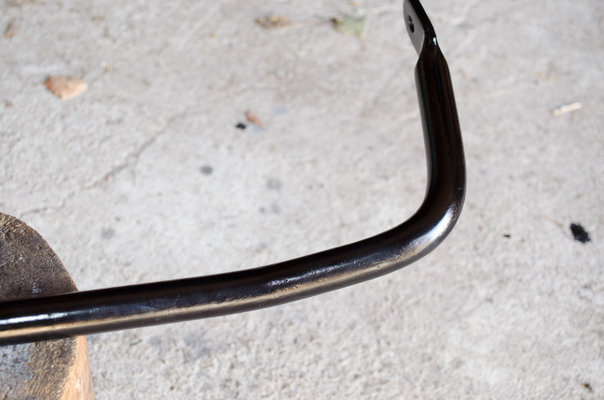
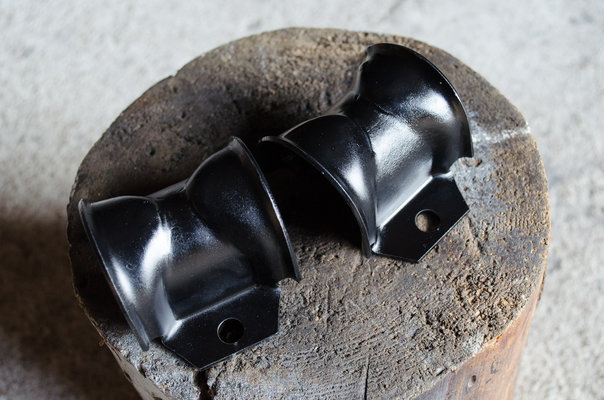
Thank you Mark. Thanks JP! Not good for snow driving but couldn't resist trying it out. Thankfully weather has been warming and soon the car will to be on road again. Got little bit of work done to the car. Been somewhat paranoid about front anti-roll bar again or maybe it's a pet peeve or something for me. I think it's still sticky in it's bushings due to corrosion of the bar. I have been considering different options to smoothing out the pitted metal and finally went with lead loading and it seemed to work quite well for this but now to the pictures... Anti roll bar removed: Pitted area where the bushing is located: After wire wheeling, lead filling and sanding: After primer and black paint it's looking like this and should allow free movement inside mounting bush: Then the bushing brackets: Insides were corroded: Got a new tool while ago. Sandblasting gun and with aluminum oxide it worked better than I had expected even with my small 50 liter compressor, of course compressor doesn't have a easy days with me. Bracket after sandblasting: After painting: Still kept the original rubber bushings for now but they will need to be replaced in the future with new rubber bushings or maybe with poly. Thanks for interest and cheers till next time!
Yeah, Im wondering, after post winter inspection of suspension bits, if I need new sway bar bushings....I may do it anyway!...youve inspired me. lookin good....(I did the same thing on my e-36 trailer......smoothed out the sway bar....mounts painted!....all satin black) JP