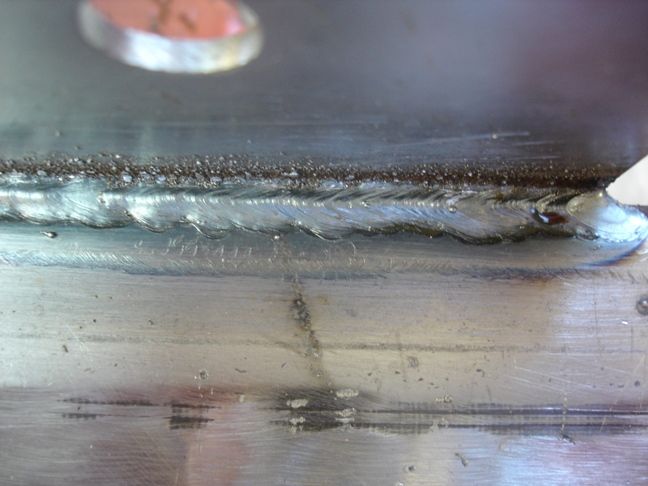
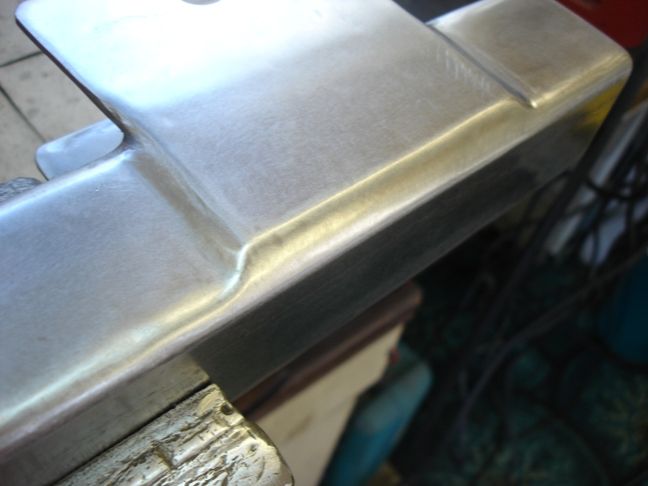
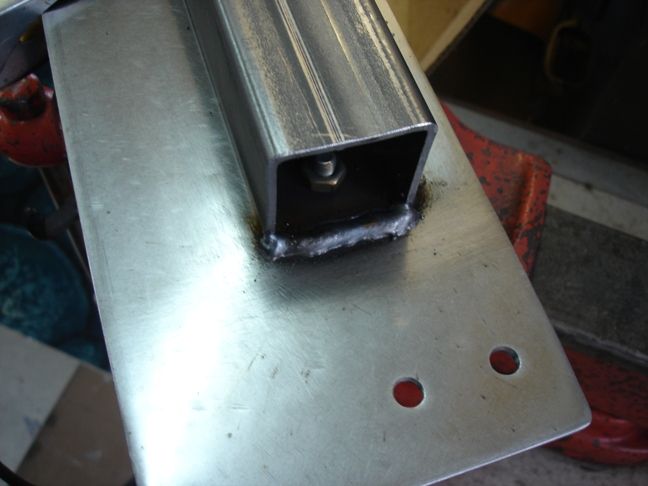
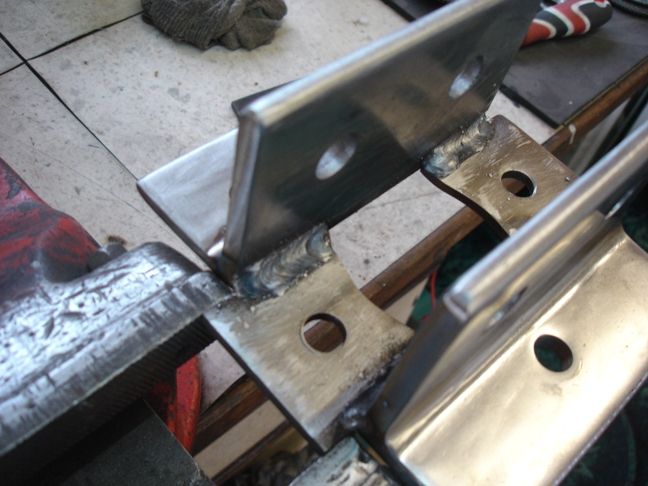
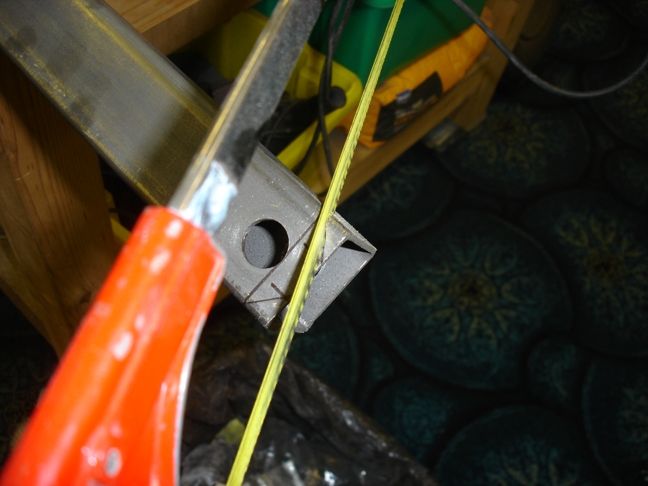
Well I put some .08 wire in the Mig and wacked it up to full and I have to say it was just awesome, If I had rialised it would be as good as this with thick metal I wouldn't have bothered with the Arc welder yesterday. This is the inside weld, worst one to get at
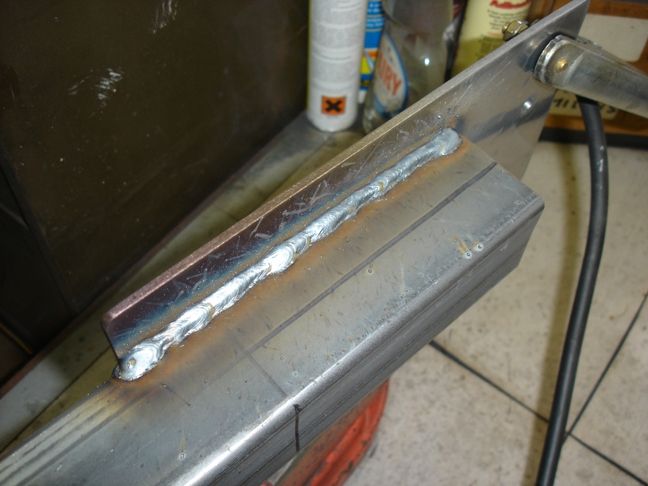
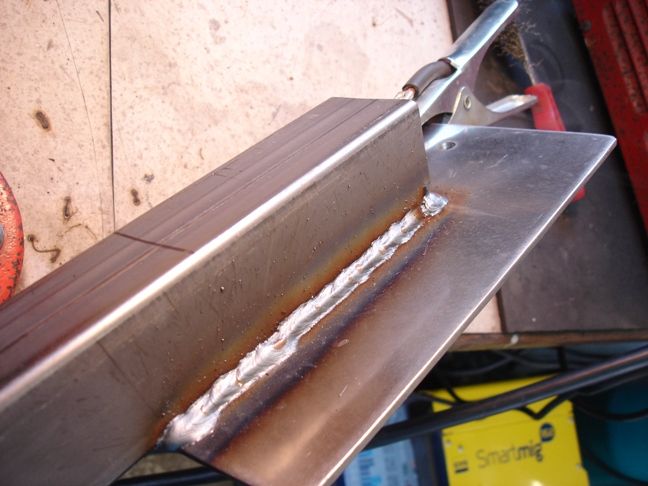
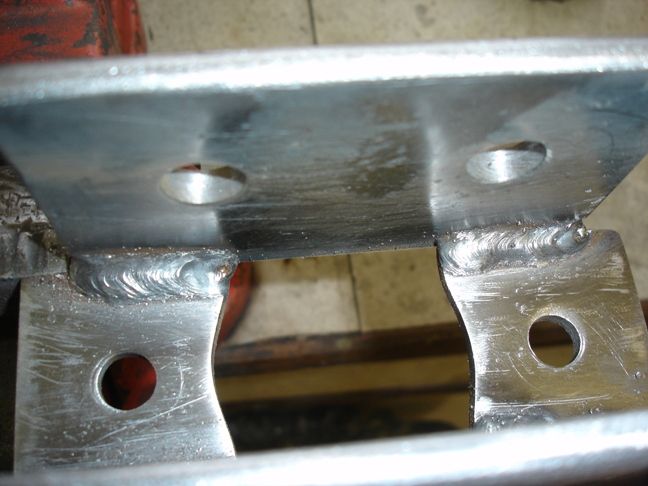
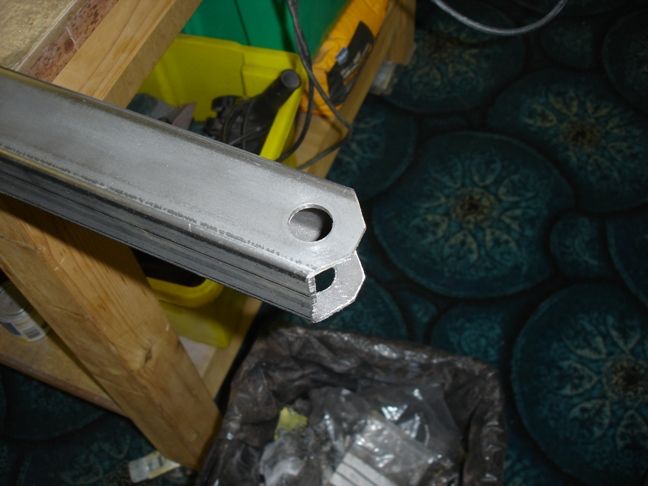
Once again I laid it on thick so I could do the bevel So here is the other side welded today with the mig and dressed ready for paint.
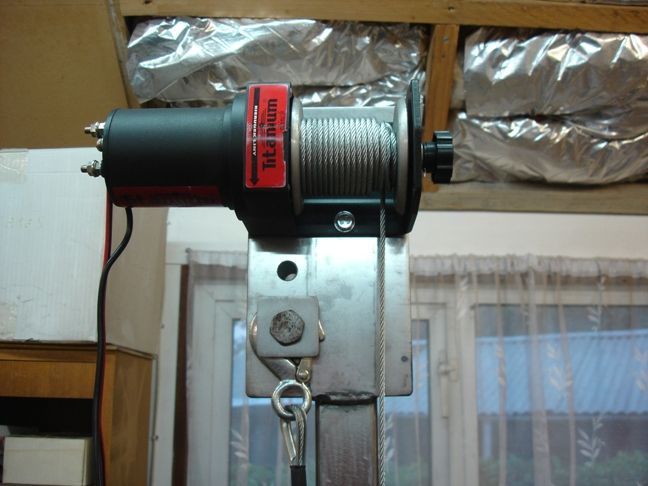
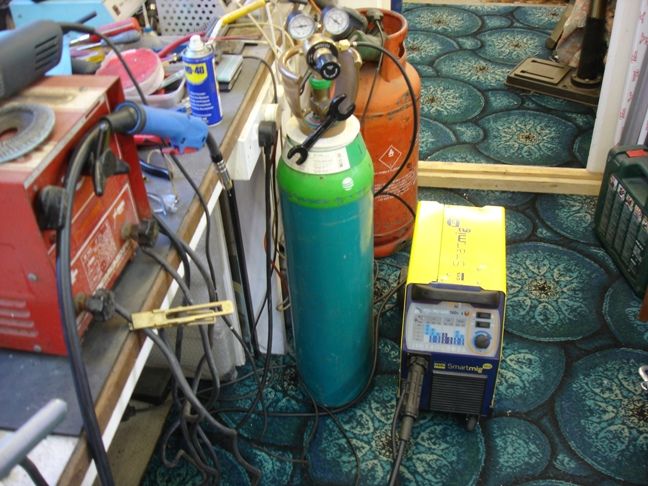
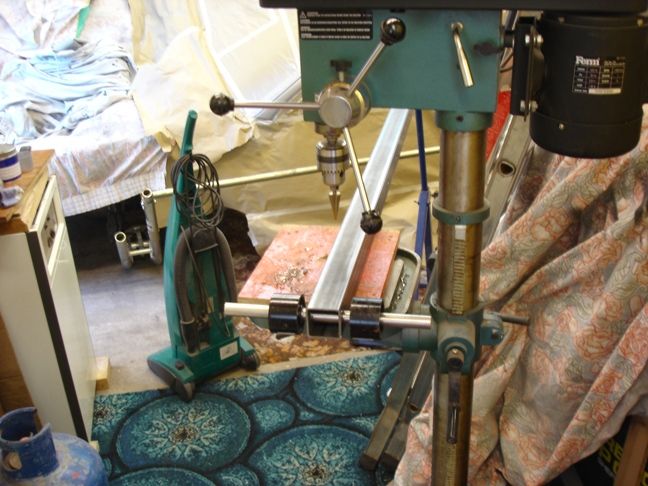
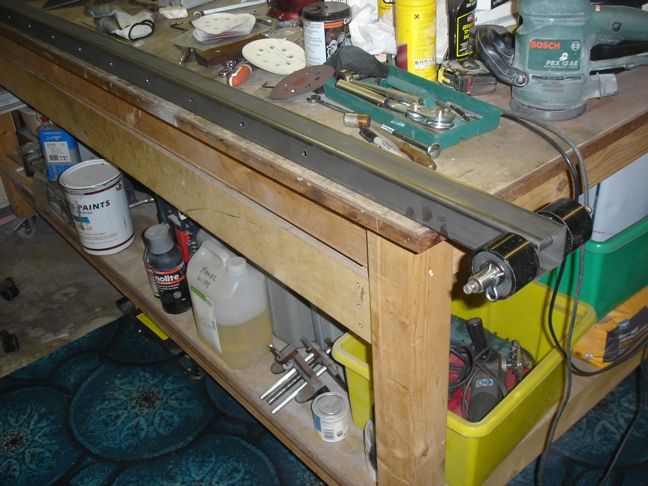
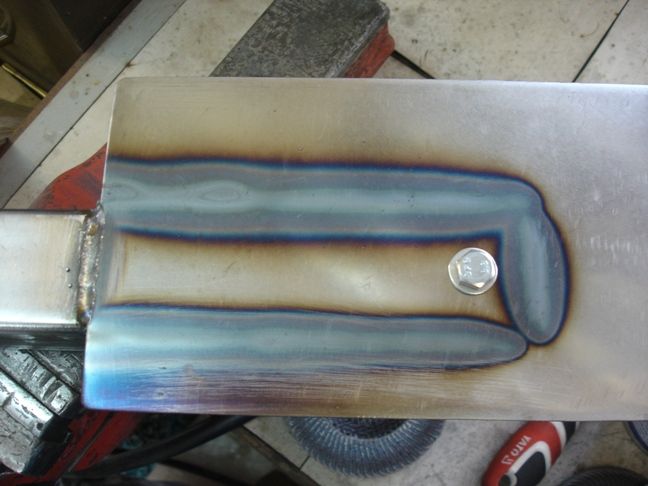
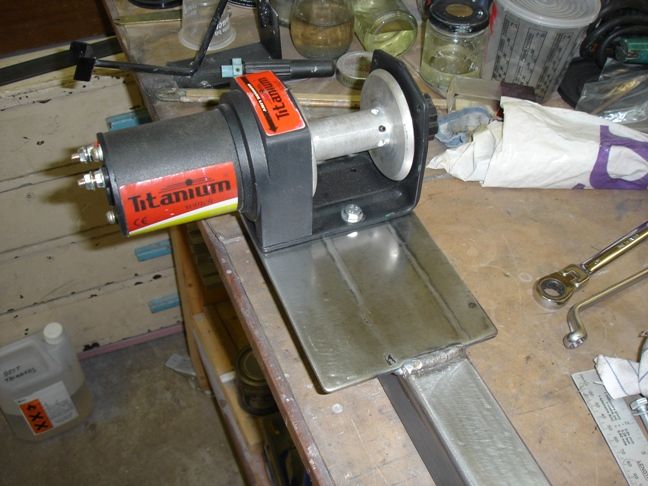
This was the Mig that I used, you can just see the old Arc welder still on the bench
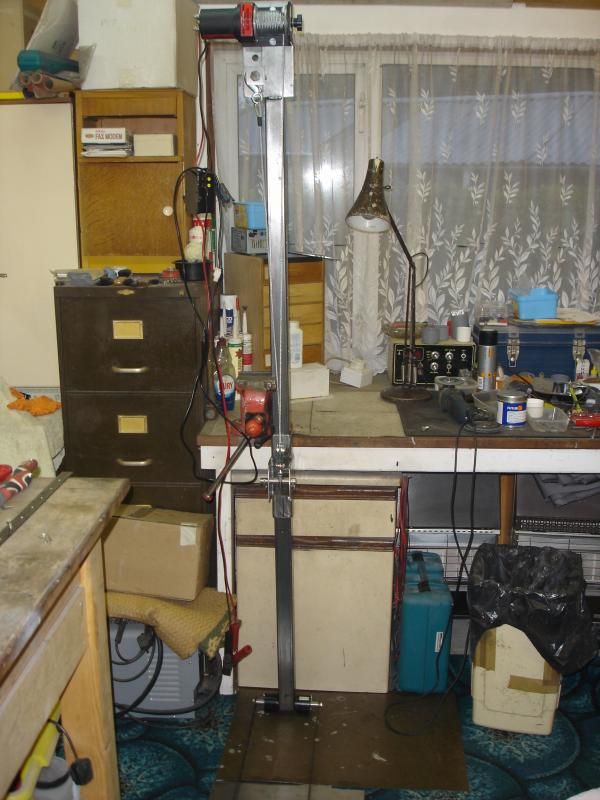
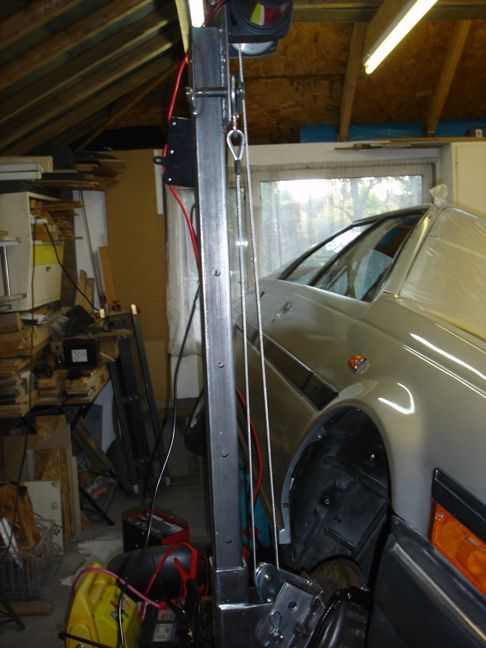
Anyway, so here it is slid onto the 2 mtr post
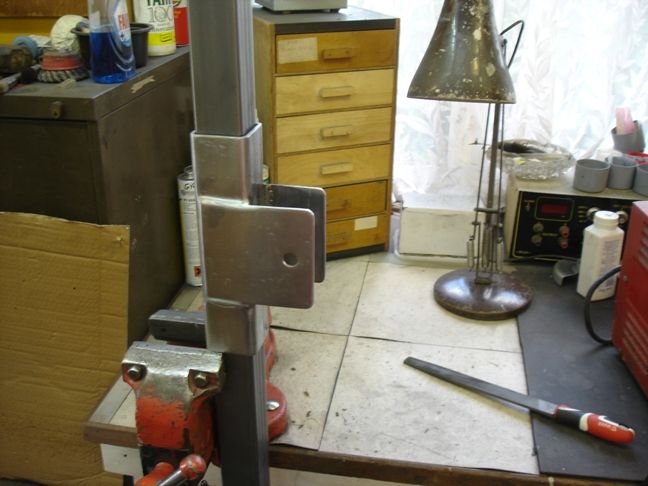
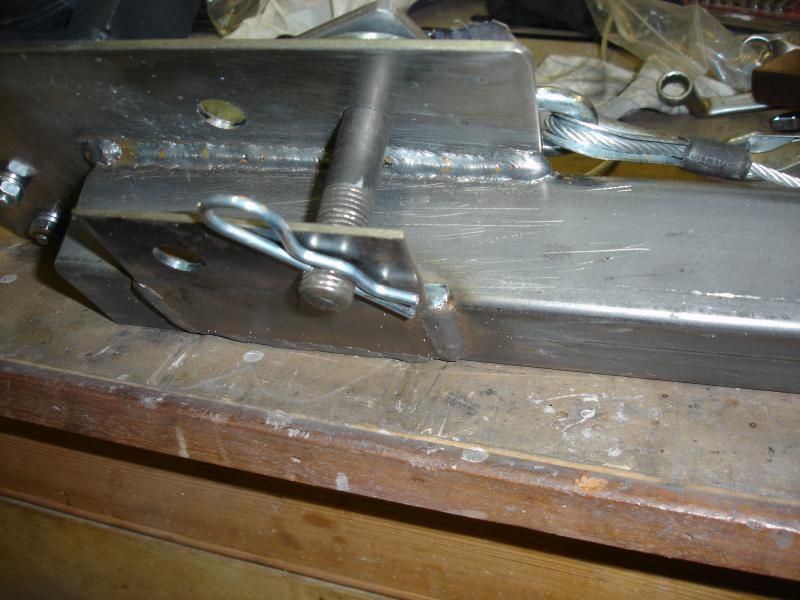
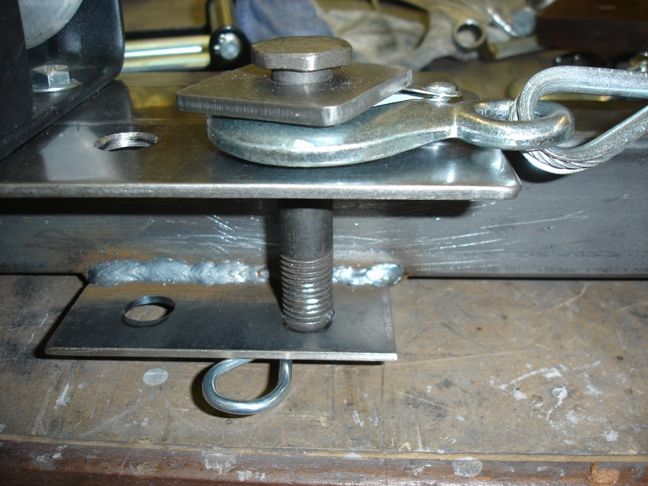
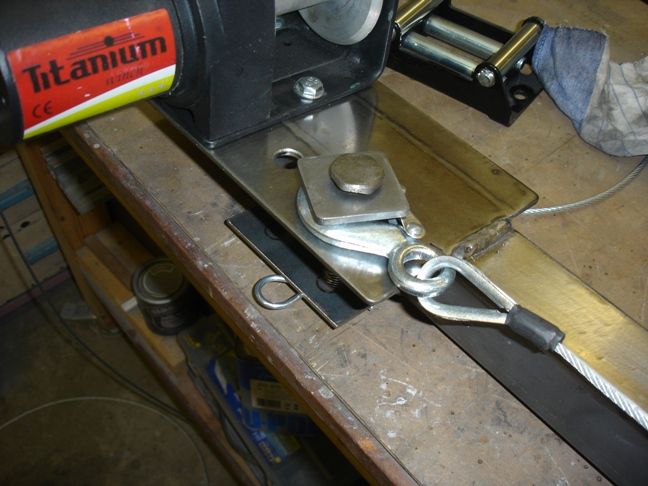
And here it is with the pin and pulley

So now to work on the post and drilling the holes for the safety pins.
Also drilled the holes for the axle
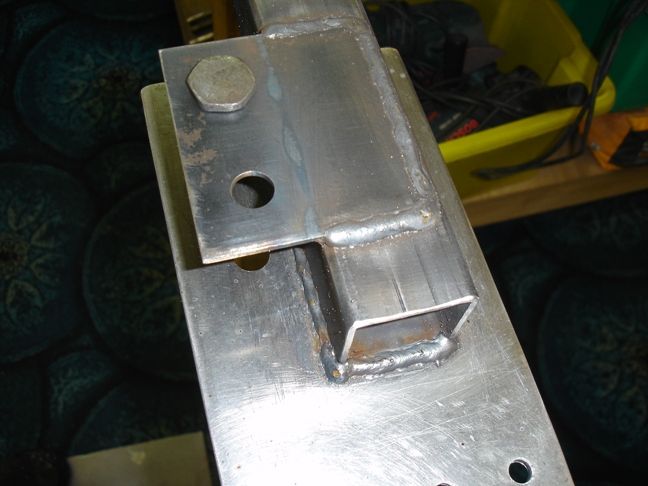
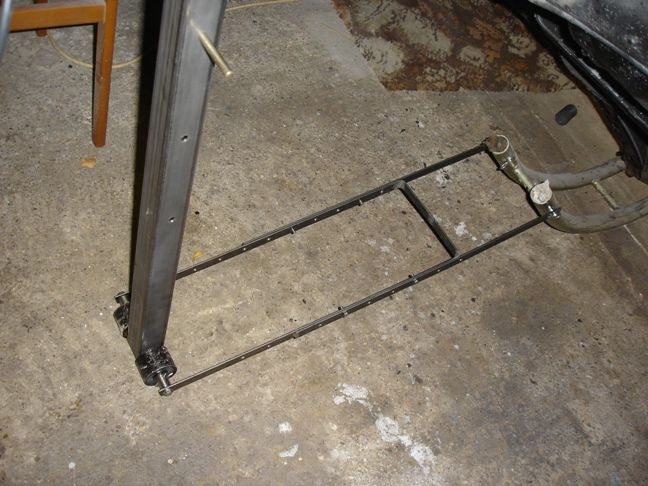
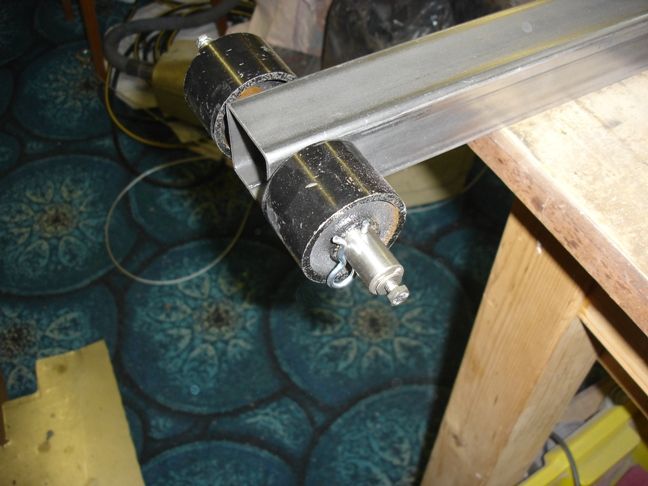
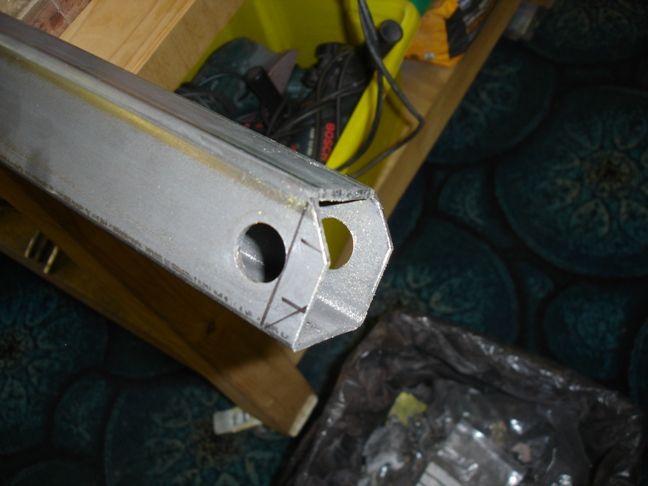
Doing that I thought I might as well get on and finish the Axle, so I cut it to length and drilled and taped holes on the ends for the frames that connect it to the roller at the bottom, and the pins to hold the wheels on.
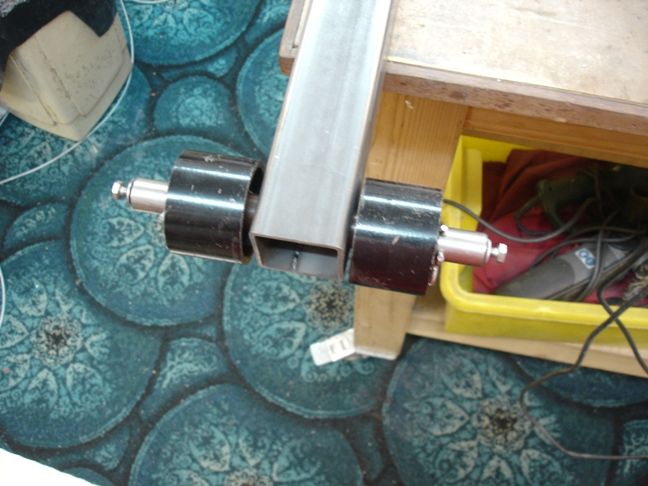
You will notice that I have only allowed a small clearance under it, the idea being that if the axle bent it hadn't far to go before the floor took the load.
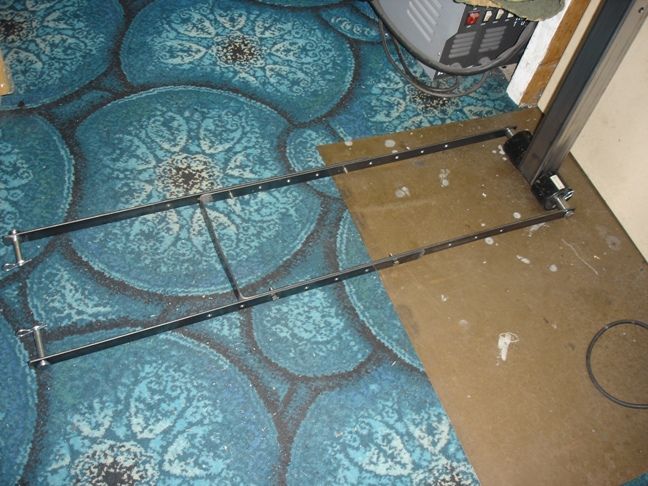
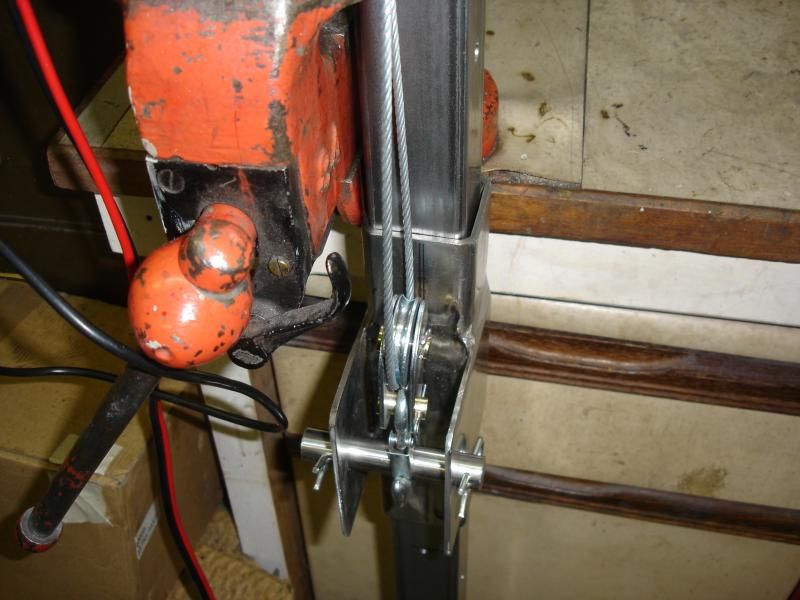
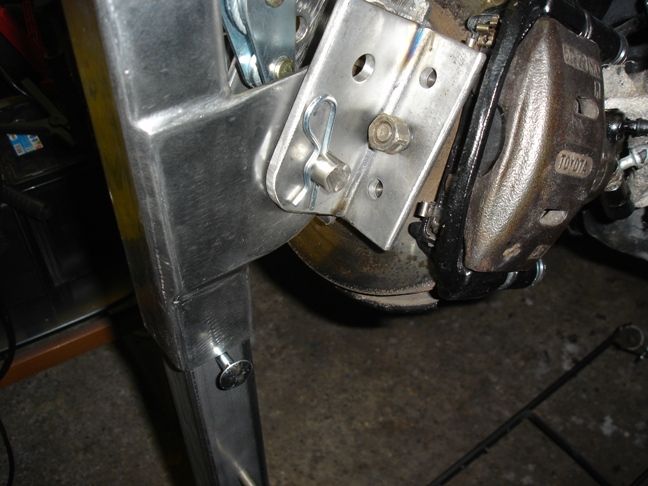
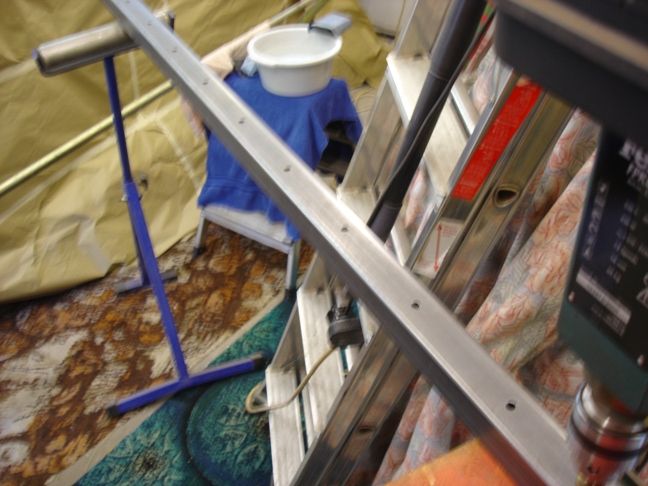
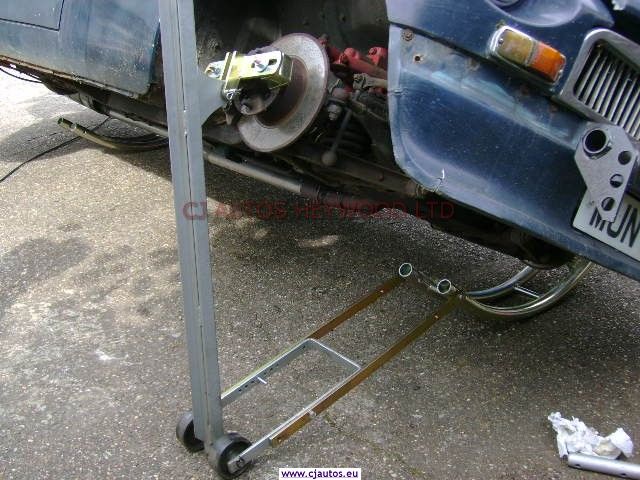
It only moves back an forth about a foot or so during operation, connecting the axle to the top of the roller, near the floor conveniently keeps the post vertical as the car describes an arc while it is raised, because as the car goes up, the movement of the roller at the bottom pulls the wheels towards the roller, so as the top of it moves to the right as the car lifts so the bottom moves to the right on the wheels, from a viewpoint standing looking at the windscreen of course.
Did that make sense? You can visualise the action looking at this picture and you can see now why I drilled and tapped the ends of the axle. I drilled a hole shorter than the bolts so when the flat steel is fitted the bolts can be tightened but the flat stock stays free as it needs to move.
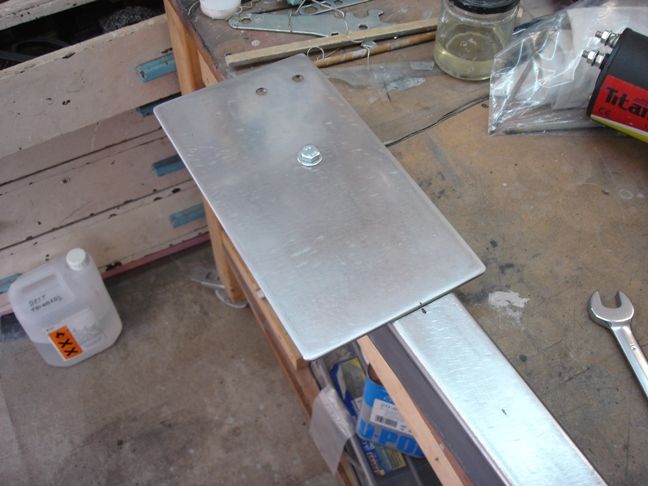
Ok so that was the end of today, Tomorrow I will clean up and connect the plate that the Winch mounts on and wels up the Hub Bracket for connecting it all to the car, If I get time I will start on these bottom frames.
Once again I laid it on thick so I could do the bevel So here is the other side welded today with the mig and dressed ready for paint.
This was the Mig that I used, you can just see the old Arc welder still on the bench
Anyway, so here it is slid onto the 2 mtr post
And here it is with the pin and pulley
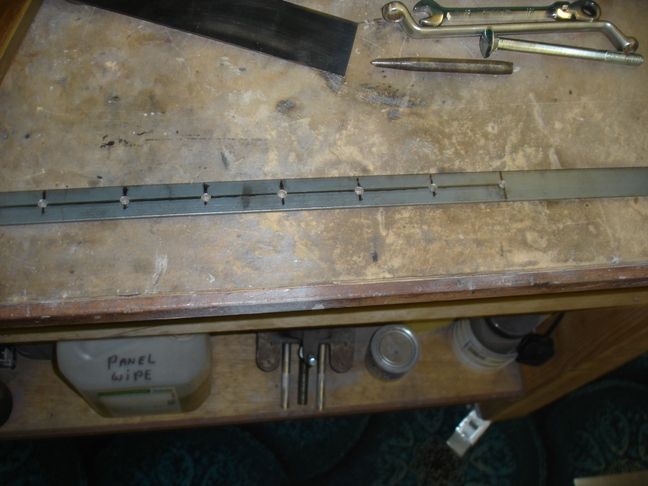
So now to work on the post and drilling the holes for the safety pins.
Also drilled the holes for the axle
Doing that I thought I might as well get on and finish the Axle, so I cut it to length and drilled and taped holes on the ends for the frames that connect it to the roller at the bottom, and the pins to hold the wheels on.
You will notice that I have only allowed a small clearance under it, the idea being that if the axle bent it hadn't far to go before the floor took the load.
It only moves back an forth about a foot or so during operation, connecting the axle to the top of the roller, near the floor conveniently keeps the post vertical as the car describes an arc while it is raised, because as the car goes up, the movement of the roller at the bottom pulls the wheels towards the roller, so as the top of it moves to the right as the car lifts so the bottom moves to the right on the wheels, from a viewpoint standing looking at the windscreen of course.
Did that make sense? You can visualise the action looking at this picture and you can see now why I drilled and tapped the ends of the axle. I drilled a hole shorter than the bolts so when the flat steel is fitted the bolts can be tightened but the flat stock stays free as it needs to move.
Ok so that was the end of today, Tomorrow I will clean up and connect the plate that the Winch mounts on and wels up the Hub Bracket for connecting it all to the car, If I get time I will start on these bottom frames.
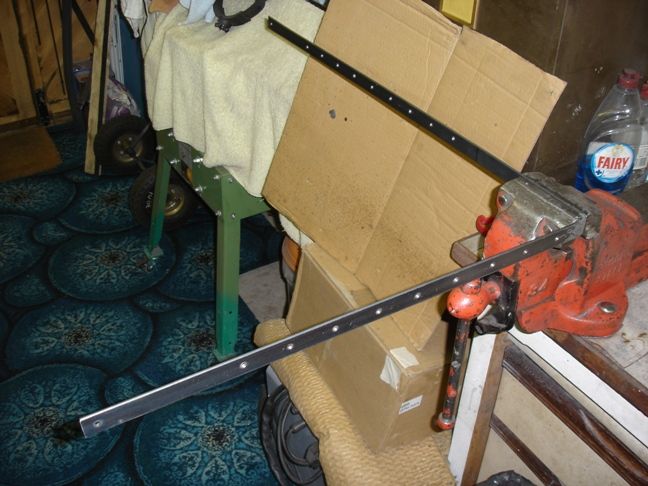
 Yes that bottle is too big for the mounts on that machine, and normally it is chained to a sack truck, but I used the sack truck to take a small compressor out front to put air in the wife's car tyres and haven't got round to putting it back. I know, I know, I will.


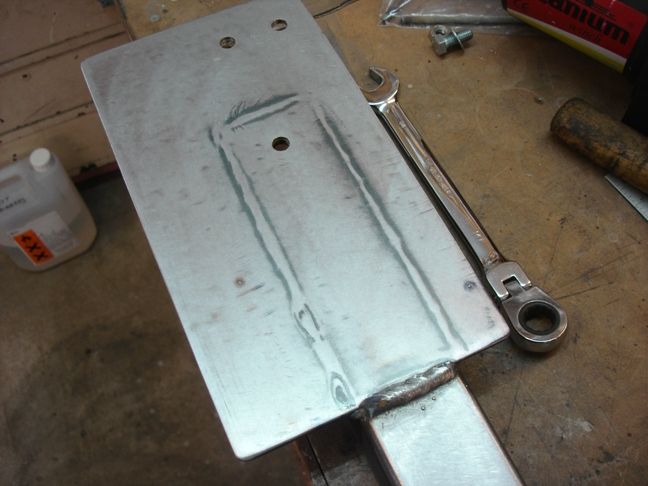
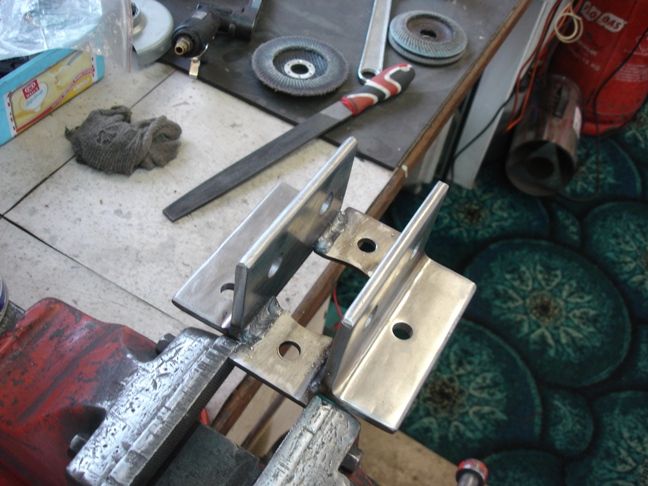
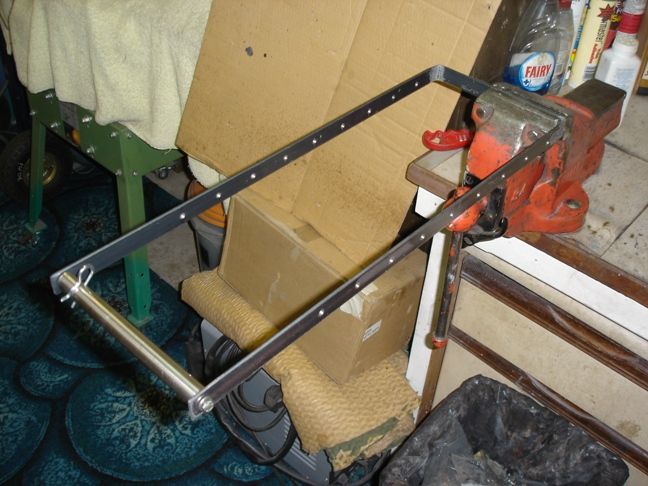
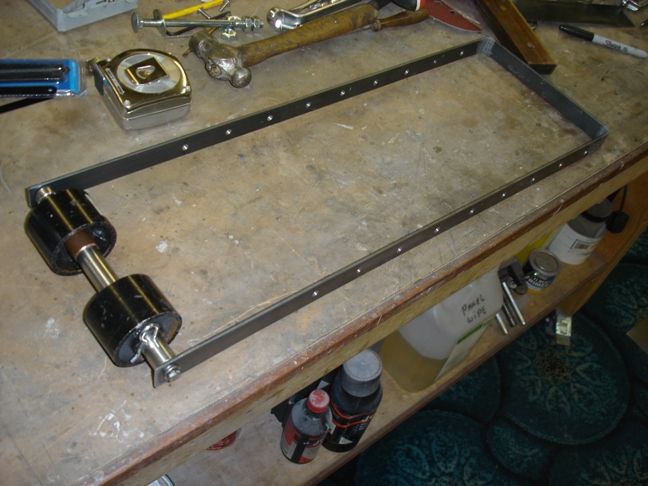
 So got a late start. I made the other two parts to the lower frame, so that's finished