lester jeffery
New Member
- Messages
- 7
- Location
- upchurch England
Hi Bob, are you replying to my question regarding motor setup? If so thank you.Will do.
Bob
Kind regards.
Lester
Hi Bob, are you replying to my question regarding motor setup? If so thank you.Will do.
Bob
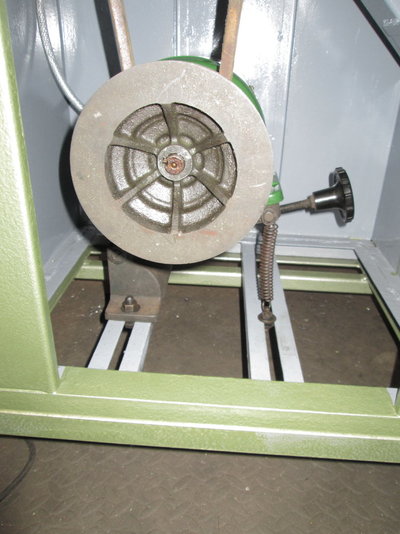
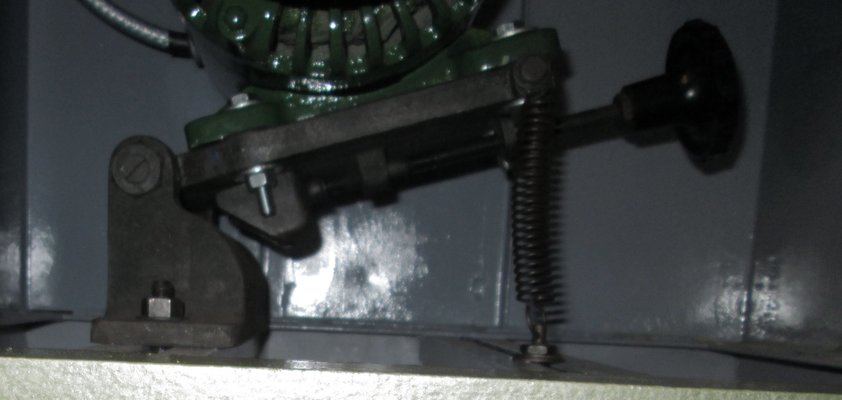
What you'd think is the tension adjuster in fact *lifts the motor up.
Hi Bob, you're an absolute diamond, that makes a lot of sense now! It appears I'm missing the sliding angled bit of cast iron which the adjustment screw pushes onto. I'll have to make a replacement of some sorts. As you will see on the pics of the inside of the motor cupboard, the spring/bolt to the frame attachment, is configured at the back of the cabinet but the spring was at the front of the cabinet, waving around just being attached to the guide rail with a wooden toggle that had stuck to the underside of the rail! I assume, the other end of the spring was attached to a motor securing bolt. I think someone must have converted it from 3 phase to 240v because it's not the original motor.This is how the motor is set up on mine.
I find it really very odd. What you'd think is the tension adjuster in fact *lifts the motor up*.
The belt is tensioned only by the weight of the motor itself and a weedy little spring that's probably there only as a damper.
I've looked at it and thought this can't be right, but it's the arrangement that was in place when I bought it. Make of it what you will.
So far I haven't run it in anger, it's still in the final stages of being put back together, so I can't say how it behaves under load.
View attachment 409648 View attachment 409649
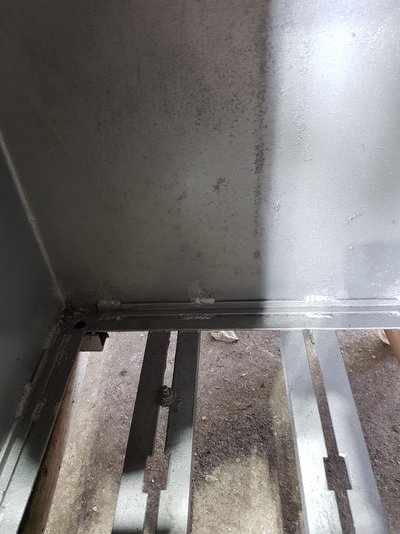
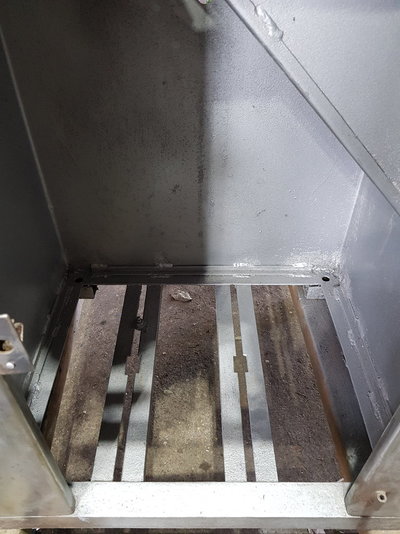
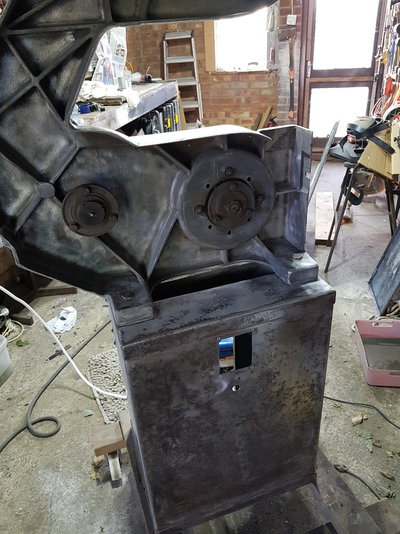
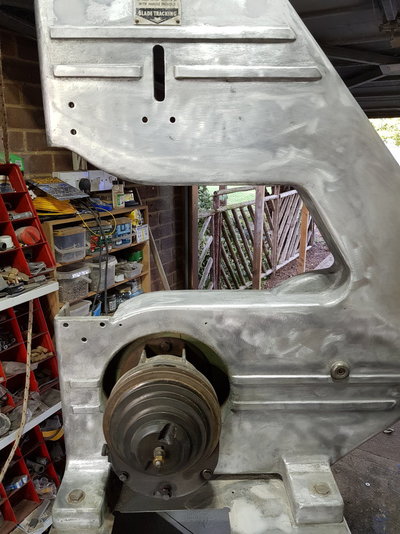
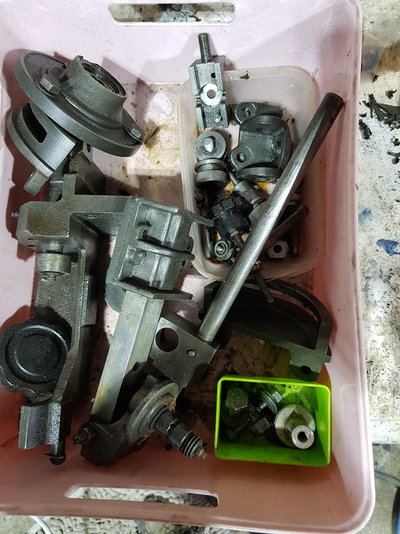
Thanks for that, the motor is indeed a heavy bit of kit. I'm in the process of making the wedge shaped bit out of a bit of angle iron and more practice for my very amature welding, lolHence releasing tension on the belt when you want to change the pulley on which it runs. I am not sure how much space is in the cabinet, but imagine trying to hold the motor up with one hand and move the belt with the other. It might be difficult.
The way it is set up also acts as a bit of an overload mechanism. If the pull on the belt is more than gravity can provide, the motor will rise up, the tension will reduce and the belt will slip.
...the motor is indeed a heavy bit of kit...
Hi, I don't know if I can post videos on this forum but I shall try. Got to respray and refit the bandsaw and should be fired up in a couple of weeks!It would be educational to watch it when you first switch it on. I guess the motor would try to climb the belt and stretch the spring before it overcomes the inertia of the wheels and blade.
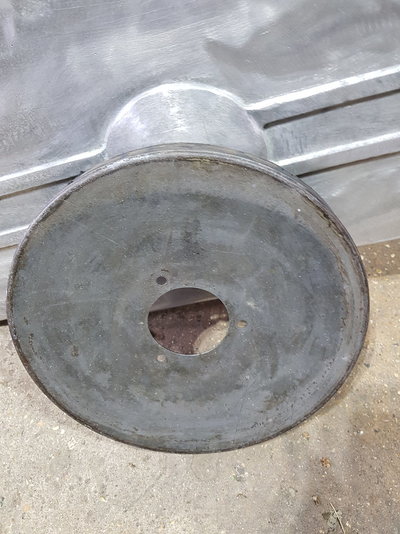
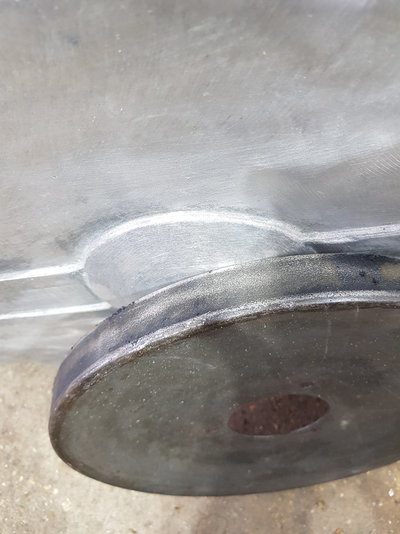
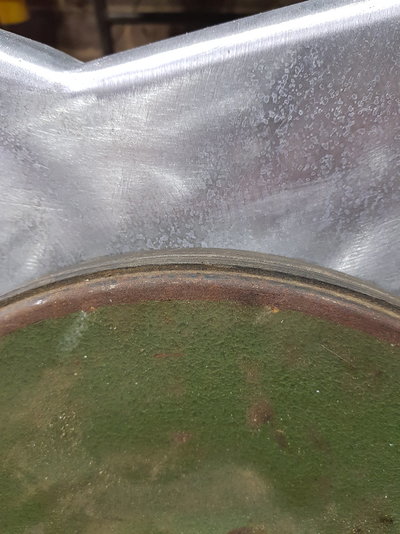
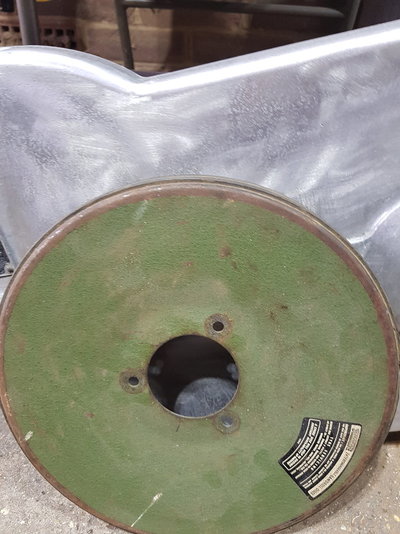
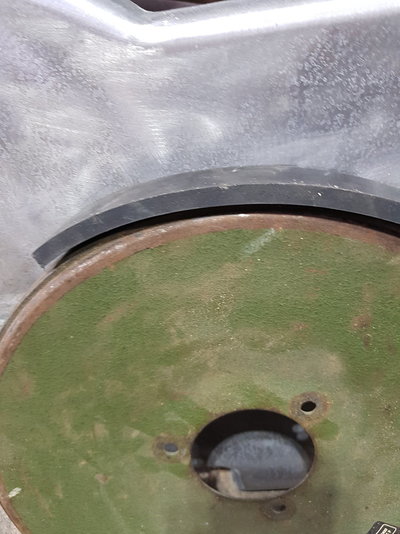
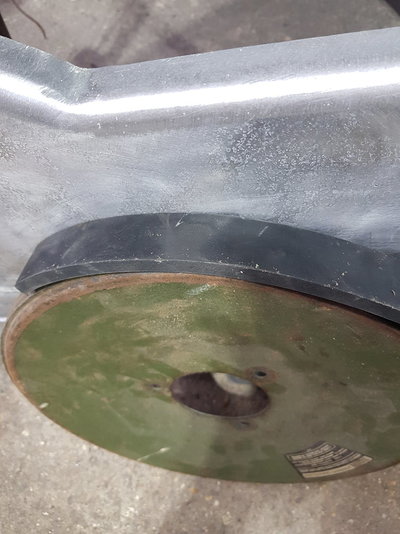
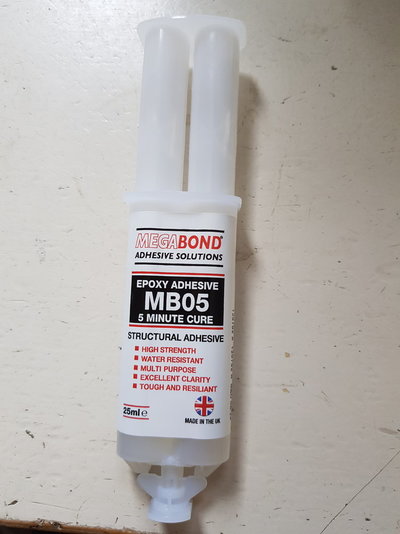
Hi Andrew, not fitted them yet but I've cut one of the tyres off with a stanley knife as close as I can to the metal wheel and used some coarse emery paper and a drill with a wire brush attachment, to get it to bare metal. I will will de-rust and spray the wheels before fitting the tyres. I've been advised to use a two part adhesive, epoxy resin to stick the tyres on by the bloke at, ALT SAWS AND SPARES LTD. Who supplied the tyres at the Princely sum of £40 per tyre! You can see how much thicker the tyre is than the old one in the pics. You can probably get them cheaper on Amazon in hindsight, although you can't seem to get the correct size (they come as a complete ring) you can buy a bigger size and just cut it and adjust to suit the wheel. Hope this helps.It's Andrew rather than Bob........
Could I ask how you got on with the bandwheel tyres ? Mine are a bit (oh dear) tired and I've been wondering what the best solution might be
