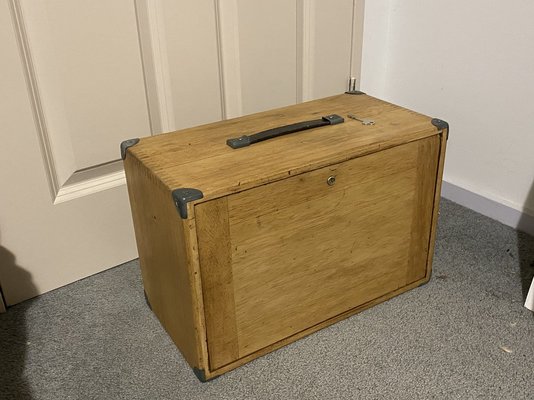
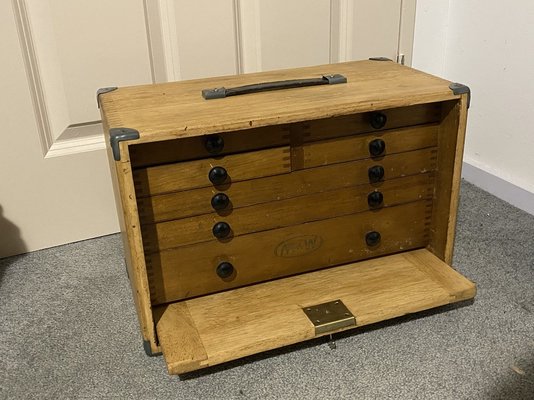
I want to see it when the sun has been on it! I reckon it'll be a lot more interestingly curvierLooks like a great place to work, when the suns out anyhow!

I want to see it when the sun has been on it! I reckon it'll be a lot more interestingly curvierLooks like a great place to work, when the suns out anyhow!

Lumpers they are,I’d have used pre- heat with that thickness.Welded up some chain link for end weights. Normally there is only 1 16mm bar on them but the ropes can get trapped in the rough cut so it was decided that three bars would stop the swivel rotating round and hopefully prevent that happening.
View attachment 310884
The young skipper decided he would like a go, he doesn't lack confidence
Made a good enough job for a first ever go at welding.
No need, only 16mm dia and easily whacked down to weld. The young lad in the vid is only 17 and a Fisherman so ...Lumpers they are,I’d have used pre- heat with that thickness.


Those links look 60+.No need, only 16mm dia and easily whacked down to weld. The young lad in the vid is only 17 and a Fisherman so ...
I wasn't bending the links, just welding 16mm black bar across the gaps to hold the spinners (white plastic bits), they are old anchor chain that gets chopped up to separate hence the ugly hacks in the centre. They are about 80mm dia.Those links look 60+.
Never had any issues with them so hopefully that will continue, they are not getting bent down much, probably less than 5mm mostly. Also there is a wee spot of weld done first which holds them in place and thus heats them a wee bit before the hammer comes out.I’ve experienced cold cracking once there in service ,on thick(25 mm plus),steel.

I like that as a solution to long offcuts (place thumbs up here..)My scrap metal pile consisted of a metal dustbin in the corner with everything thrown in it.
Very difficult to see what was there, so I dragged my old welding trolley thing back in from the garden and set to.
View attachment 311127
View attachment 311128
View attachment 311129
View attachment 311130
View attachment 311131
Nice you could upload it to thingiverse which requires free registration. If you wanted to share it to a wider audience and post a link on here....After faffing about for ages I finally managed to 3D print a reversing lever for my Verdict dial gauge. I was up to version eleven before I was satisfied. No idea how long it will last in PLA. I printed three spares.
I 'designed' at ten times magnification then reduced size in CURA to 10% of original. 100% infill. Takes all of five minutes to print.
I have no idea how to share an stl file.
View attachment 311312View attachment 311315
I have two broken Verdict dti but I don't have a 3d printer! I would gladly pay for a couple of them as the gauges are useless without the leverAfter faffing about for ages I finally managed to 3D print a reversing lever for my Verdict dial gauge. I was up to version eleven before I was satisfied. No idea how long it will last in PLA. I printed three spares.
I 'designed' at ten times magnification then reduced size in CURA to 10% of original. 100% infill. Takes all of five minutes to print.
I have no idea how to share an stl file.
View attachment 311312View attachment 311315


