Agroshield
Member
- Messages
- 6,246
Trying to work out exactly how its attached.
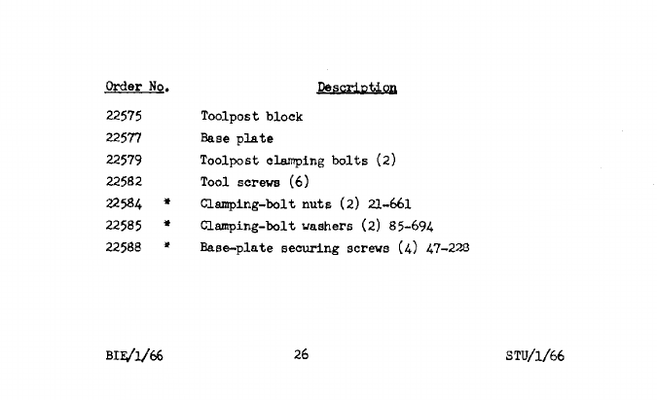
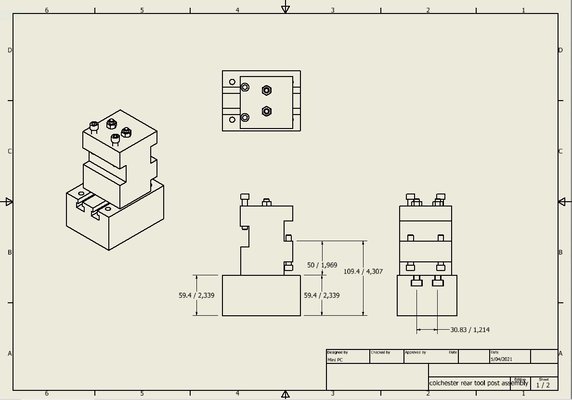
On that one, there are four capscrews. You can see the counterbores for two of them at the back - the other two are in the bottom of the T-slot (see the vertical line going down from the end of the capscrew in the diagram). Look up the quantity of part 22588 in the manual for confirmation.
The Chipmaster/Bantam one has six capscrews all on the top surface of the Tee-base. I have a dimensioned drawing of it somewhere I can send you if it would help. Clearly, the actual numbers are too small for a Student, but the proportions might help.
The best guide to how it bolts down will be the top of your cross-slide - what threaded holes are there from the factory.
The Tee-base is so you can set the distance between the cutting edge of the parting tool and the tool in the main toolpost. Turn down the diameter with the main tool up to a bed stop. Back out the cross-slide with the carriage still on the same stop and part off to a known length.
Notice how on the one you show it has two tool slots at different heights, one for right-way-up tooling (reverse spin) and the other for upside-down tooling (standard rotation).
Could I commend to you a Joe Pi video called 'production parting' - the little stop he makes that bolts to the toolpost is very cool. If you have a Dixon toolopst, you can mount it in the station facing the tailstock and on the Morse taper holder that has sat unused gathering dust for 20 years.


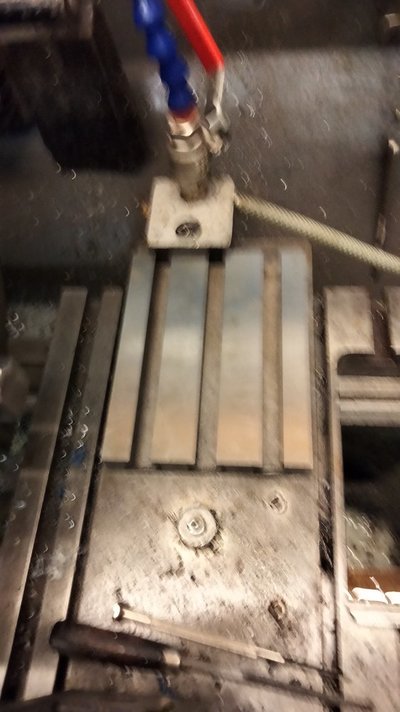
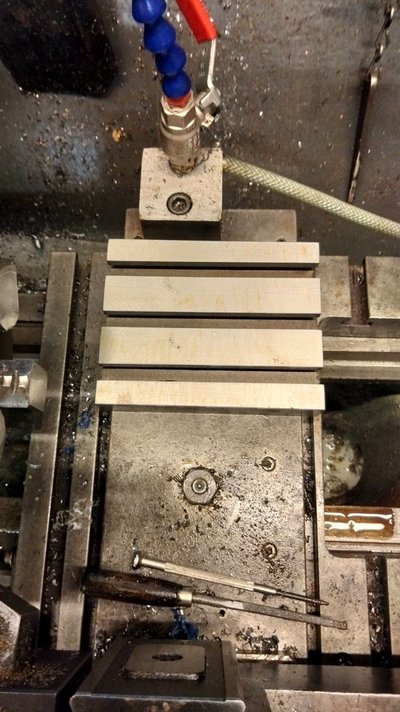
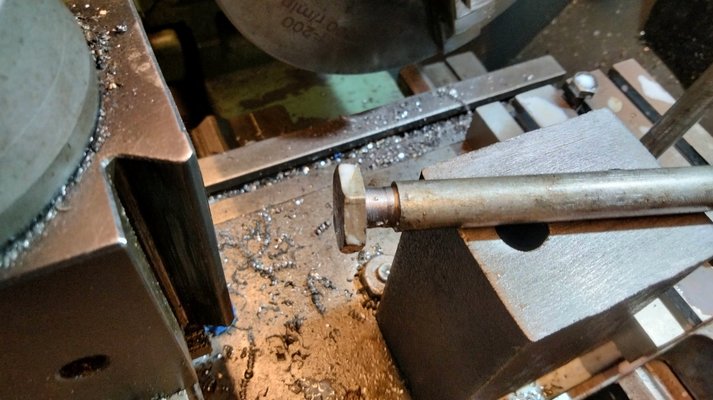
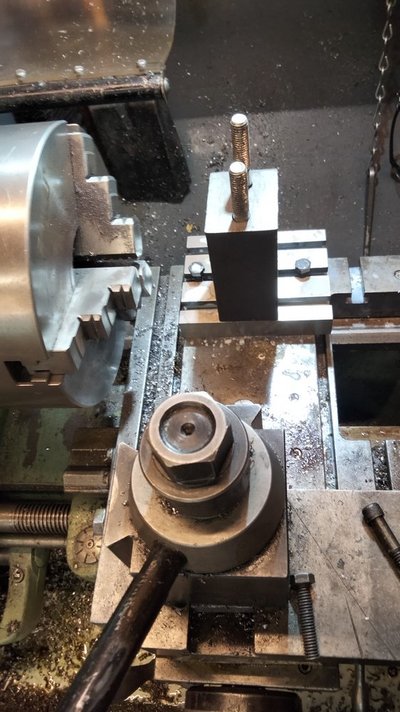
 Already see the necessity for a base.
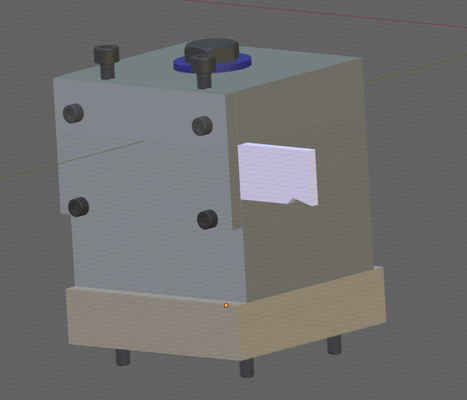
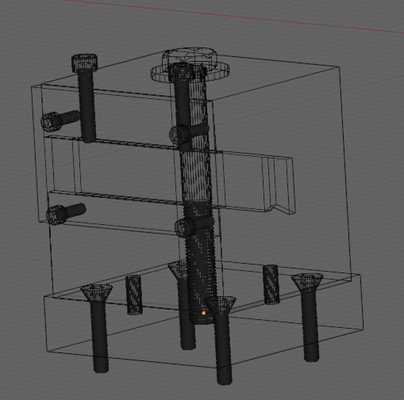

 Making some square stock adaptors.