


You are using an out of date browser. It may not display this or other websites correctly.
You should upgrade or use an alternative browser.
You should upgrade or use an alternative browser.
My 1967 VW splitty "little project"
- Thread starter dub warrior2
- Start date
dub warrior2
Member
- Messages
- 20
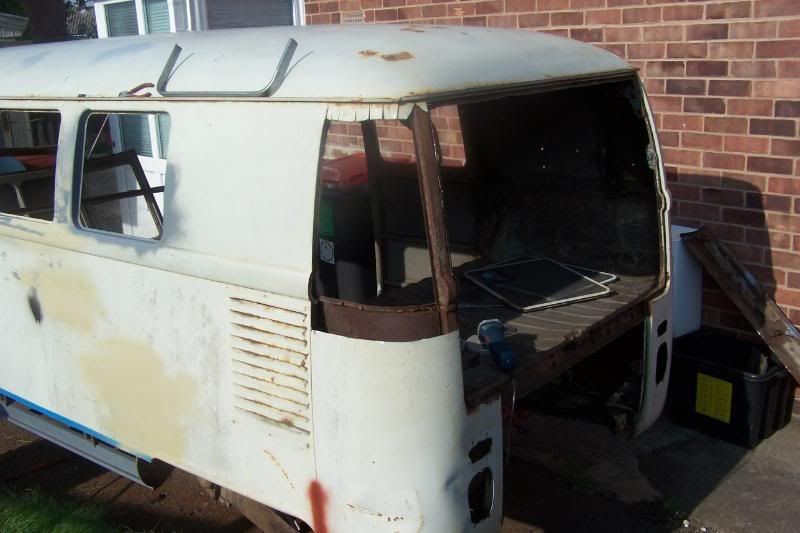
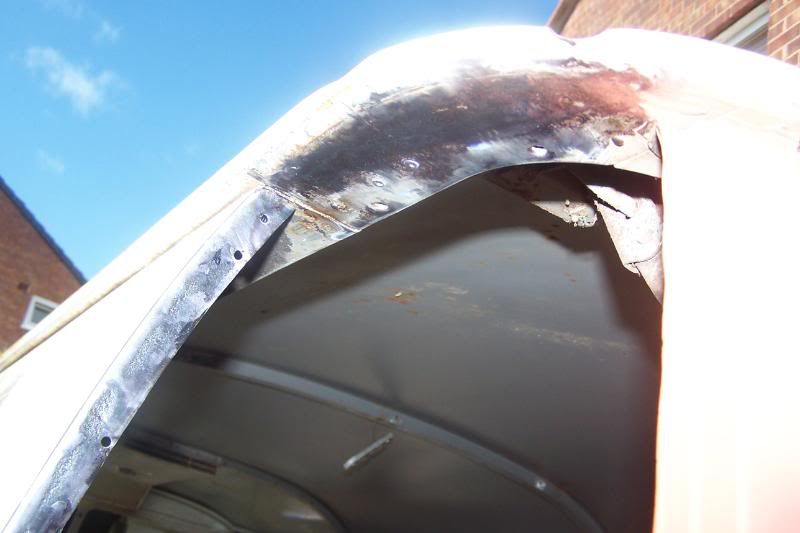
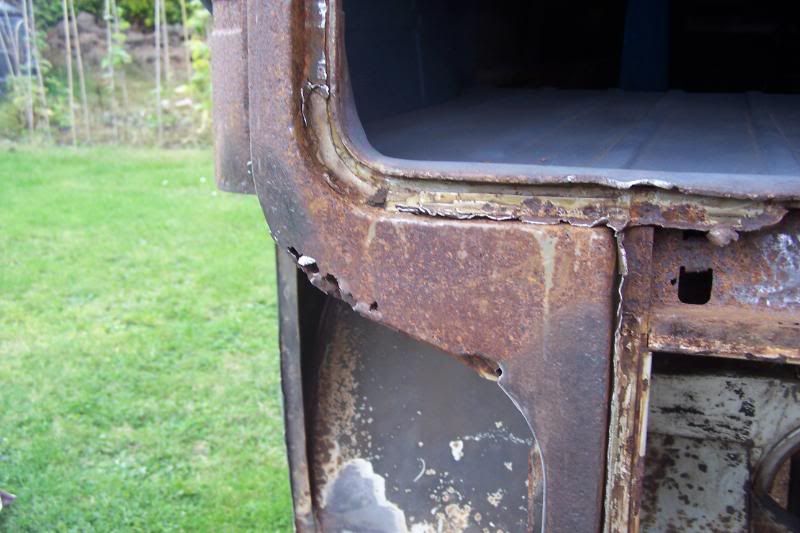
Today I finshed repairing the three window surrounds on the long side and decided to tackle the upper rear corner.
It was very heavily dented and, no matter how hard I hammered it, wouldnt come out. As I didnt want to use a full tub of filler on it, I managed to get a good replacemt from TYLER, some time ago and remove the inner skin.
Anyway, here are the first cuts -
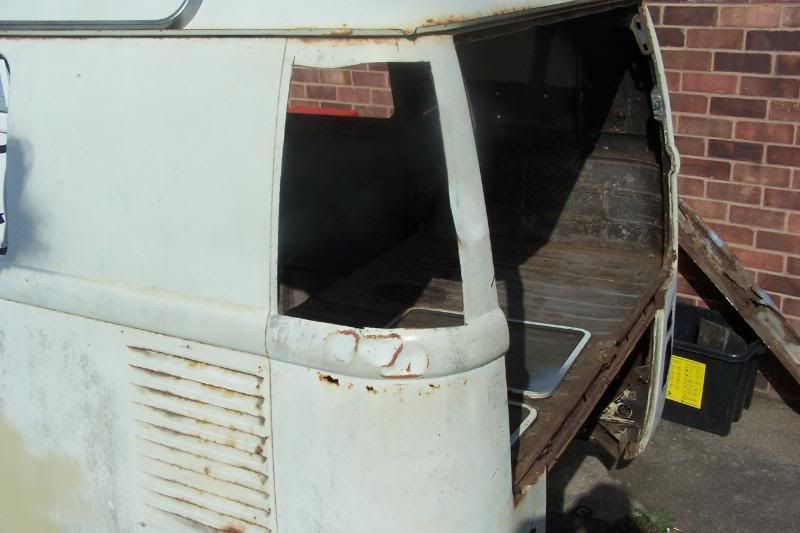
That was quite daunting, but its got to get worse before it gets better.
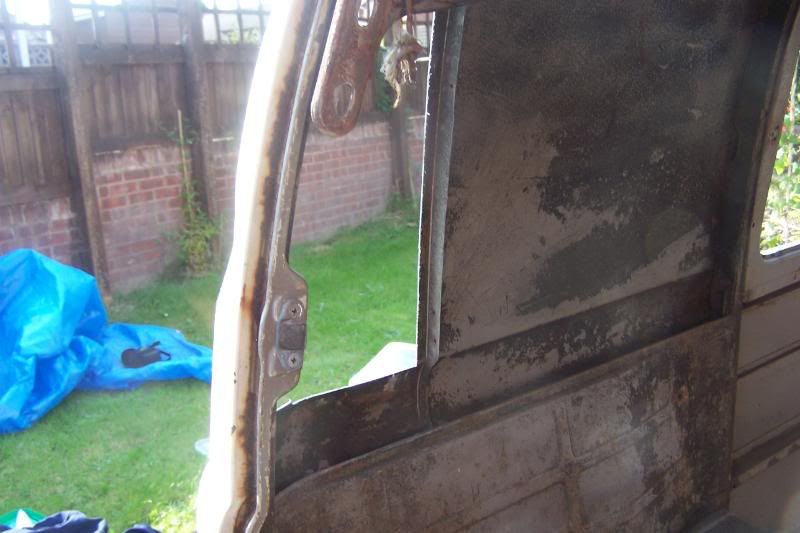
The inner skins have got a lot of surface rust on them but should clean up ok thankfully.
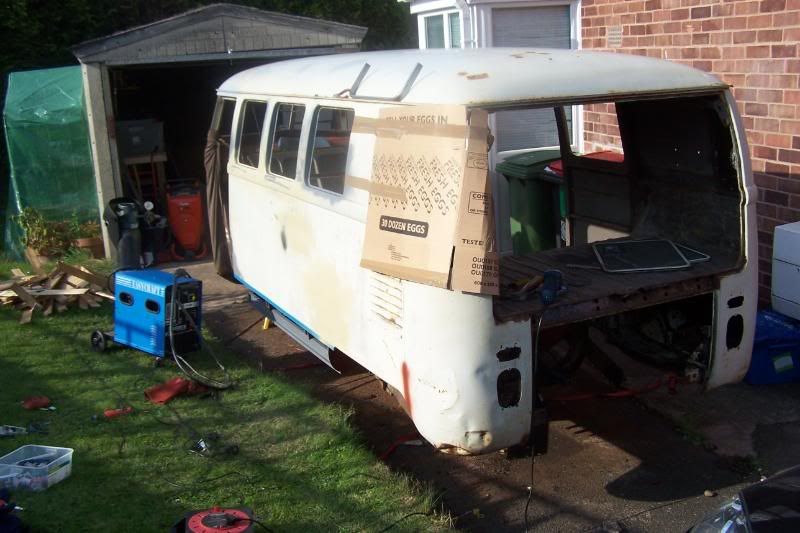
Had to stop then and pick the little'un up from school so had to tape a box over the sharp edges to stop my cover getting ripped.
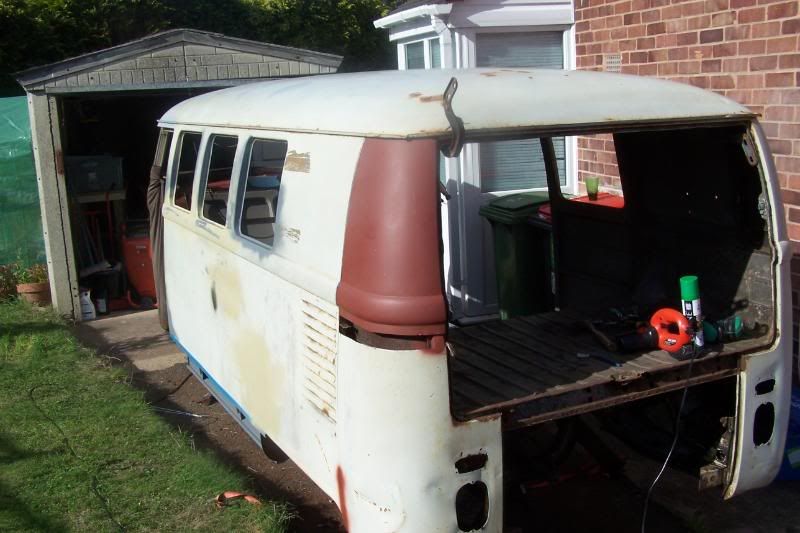
Once the new corner is in, I plan to strip and paint (primer) the top half of the bus and the interior to a reasonable standard while I save for the expensive panels (long and short side and two rear corners =£850+). Will also get one of these panels made up somewhere if I can -
Its the inner skin for the hinge panel and is shagged on mine.
It was very heavily dented and, no matter how hard I hammered it, wouldnt come out. As I didnt want to use a full tub of filler on it, I managed to get a good replacemt from TYLER, some time ago and remove the inner skin.
Anyway, here are the first cuts -
That was quite daunting, but its got to get worse before it gets better.
The inner skins have got a lot of surface rust on them but should clean up ok thankfully.
Had to stop then and pick the little'un up from school so had to tape a box over the sharp edges to stop my cover getting ripped.
Once the new corner is in, I plan to strip and paint (primer) the top half of the bus and the interior to a reasonable standard while I save for the expensive panels (long and short side and two rear corners =£850+). Will also get one of these panels made up somewhere if I can -
Its the inner skin for the hinge panel and is shagged on mine.
dub warrior2
Member
- Messages
- 20
Got the corner finished (?) today.
First I finished trimmimg back the hole and got rod of the old metal from the seems. Thought it was going to take ages with a grinder and power file, but in the end I resorted to good old hammer and sharp chisel.
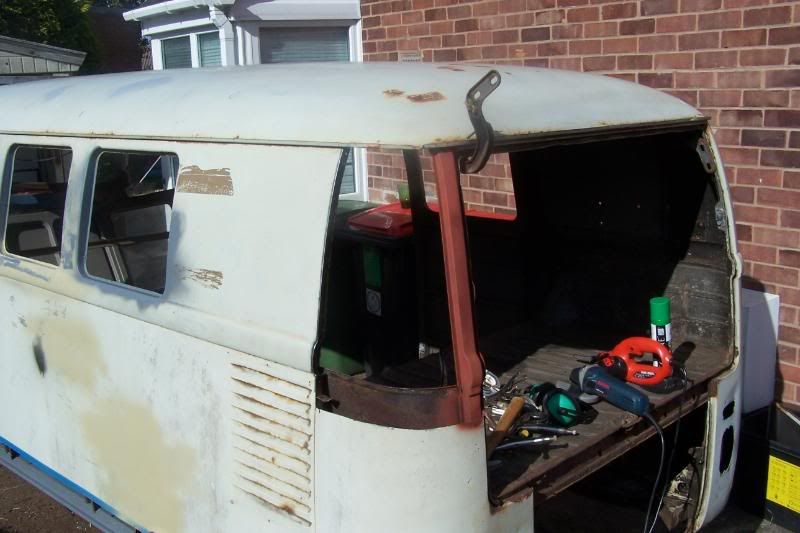
So then I trial fitted the repair panel, thank god it fit. Would have chopped the bus up if it hadn't.

Best get it welded in then.
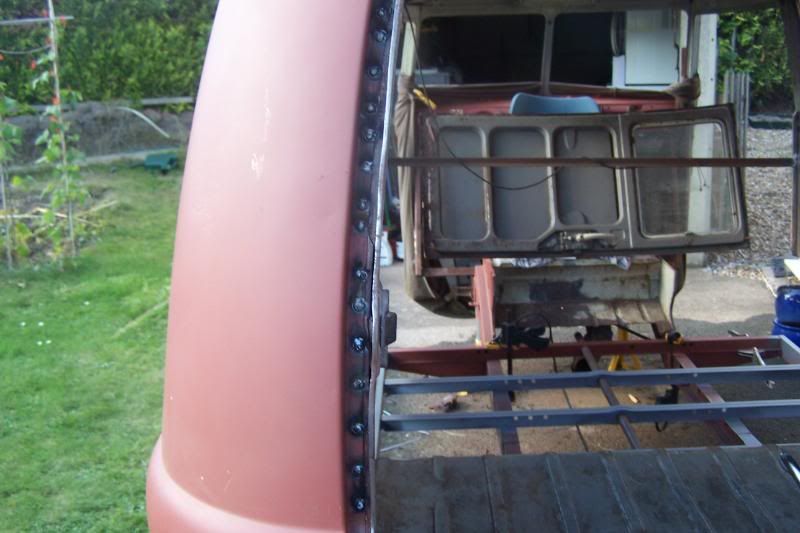
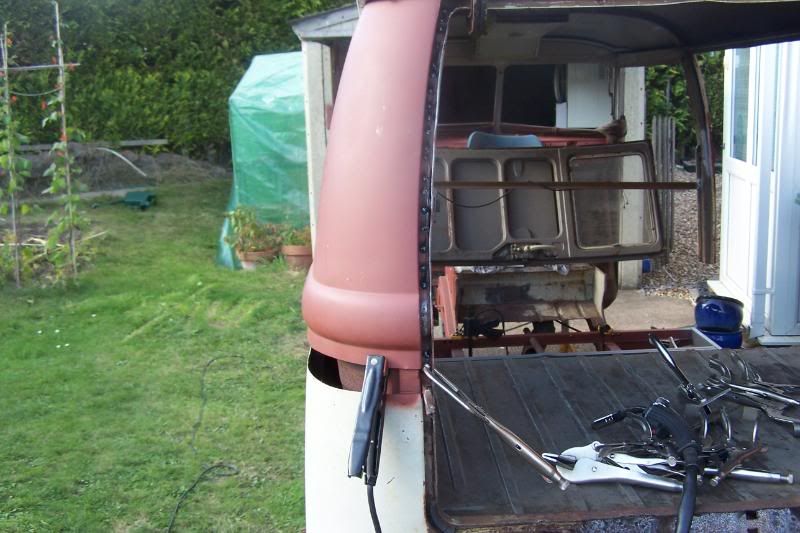
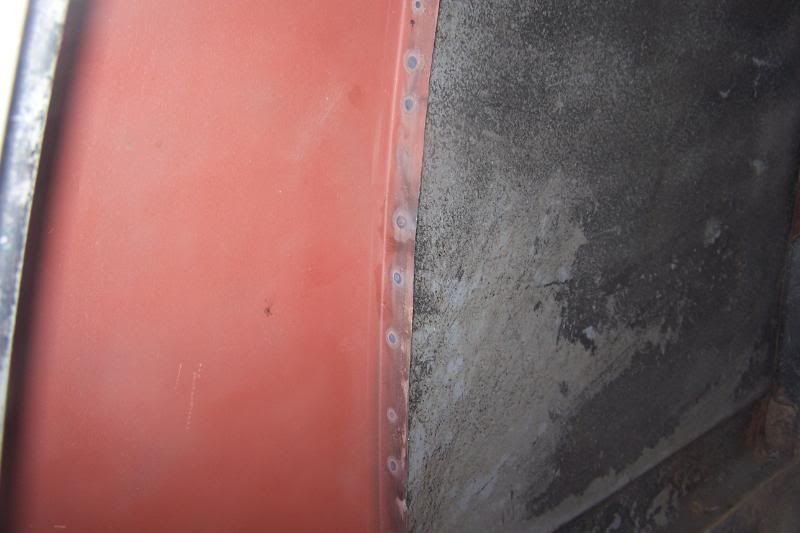
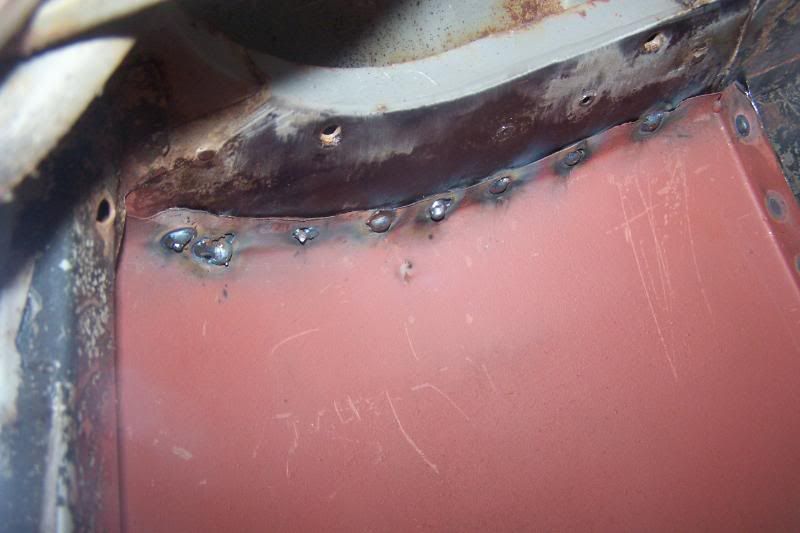
Well, it's not going to fall off. Tidied the welds after this last pic, but didnt grind the welds holding the corner to the side panel, for a bit of strength.
And finally, am really happy with how straight this seem is -
Just needs some seem sealer in there after I strip and prime the side.
Piece of P@SS this bodywork lark, LOL.
First I finished trimmimg back the hole and got rod of the old metal from the seems. Thought it was going to take ages with a grinder and power file, but in the end I resorted to good old hammer and sharp chisel.
So then I trial fitted the repair panel, thank god it fit. Would have chopped the bus up if it hadn't.
Best get it welded in then.
Well, it's not going to fall off. Tidied the welds after this last pic, but didnt grind the welds holding the corner to the side panel, for a bit of strength.
And finally, am really happy with how straight this seem is -
Just needs some seem sealer in there after I strip and prime the side.
Piece of P@SS this bodywork lark, LOL.
the snooper
getting older by the day
- Messages
- 21,063
- Location
- Hull UK
starting to look better, did you get the doors sorted out they looked like they might take a bit of work winter coming aswell do you have a garage to put it in and work indoors.
ahh just seen a garage in the pictures will it fit in for the winter months
ahh just seen a garage in the pictures will it fit in for the winter months
dub warrior2
Member
- Messages
- 20
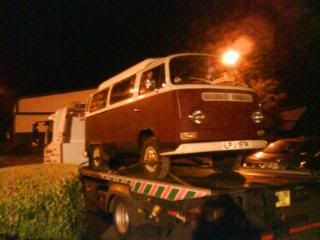
Grage is full of workbench, tools and fridge freezer sadly. Its a strictly outdoor project.
Got a decent rain cover a tarpaulin that it has lived under for the last two years.
Got a decent rain cover a tarpaulin that it has lived under for the last two years.
Alistair
Member
- Messages
- 175
- Location
- Derbyshire uk
my beetle started life as an outdoor project but it just got to be a pain working on wet ground and rust always creeping up on you... i ended up bribing my gran with free gardening in exchange for free rent of her garage and electric  the difference it makes is unreal. see if you can make space the benefits are well worth it
the difference it makes is unreal. see if you can make space the benefits are well worth it dub warrior2
Member
- Messages
- 20
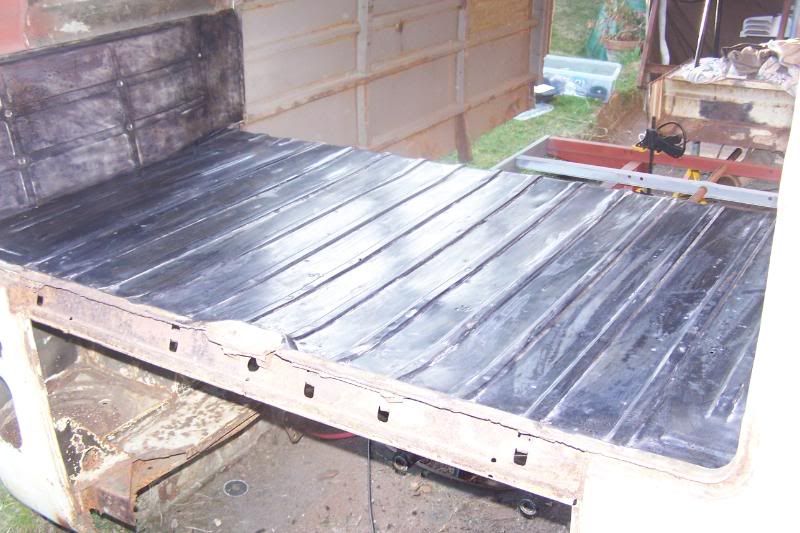
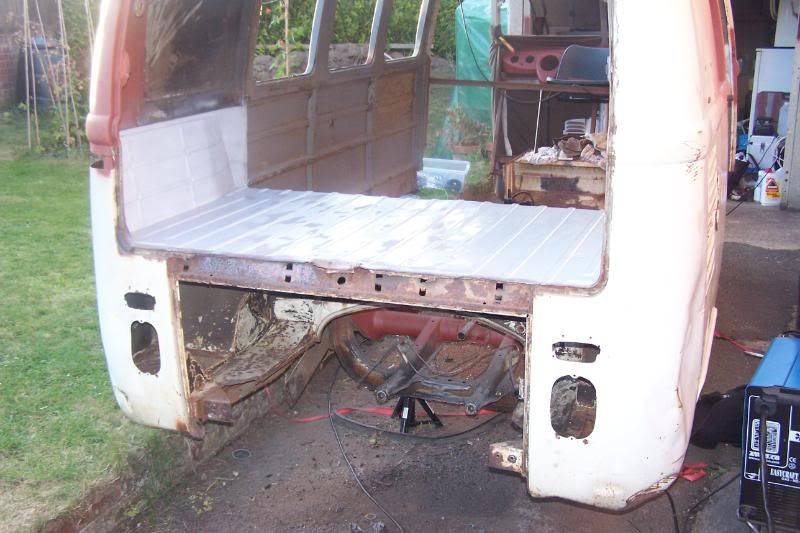
Todays offering.
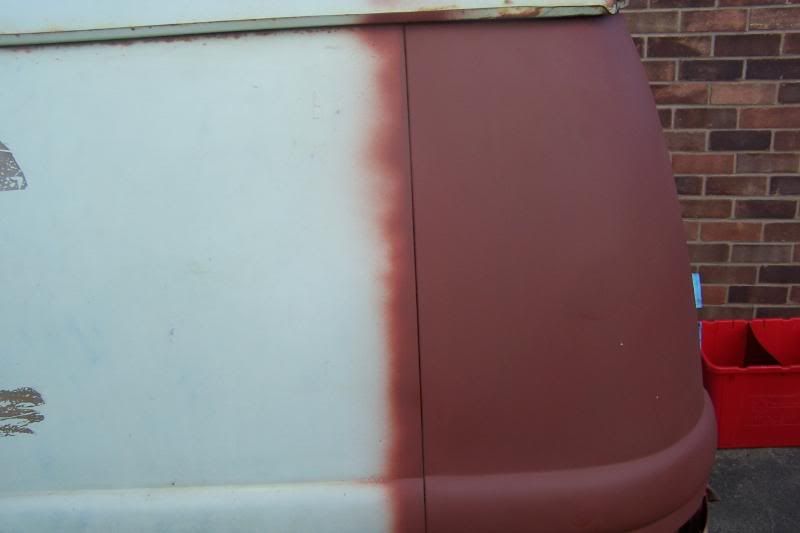
Spent about 5 hrs stripping and priming the rear floor area above the engine. Used 2 coats of Nitromors followed by a pass over with a wire brush in a grider and a strip disc.
I was amazed at how shiny the stripped metal came up. It was literally like new, apart from a couple of rusty pin holes.
Anyway, I was so amazed that I never took a picture of the bare metal stage, TIT!!
First pics of bare metal with a good coating of KURUST-


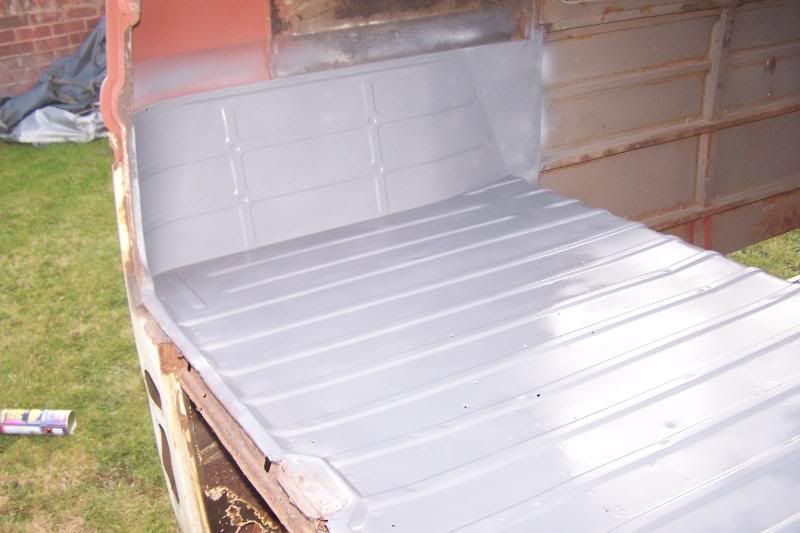
So then I gave it a good coat of etch primer -
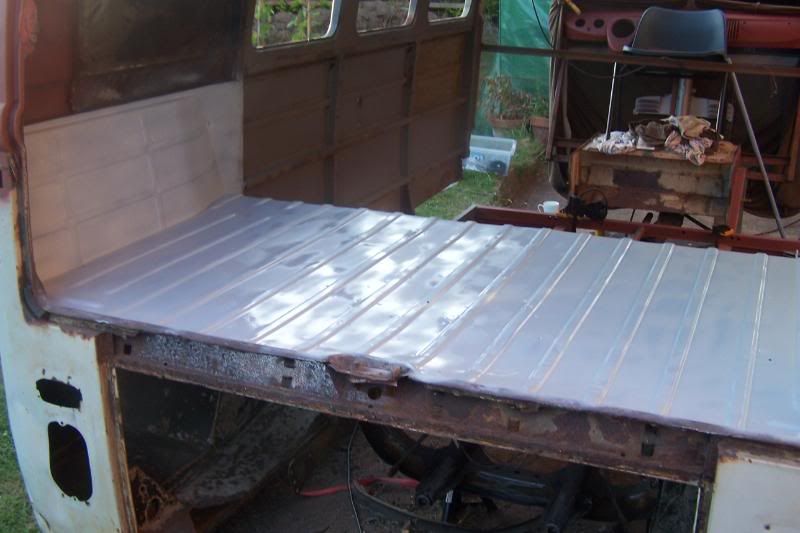
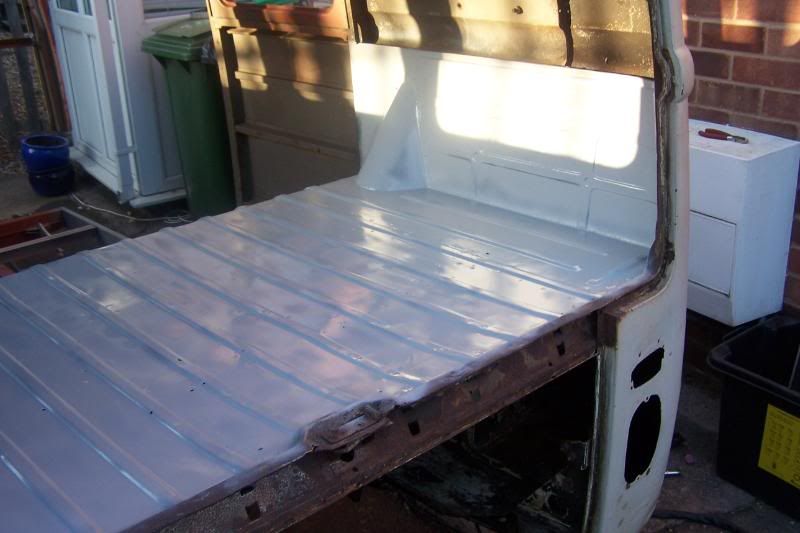
Followed by a good coat of normal grey primer -
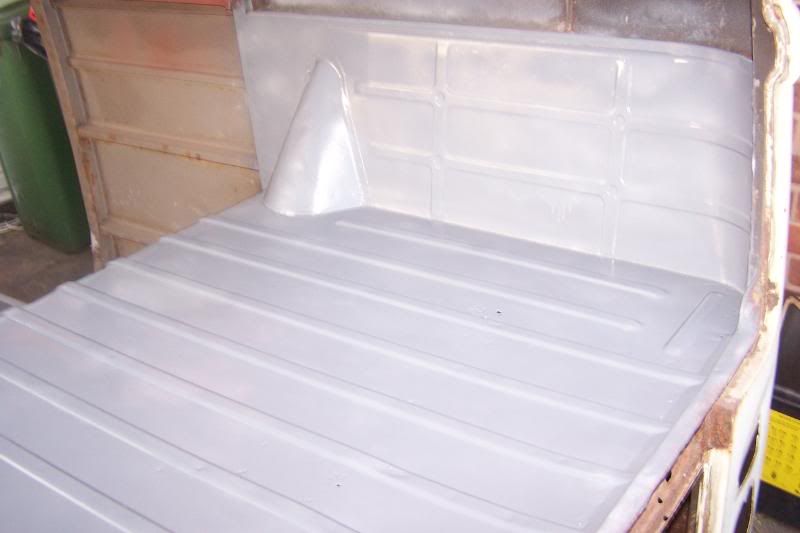
This was one of those jobs that didnt really need doing yet and could have waited (check ot the lack of sills, inner strengthening, side support bottoms etc) but gave me a massive morale boost to see it done. Learnt that from MOLERS resto. Gotta do little jobs like this along the way to keep you sane.
And thats how I left it tonight while I decide what to final coat it with. Its a toss up between mixing up some Smoothrite paint in grey/ Grey Rustoleum/ or grey floor paint from Screwfix
Spent about 5 hrs stripping and priming the rear floor area above the engine. Used 2 coats of Nitromors followed by a pass over with a wire brush in a grider and a strip disc.
I was amazed at how shiny the stripped metal came up. It was literally like new, apart from a couple of rusty pin holes.
Anyway, I was so amazed that I never took a picture of the bare metal stage, TIT!!
First pics of bare metal with a good coating of KURUST-
So then I gave it a good coat of etch primer -
Followed by a good coat of normal grey primer -
This was one of those jobs that didnt really need doing yet and could have waited (check ot the lack of sills, inner strengthening, side support bottoms etc) but gave me a massive morale boost to see it done. Learnt that from MOLERS resto. Gotta do little jobs like this along the way to keep you sane.
And thats how I left it tonight while I decide what to final coat it with. Its a toss up between mixing up some Smoothrite paint in grey/ Grey Rustoleum/ or grey floor paint from Screwfix
dub warrior2
Member
- Messages
- 20
Have decided to do a bit over the winter months but to start saving up for the big panels that I need.
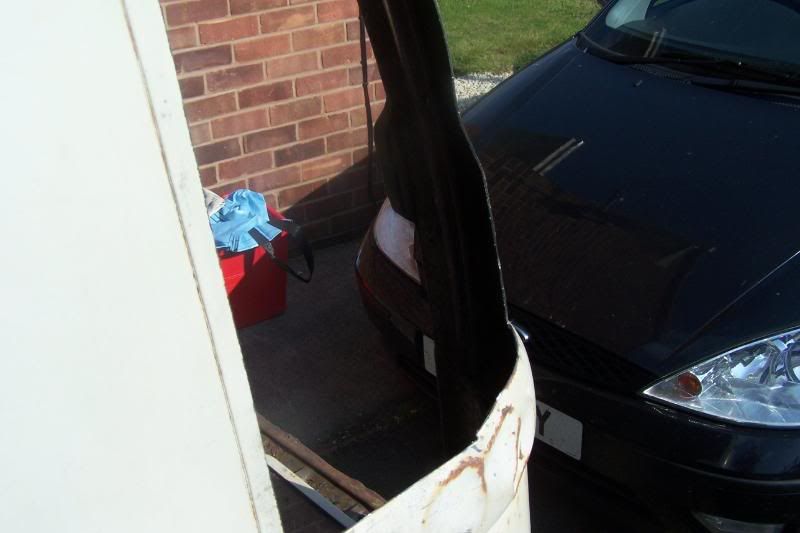
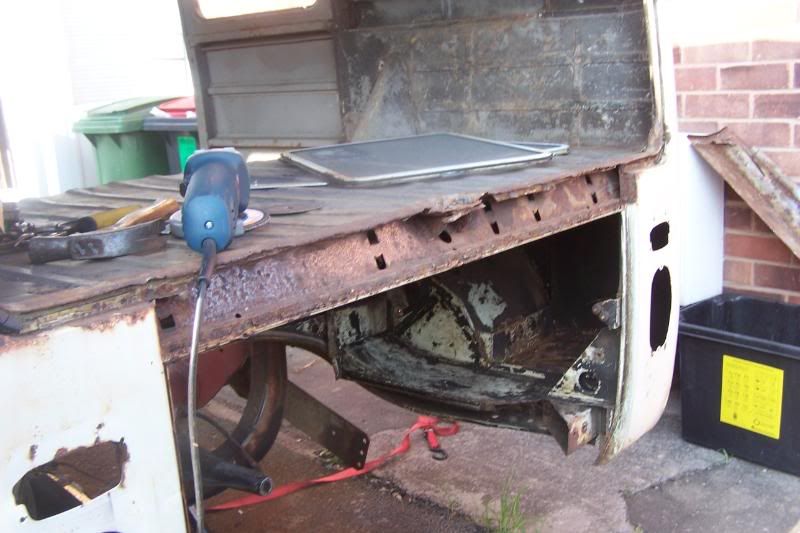
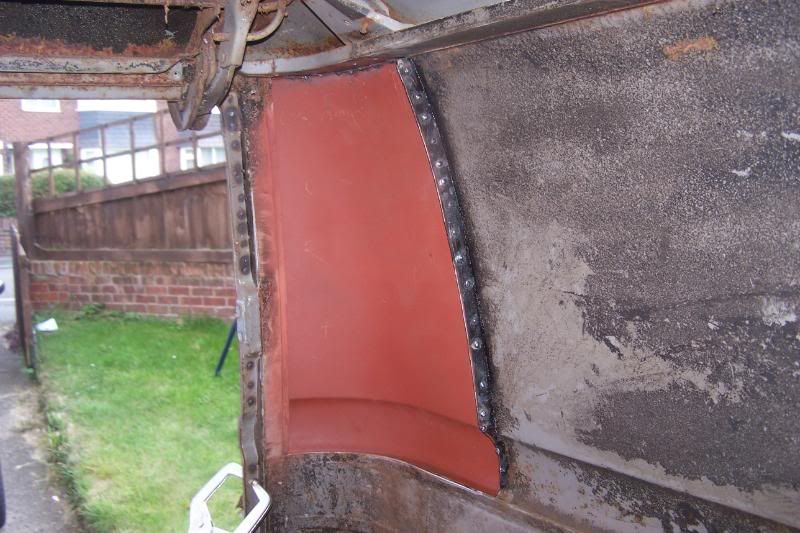
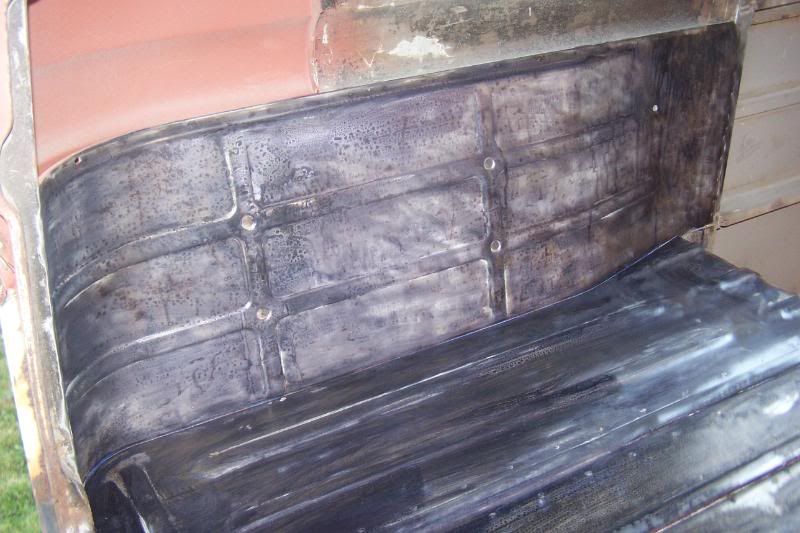
In readiness, I decided to carefully remove the driverside (LHD) rear corner.
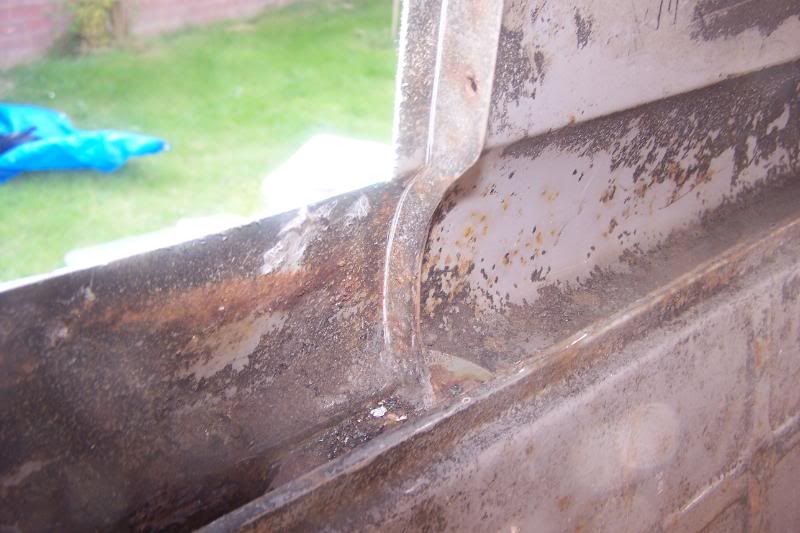
I was gutted with the rust that I found underneath -
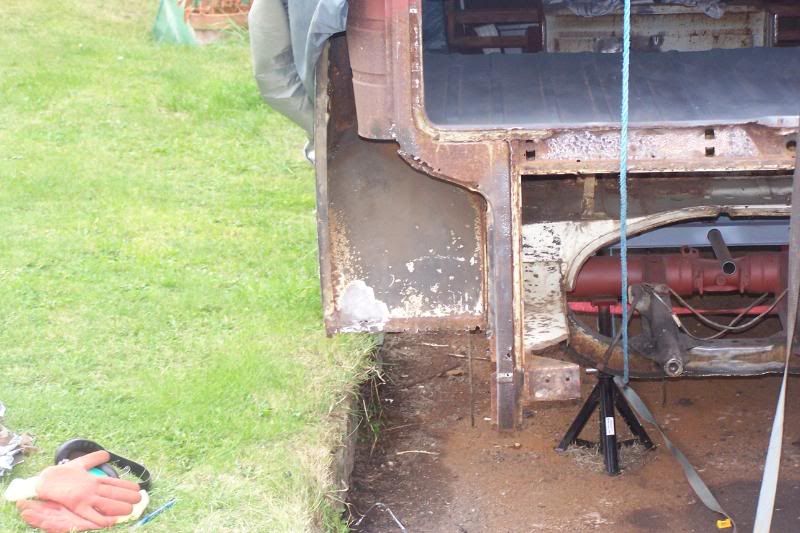
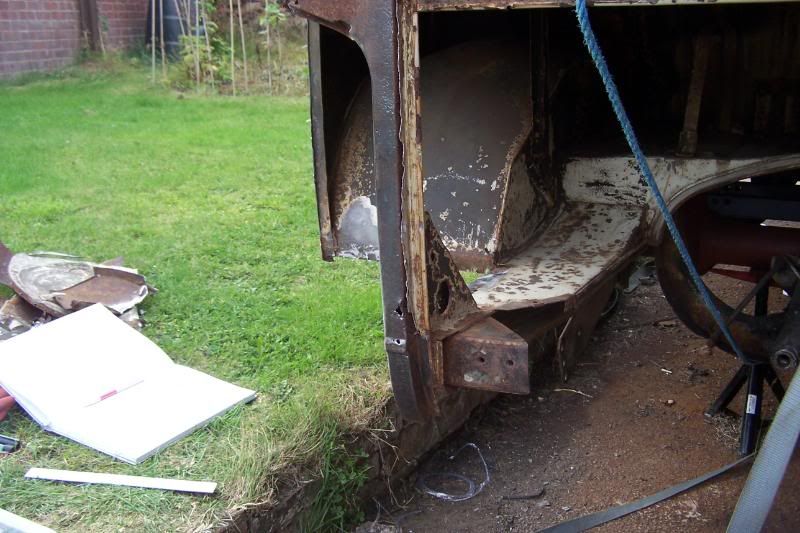

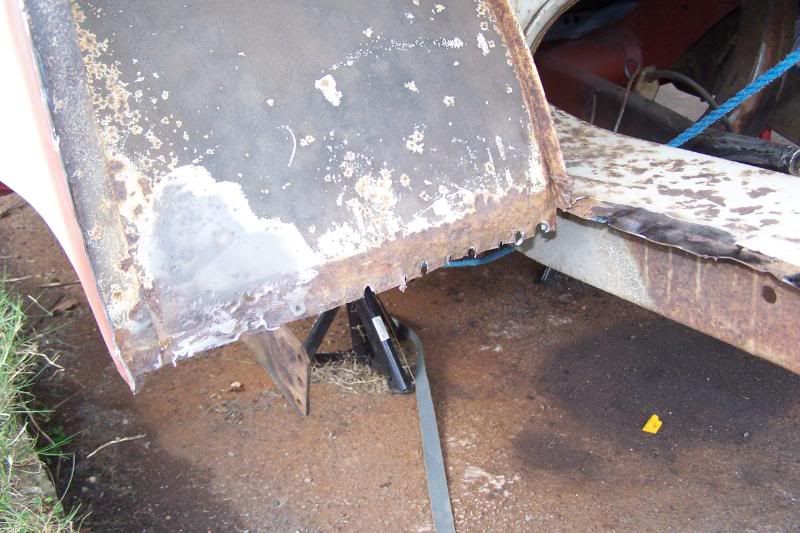
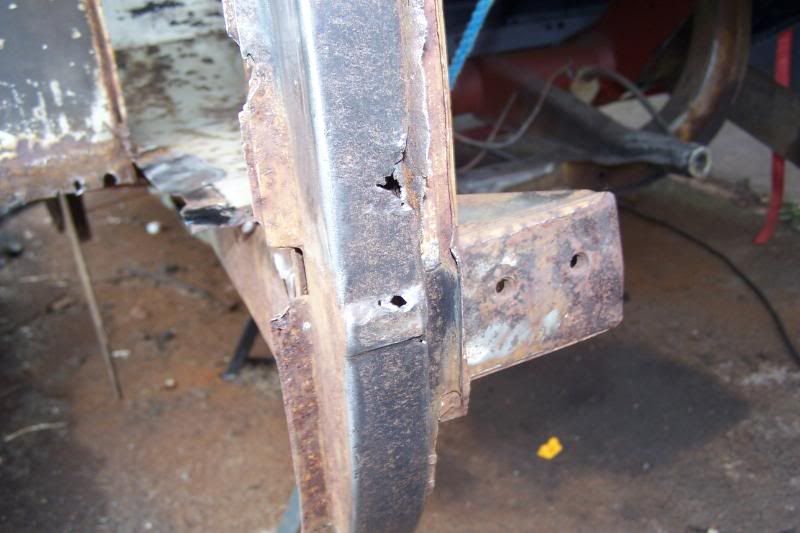
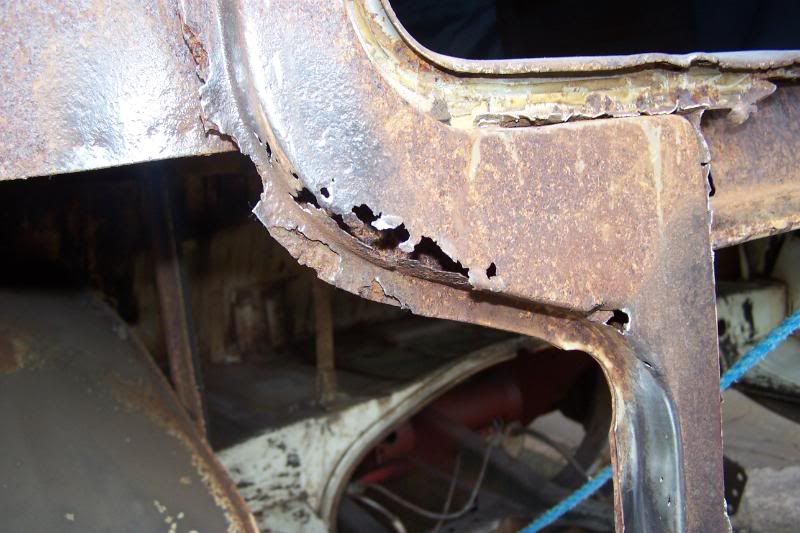
I really hadnt anticipated having to change this metal behind the outer skin.
Part of me wants to just slap a coat of KURUST on it and paint over it but I know I should do it properly and chop the rust out. Best I get some steel and start fabricating.
Bloody rusty old VWS.
In readiness, I decided to carefully remove the driverside (LHD) rear corner.
I was gutted with the rust that I found underneath -
I really hadnt anticipated having to change this metal behind the outer skin.
Part of me wants to just slap a coat of KURUST on it and paint over it but I know I should do it properly and chop the rust out. Best I get some steel and start fabricating.
Bloody rusty old VWS.
Alistair
Member
- Messages
- 175
- Location
- Derbyshire uk
exactly... i thought the same about my beetle. do i just hide it??? answer NO. do it properly mate and you will be so much more happy with the finish knowing your sat in a rock solid bus. you have gone this far doing it properly dont stop now. watching this very keenly. keep us up to date with progress ")
dub warrior2
Member
- Messages
- 20
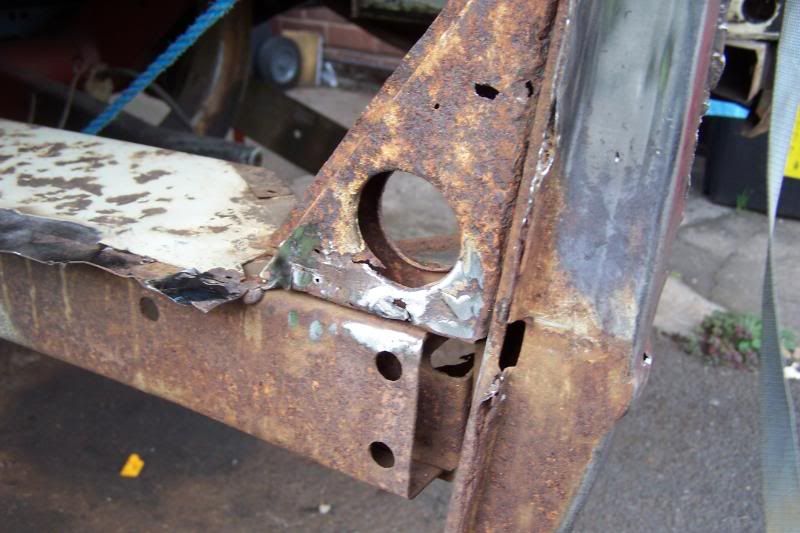
Started doing a bit of fabrication today.
Got a big vice a few weeks ago form Machine Mart and wanted to play with it.
So, I cut a big hole out of this -
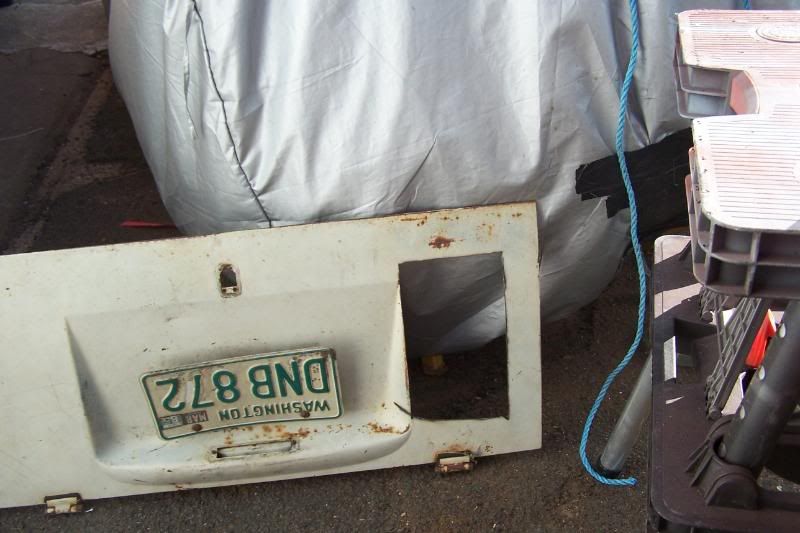
And recycled the steel to make this -

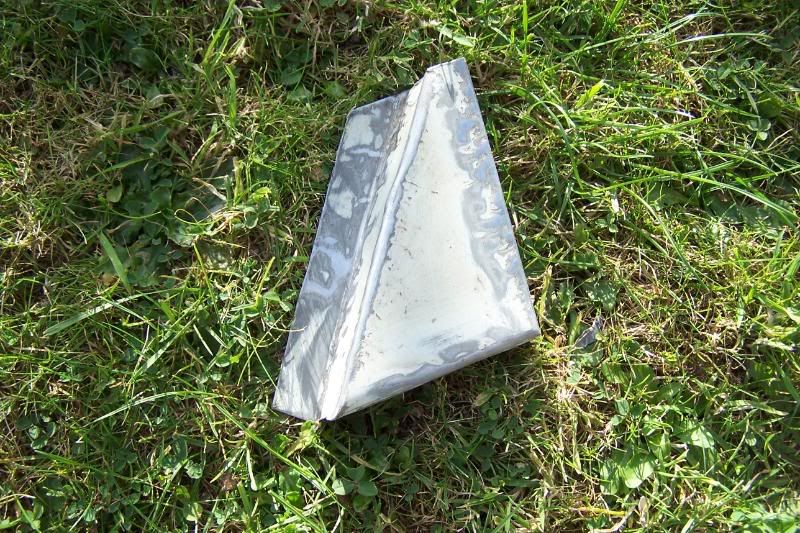
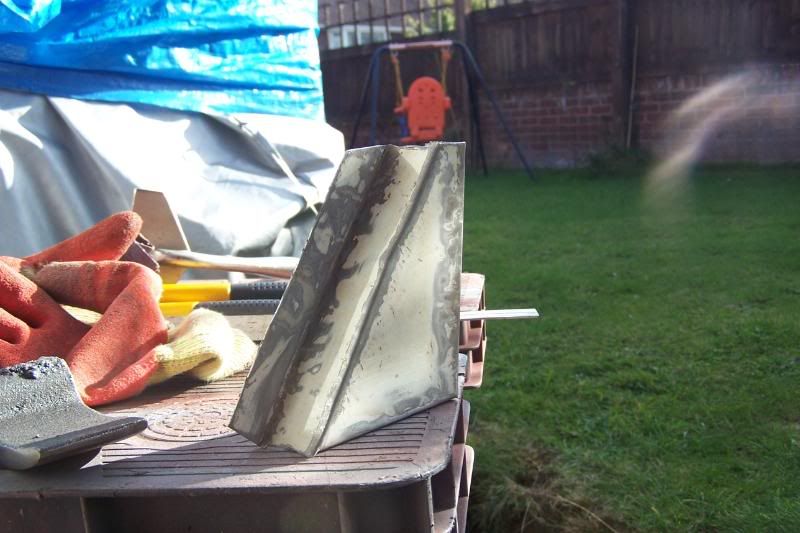
Well it looks like the original (but without the useless big hole in the centre) but my fabrication work needs a bit of perfecting.
For starters I used a metal bodywork hammer to fold the creases over, hence all the hammer marks next to the creases. Note to self, use anylon hammer next time. I also folded a couple of the bends off the marked lines cos I didnt allow any extra play.
Will perfect the next ones.
Got a big vice a few weeks ago form Machine Mart and wanted to play with it.
So, I cut a big hole out of this -
And recycled the steel to make this -
Well it looks like the original (but without the useless big hole in the centre) but my fabrication work needs a bit of perfecting.
For starters I used a metal bodywork hammer to fold the creases over, hence all the hammer marks next to the creases. Note to self, use anylon hammer next time. I also folded a couple of the bends off the marked lines cos I didnt allow any extra play.
Will perfect the next ones.
the snooper
getting older by the day
- Messages
- 21,063
- Location
- Hull UK
also from experience i wouldnt use smoothrite or that type of paint i found it chips really easy use the proper automitive stuff it wears better and lasts longer
dopplershift
Member
- Messages
- 117
Started doing a bit of fabrication today.
Got a big vice a few weeks ago form Machine Mart and wanted to play with it.
So.... where's the vice pr0n? I want photos!
 . Seriously though... I've got a bit of a thing for vices... like seeing what other people have.
With regards to the gusset you've folded; it looks like the original was double sided? Whereas yours is a single sided triangle shape? Are you going to weld another triangular piece on the back of yours? Will make it alot stiffer if you do... original spec was probably build double sided for a reason!
Nice work though. Looks like youre slowly but surely making progress towards the dream! Wish I could say the same for my Capri project!
white van man 2
The 'Rocco Horror Show
- Messages
- 134
just read through your entire build thread. really makes me wanna crack on with my '72 bay
need to build a garage first though
need to build a garage first though


