Dr.Al
Forum Supporter
- Messages
- 2,820
- Location
- Gloucestershire, UK
It'll probably a while before I start making this project (what with all the others that are on the go at the moment), but I quite like have several designs in gestation at the same time so that I can gradually play with ideas and tweak things long before I start cutting wood. Don't expect much in the way of frequent updates!
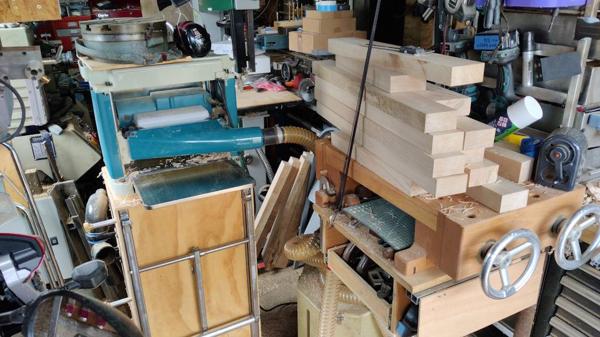
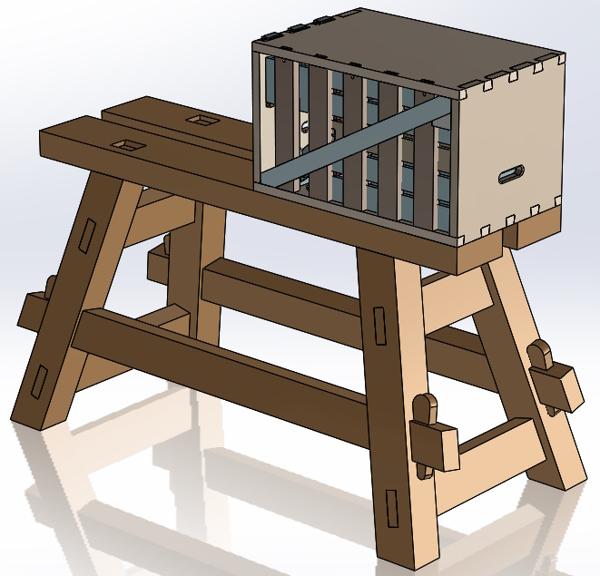
The idea for this project came from a comment posted by "BucksDad" on a thread about my travel tool chest on a woodworking forum I frequent. At the moment, when I use the travel tool chest I mount it on a Makita mitre saw stand:
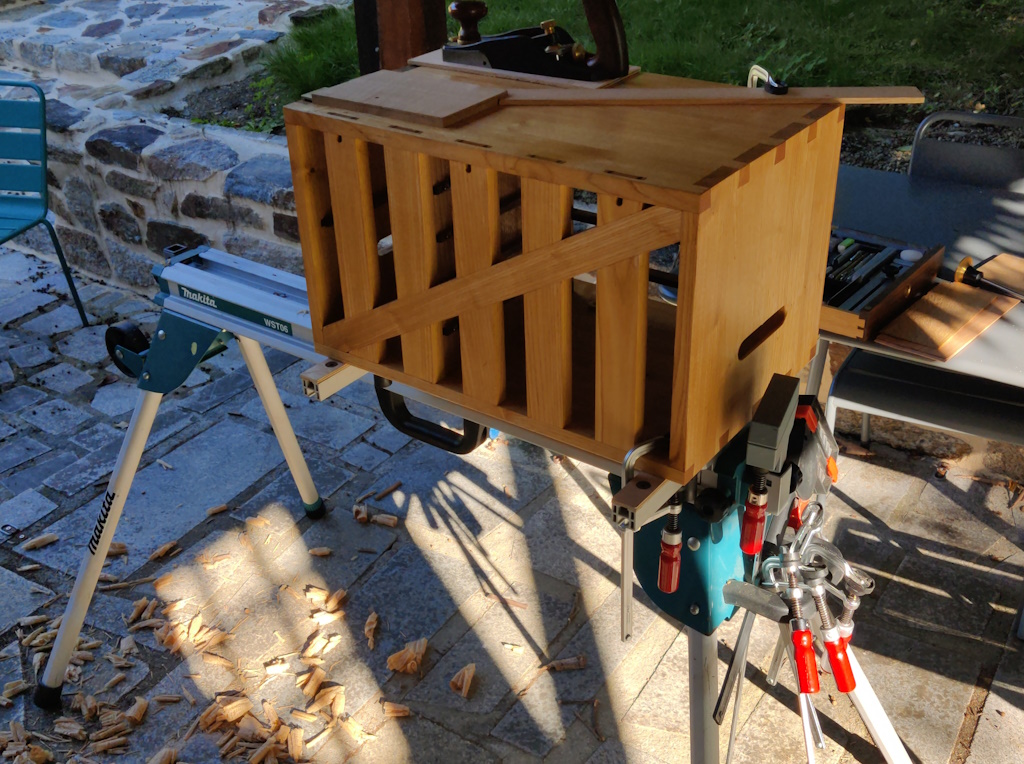
That stand works really well, but has a couple of disadvantages:
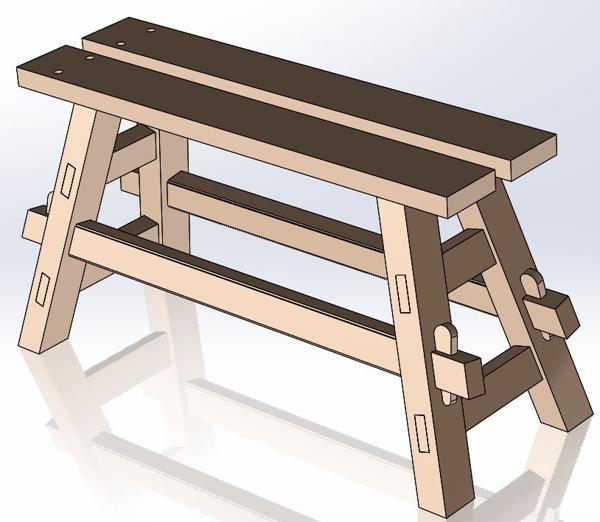
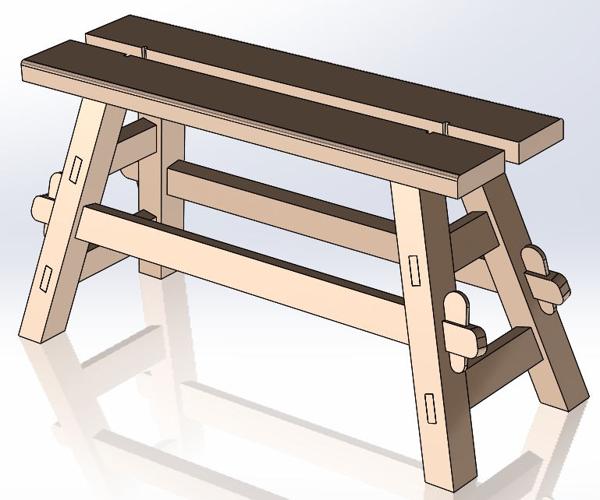
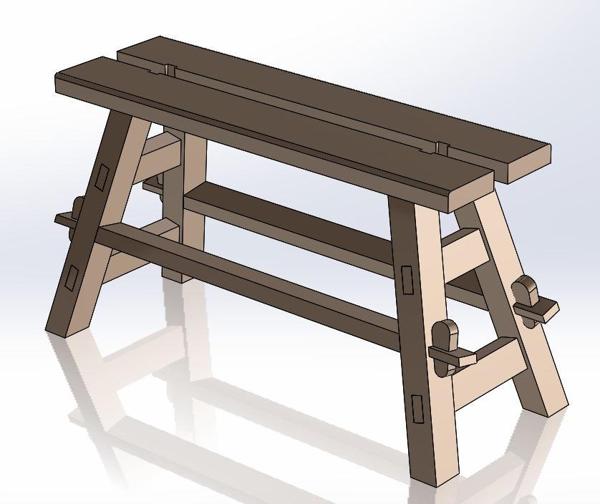
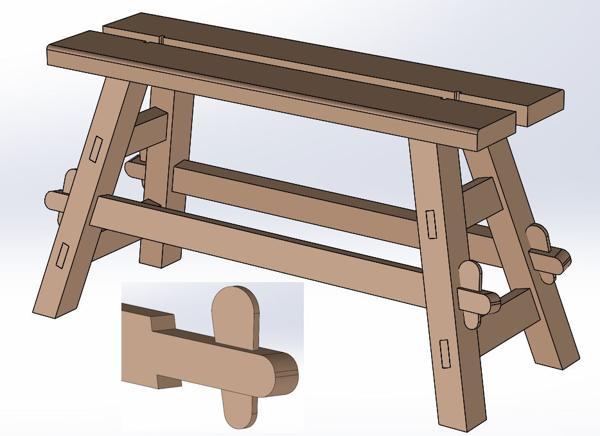
I've been starting to play with a CAD model on the basis of it being a "Mini Moravian": a smaller and simpler version of the Moravian workbench described by Will Myers. This is what it looks like at the moment:
The main differences to Will Myers' bench (and the old benches upon which he based the design) are:
With the tool chest on top, the top surface of the chest will be roughly 1 m from the ground; for chisel work I plan to sit on the bench (with one leg each side - this might need a bit of edge rounding for comfort) and I'm hoping that the ergonomics will be okay (i.e. that the chest top won't be too low if I'm sitting at the same height as its base). I might increase the height a little from there, but I'll do a bit of playing around with different heights using stuff on my workshop bench before making a firm decision.
The split top is there for a couple of reasons:
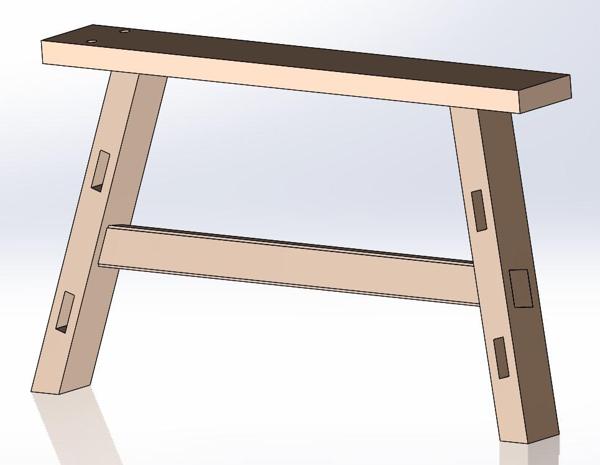
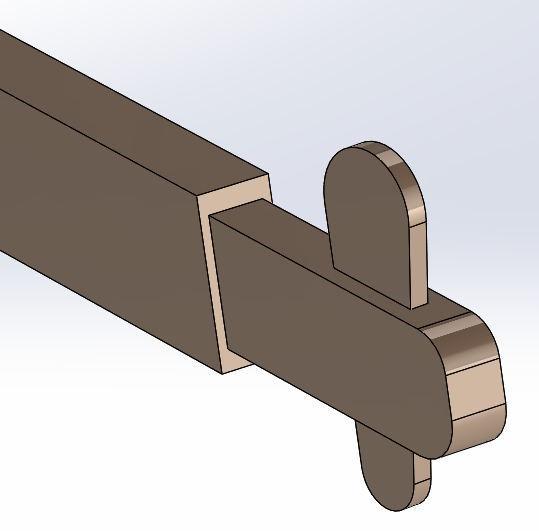
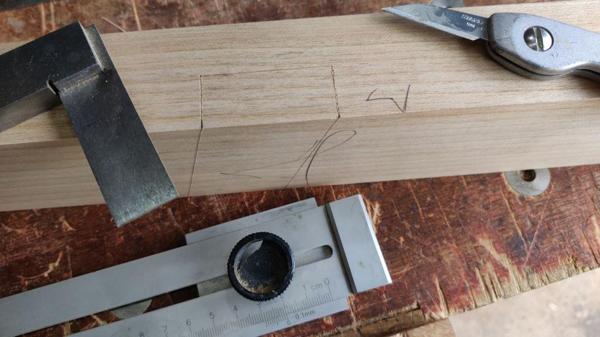
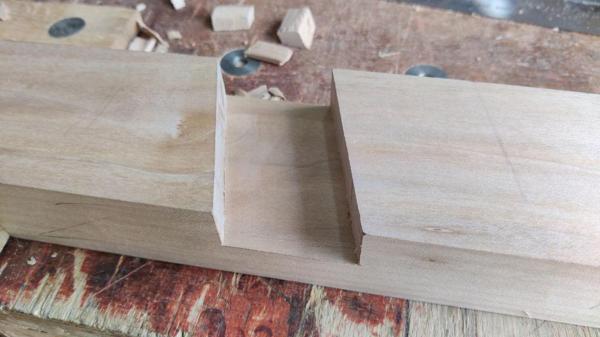
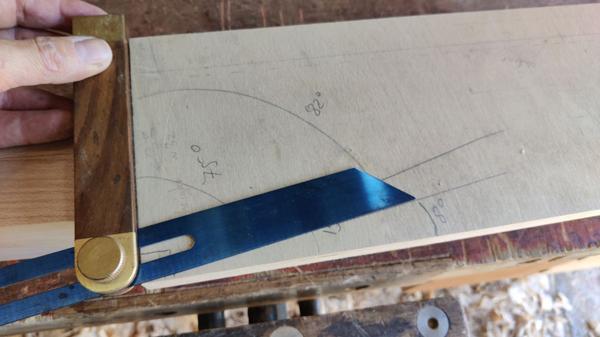
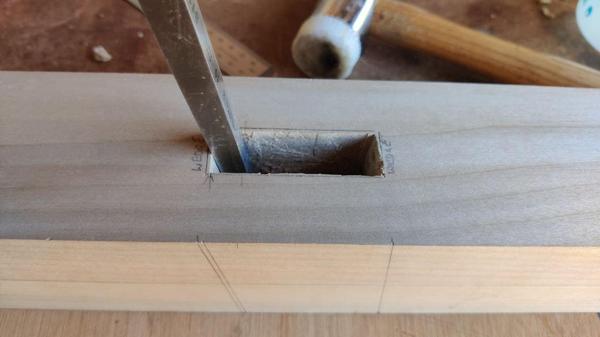
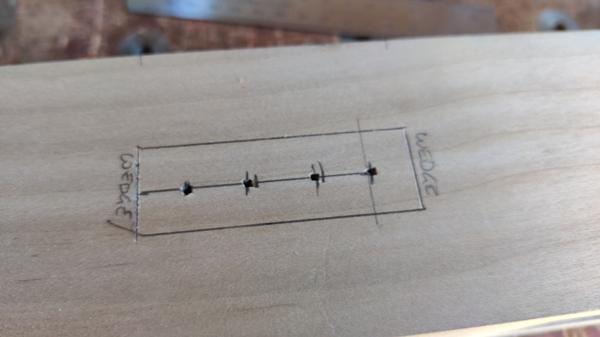
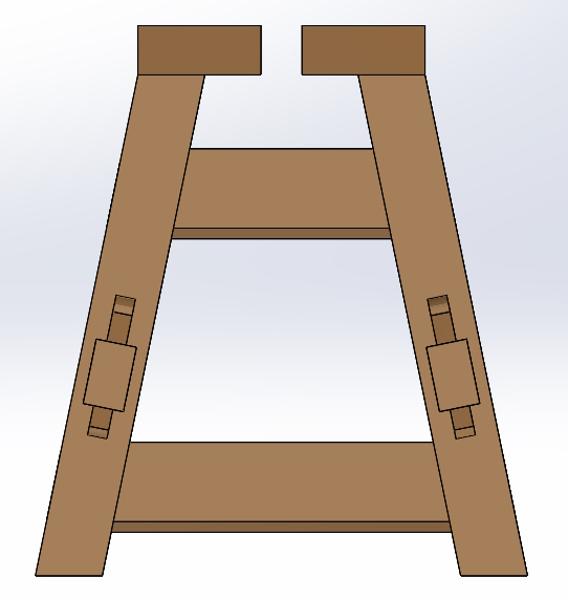
That sawing purpose is the reason I've left a gap between the upper stretcher (if that's the right term) and the top, which you can see from the end view:
The reason I'm posting this so early in the design process is that I'd appreciate some design feedback from anyone who knows anything about these things. In particular, things I'm unsure of include:
The idea for this project came from a comment posted by "BucksDad" on a thread about my travel tool chest on a woodworking forum I frequent. At the moment, when I use the travel tool chest I mount it on a Makita mitre saw stand:
That stand works really well, but has a couple of disadvantages:
- It's a bit high. It's a very comfortable height for chisel work and engraving and such-like, but it's a bit high to be very comfortable for planing. I'd like to get the top surface of the tool chest down to a similar height to my normal work bench (1 metre from the ground).
- It's not a home-made wooden bench. This isn't really a disadvantage as it probably results in a stronger structure for a given weight, plus of course the ease of folding it up for transporting. However it would be nice to have something that is in keeping with the tool chest (and hence made of wood) and also home-made.
I've been starting to play with a CAD model on the basis of it being a "Mini Moravian": a smaller and simpler version of the Moravian workbench described by Will Myers. This is what it looks like at the moment:
The main differences to Will Myers' bench (and the old benches upon which he based the design) are:
- It's much smaller (1.2 m long, 350 mm deep and 670 mm high, vs Will Myers' which is 1.93 m long, 609 mm deep and 854 mm high).
- It doesn't have anything in the way of vices (the tool chest provides the work-holding stuff).
- It's got a split top.
With the tool chest on top, the top surface of the chest will be roughly 1 m from the ground; for chisel work I plan to sit on the bench (with one leg each side - this might need a bit of edge rounding for comfort) and I'm hoping that the ergonomics will be okay (i.e. that the chest top won't be too low if I'm sitting at the same height as its base). I might increase the height a little from there, but I'll do a bit of playing around with different heights using stuff on my workshop bench before making a firm decision.
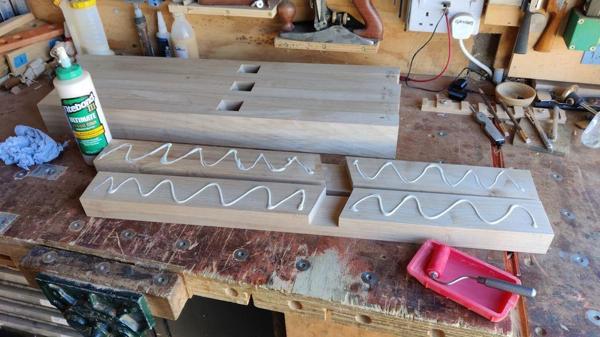
The split top is there for a couple of reasons:
- It makes it easier to transport as the two top pieces get moved separately (the bench breaks down into two leg assemblies, two long stretchers and two long top pieces, plus a few wedges).
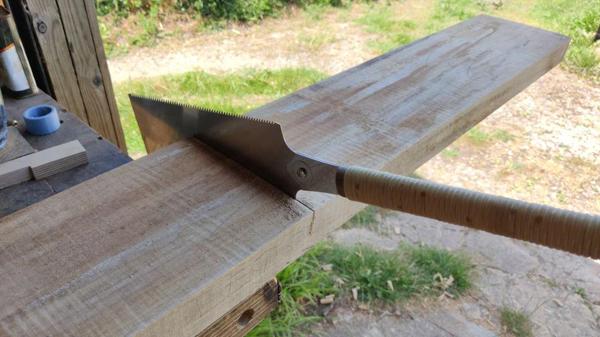
- It can be (hopefully) used as a sawing base for long rip cuts with Japanese saws: a piece of wood can be clamped to the top with the cut line along the gap and then I can saw along the line (with one knee or foot putting downward pressure on the board as the saw will be cutting on the up-stroke). This probably won't be while I'm on holiday as I'll be working with box-scale projects and can just clamp to the chest, but it will be nice for some big planks when I'm at home.
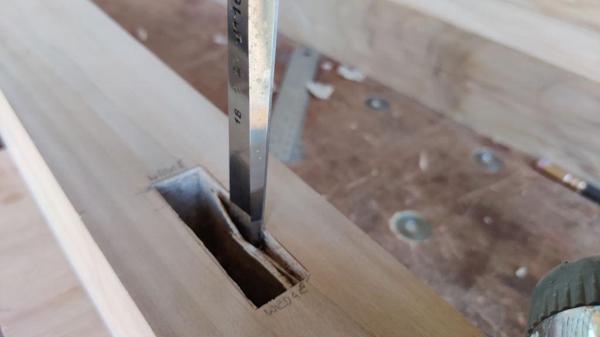
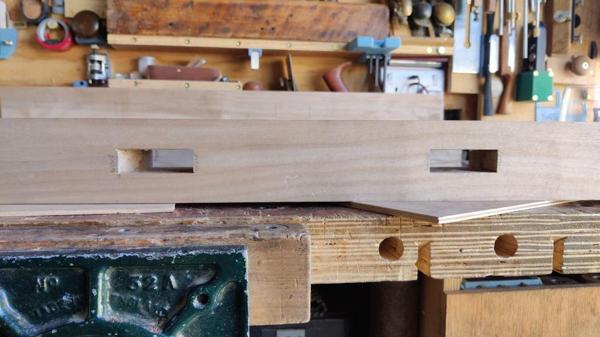
That sawing purpose is the reason I've left a gap between the upper stretcher (if that's the right term) and the top, which you can see from the end view:
The reason I'm posting this so early in the design process is that I'd appreciate some design feedback from anyone who knows anything about these things. In particular, things I'm unsure of include:
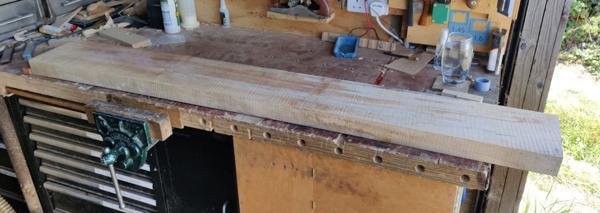
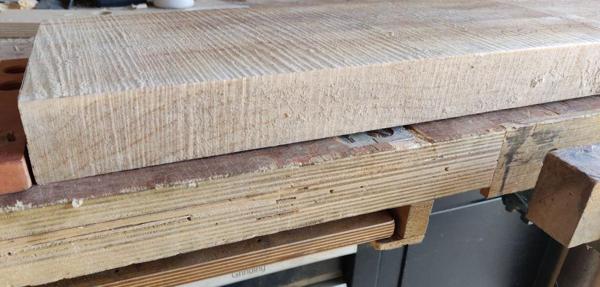
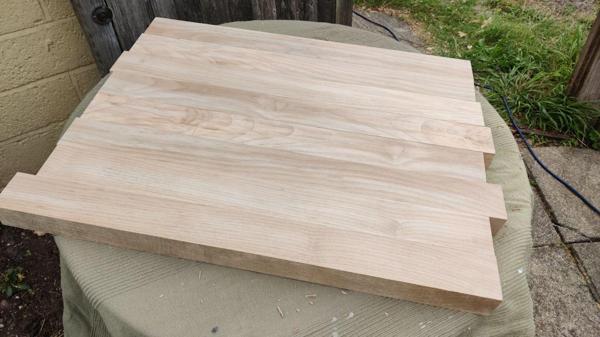
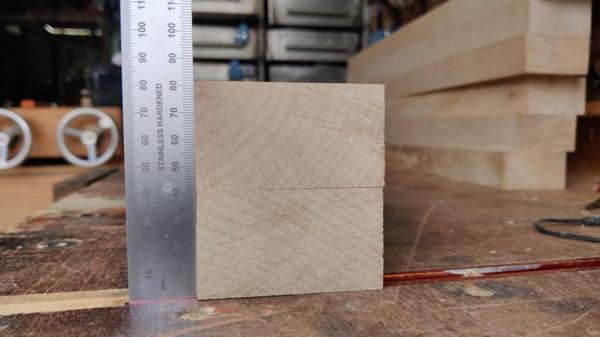
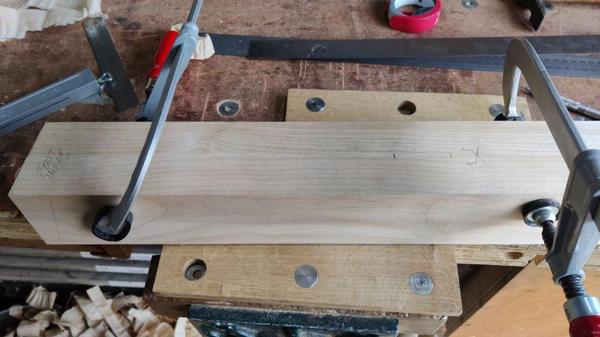
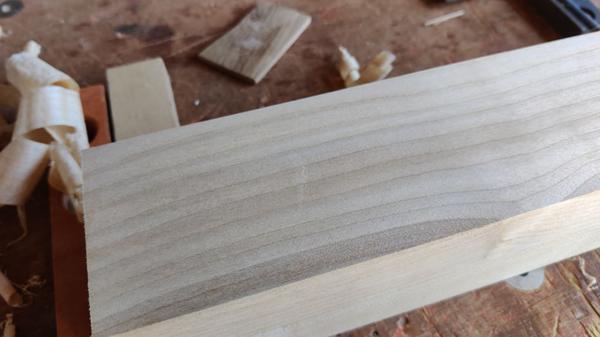
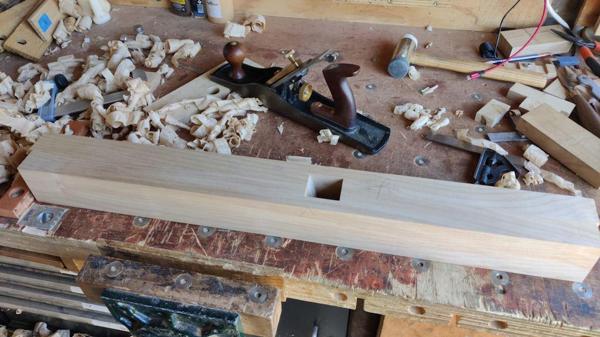
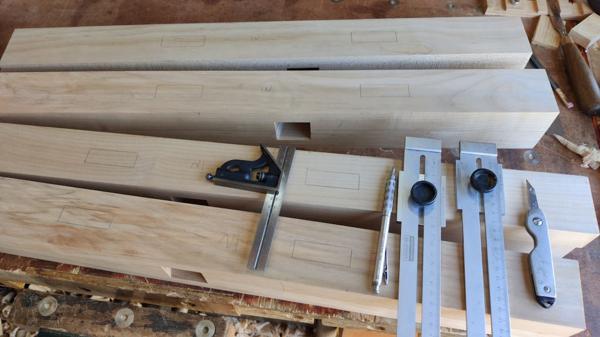
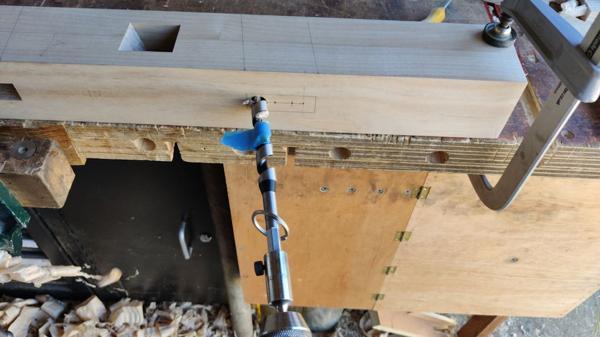
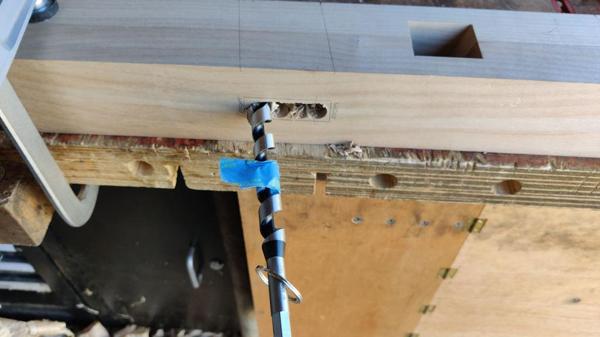
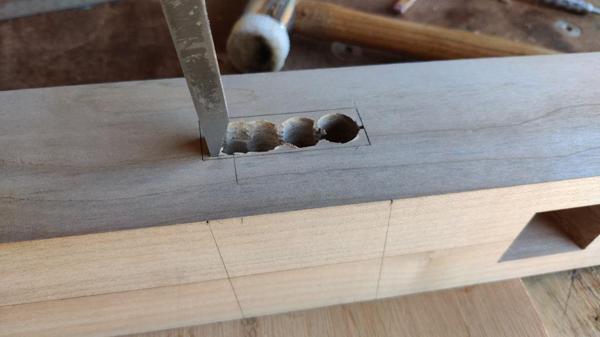
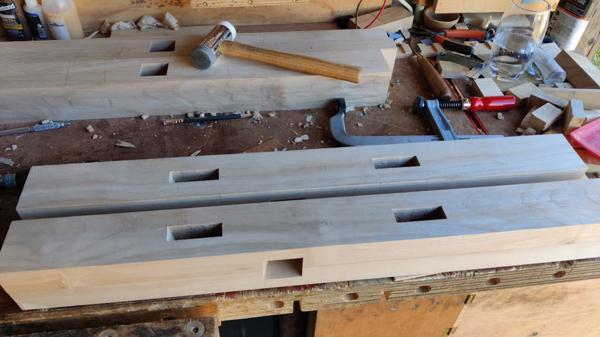
- General sizes of the leg parts and stretchers. At the moment, the legs are designed as 80 mm × 100 mm planks (based roughly on Will Myers' version). The 80 mm probably can't reduce much if there's going to be a through tenon with a wedge going through that through tenon as there needs to be enough material in each of the parts. Is the 100 mm excessive though? In the model, it looks very "robust" compared to the chest (which is made from 20 mm thick stock). Similarly the front-to-back stretchers: I don't really know how to decide what size these should be.
- Size of the top. I guess this is related to the previous point really. I've designed it as 150 mm wide and 60 mm deep at the moment. That makes each top piece weigh about 6 kg, which is quite easily transportable. Is it excessive though?
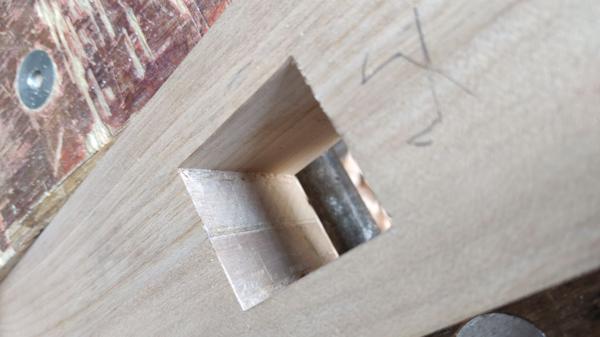
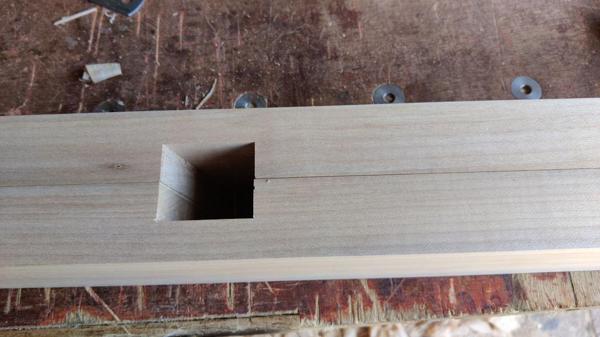
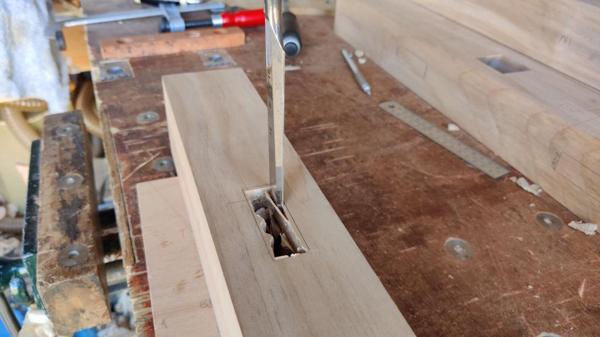
- How to attach the legs to the top in a way that's robust but removable. The CAD model just has some tenons on the legs going into mortices in the top (but with the tenons stopping 10 mm shy of the top surface so nothing protrudes above the surface). Nothing is holding the top down.
- Anything else that would make this design better!