


wiganerdan
New Member
- Messages
- 4
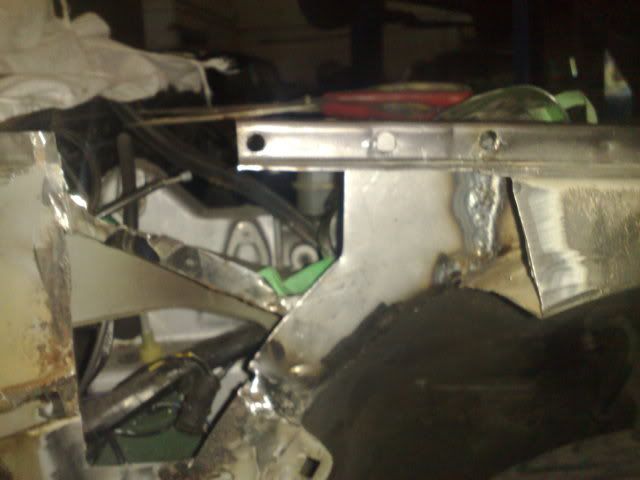
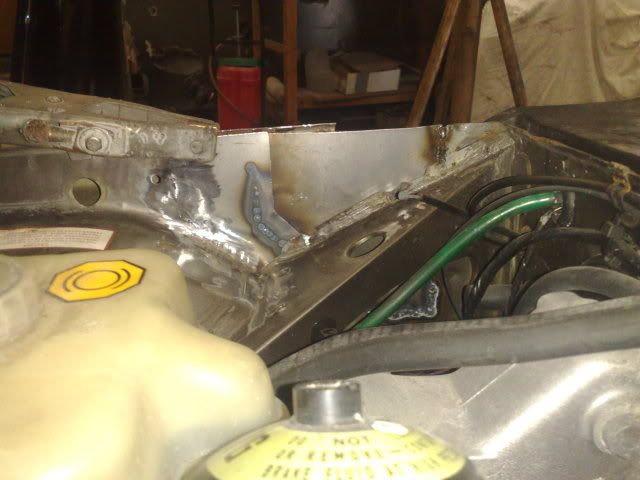
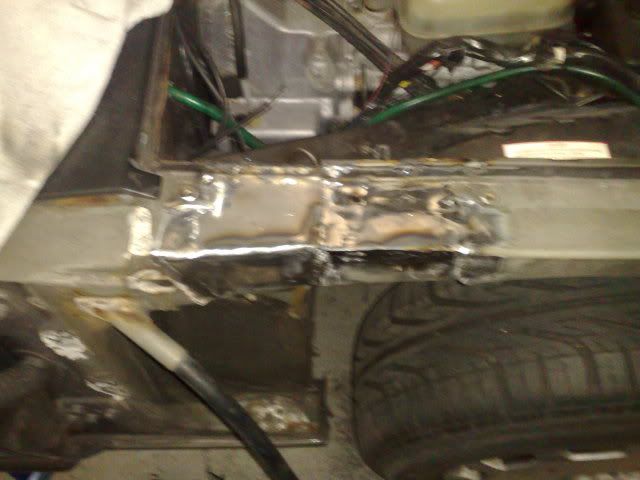
As promised when I signed up, I have this weekend made a start on my Jaguar, I decided to jump straight in with quite a nasty repair on the inner wing adjacent to the bulkhead. After removing the wing, and a bit of time cutting rusty bits out, this is what I was faced with!
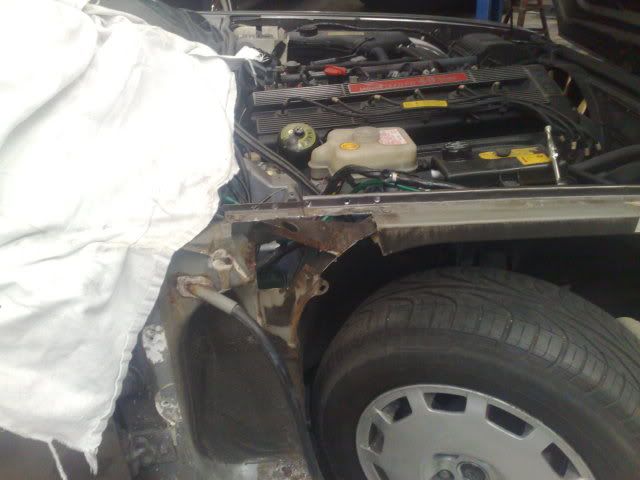
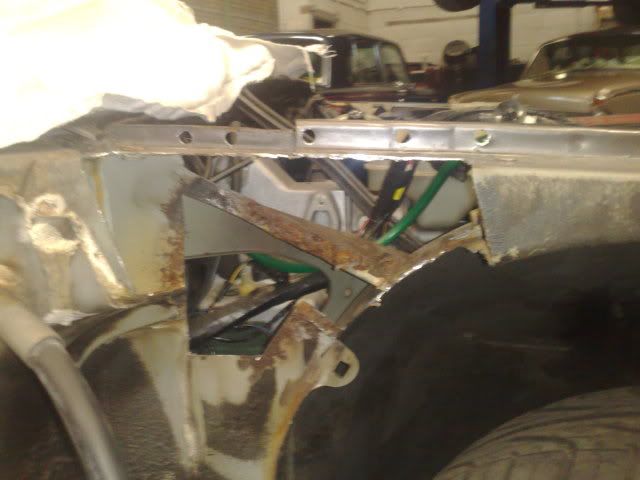

This are is quite complex with several different panels meeting each other. As I want the repair to look like it isn't there, I decided to repair each panel individually, and layer them up as they where originally. The first part being the actual inner wing itself.
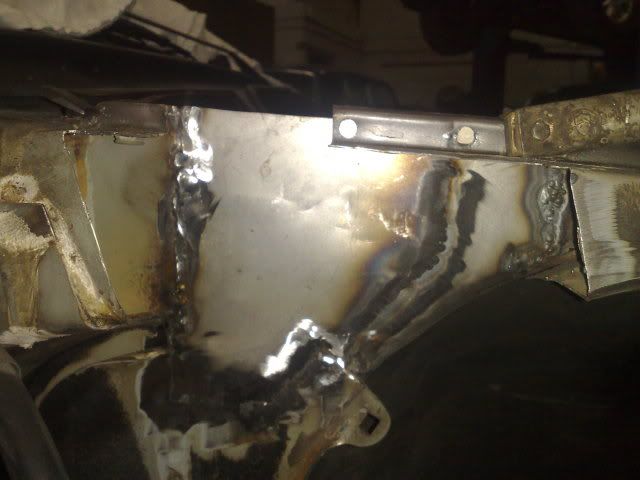
Unfortunately the rot extended down a radius, making things slightly more awkward than I wanted.
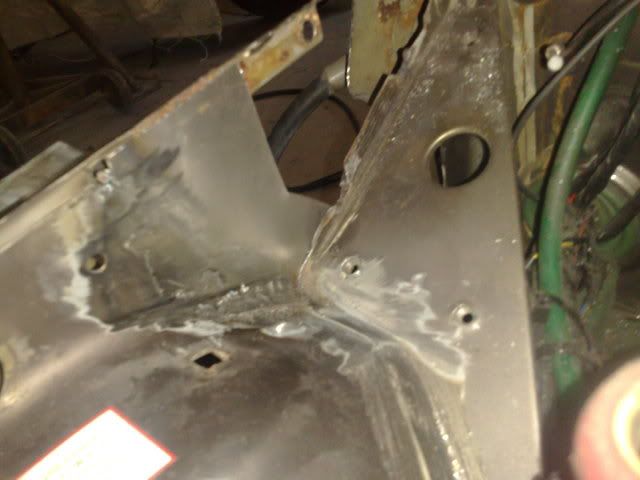
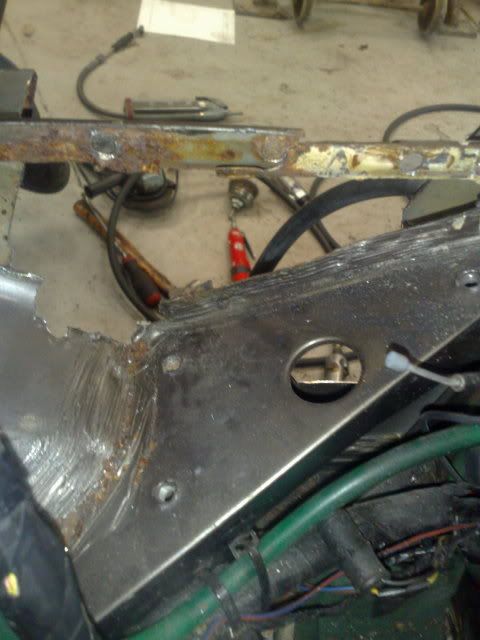
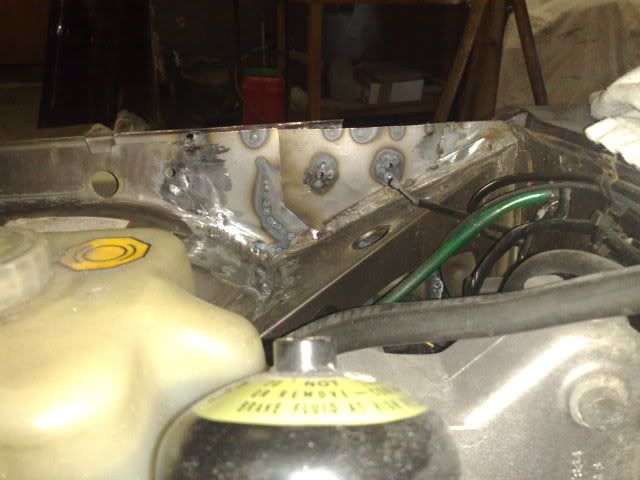
Piece butt welded in and ground back. Next bit to attack was the side panel itself.
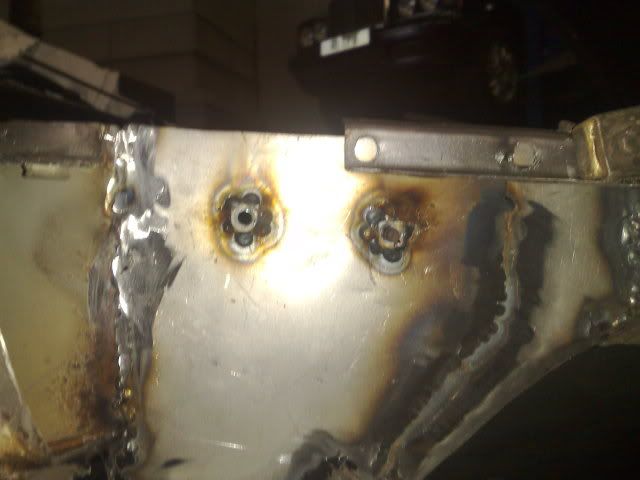
Captive nuts rescued from the original rusty mess, welded into position.
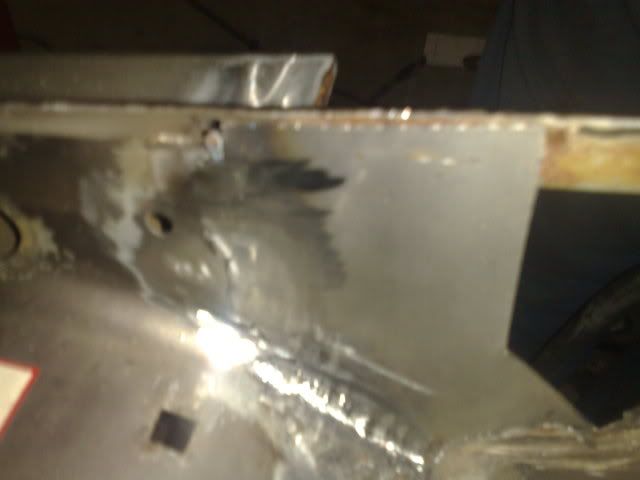
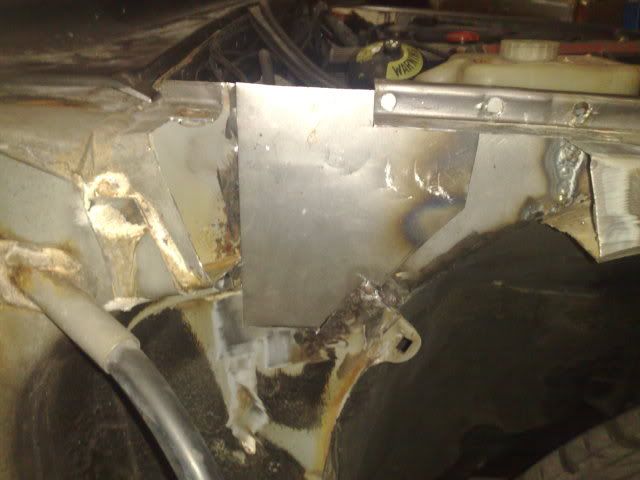
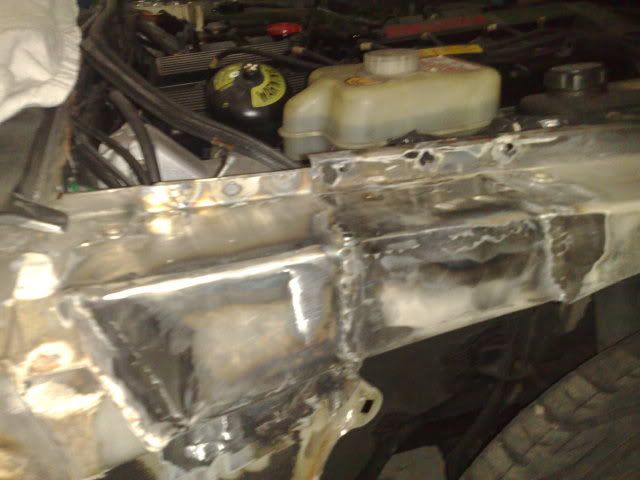
Now to start reconstructing the box sections. Seeing as the shape is more complex in reality than it seems in the pictures, and I didn't have any big enough bits of tin, I made it in 3 pieces. This box section is in two parts down the car, so I replicated this.
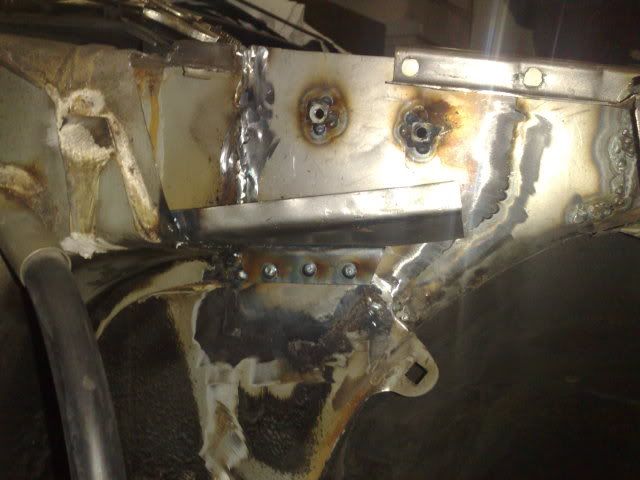
Thats the first part in, plug welded into position, though not being particularly confident in my plug welding abilities, I welded it along what will be the inside of the box.
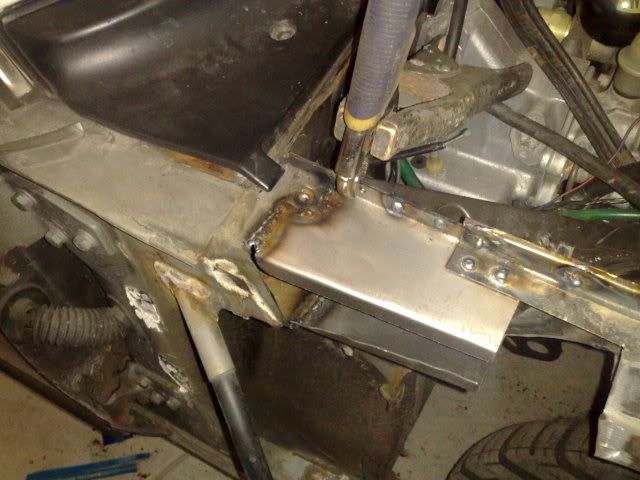
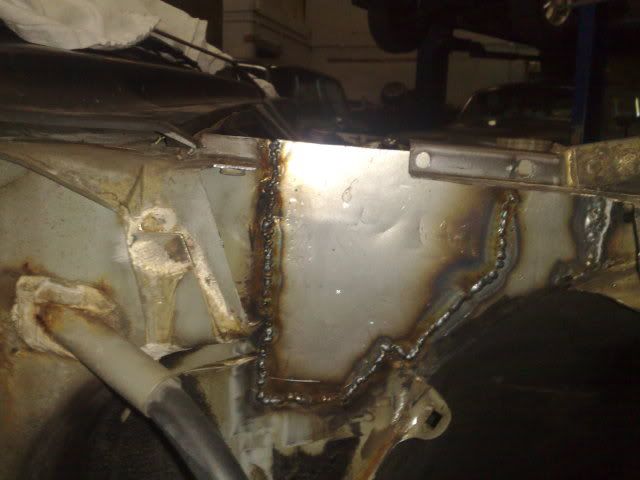
Top piece going on....
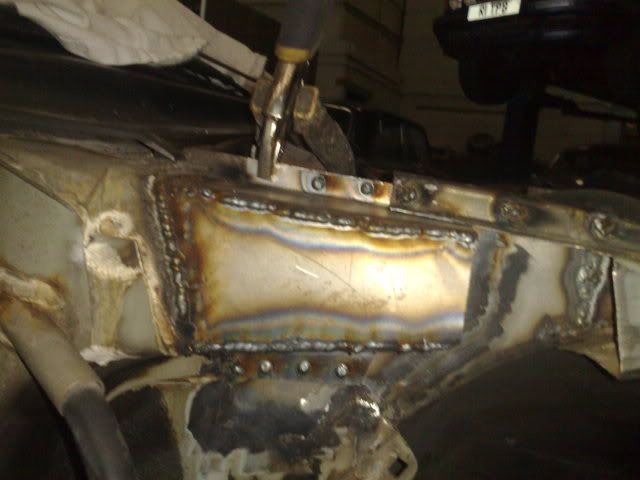
And the side. I welded everything with the tack tack tack method.
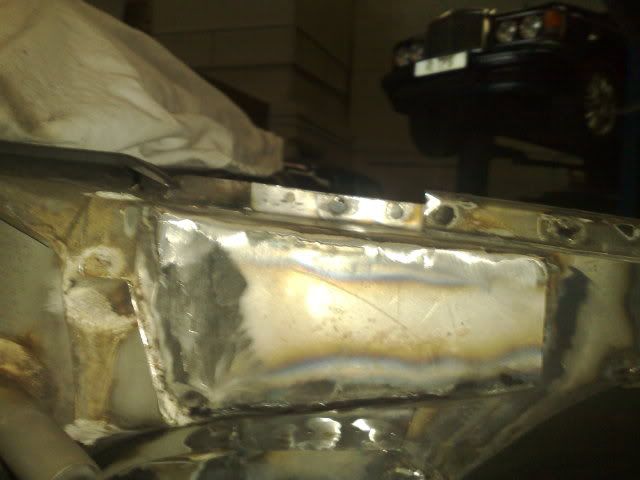
All ground back.
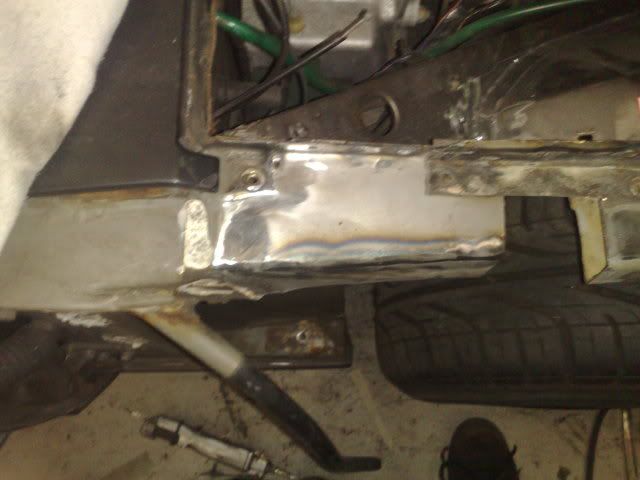
The missing end of the other box was done the same way, and overlapped the other as it did originally.
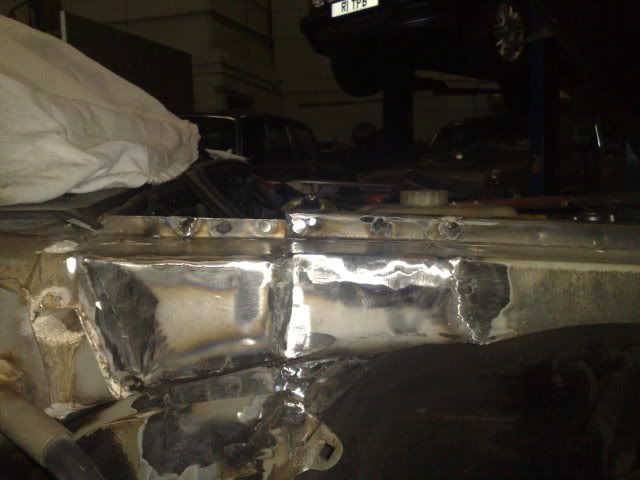
And from the other side.....
So thats the first big repair done on her... A few more to follow.... Now bear in mind I am a mechanic, and am therefore mainly used to Elastoplast welding, I am trying to improve my skills, so any constructive critiscism would be welcomed. Because this is my own car, I have used it as bit of a practice run, everything you see there has passed the hammer and pry test...
This are is quite complex with several different panels meeting each other. As I want the repair to look like it isn't there, I decided to repair each panel individually, and layer them up as they where originally. The first part being the actual inner wing itself.
Unfortunately the rot extended down a radius, making things slightly more awkward than I wanted.
Piece butt welded in and ground back. Next bit to attack was the side panel itself.
Captive nuts rescued from the original rusty mess, welded into position.
Now to start reconstructing the box sections. Seeing as the shape is more complex in reality than it seems in the pictures, and I didn't have any big enough bits of tin, I made it in 3 pieces. This box section is in two parts down the car, so I replicated this.
Thats the first part in, plug welded into position, though not being particularly confident in my plug welding abilities, I welded it along what will be the inside of the box.
Top piece going on....
And the side. I welded everything with the tack tack tack method.
All ground back.
The missing end of the other box was done the same way, and overlapped the other as it did originally.
And from the other side.....
So thats the first big repair done on her... A few more to follow.... Now bear in mind I am a mechanic, and am therefore mainly used to Elastoplast welding, I am trying to improve my skills, so any constructive critiscism would be welcomed. Because this is my own car, I have used it as bit of a practice run, everything you see there has passed the hammer and pry test...


