Dr.Al
Forum Supporter
- Messages
- 2,820
- Location
- Gloucestershire, UK
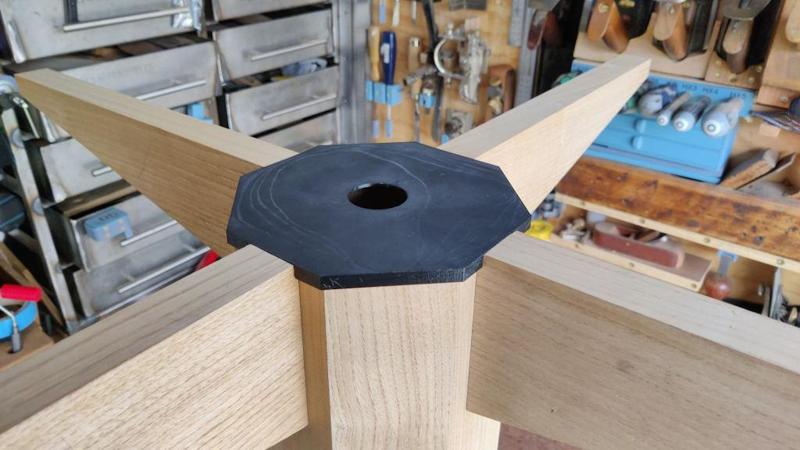
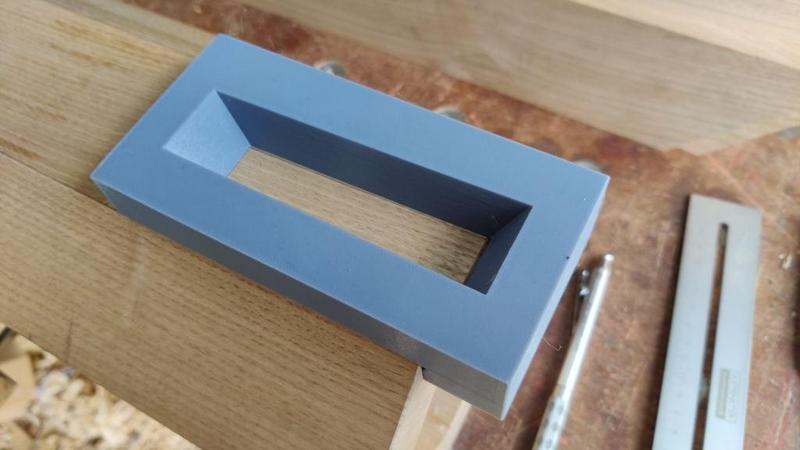
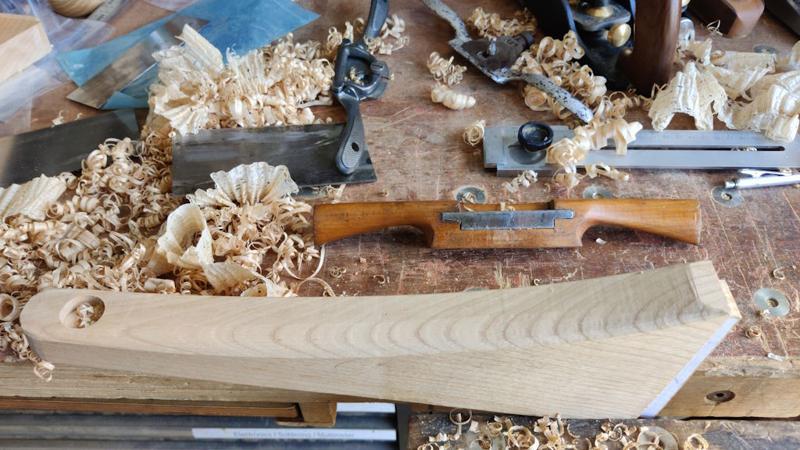
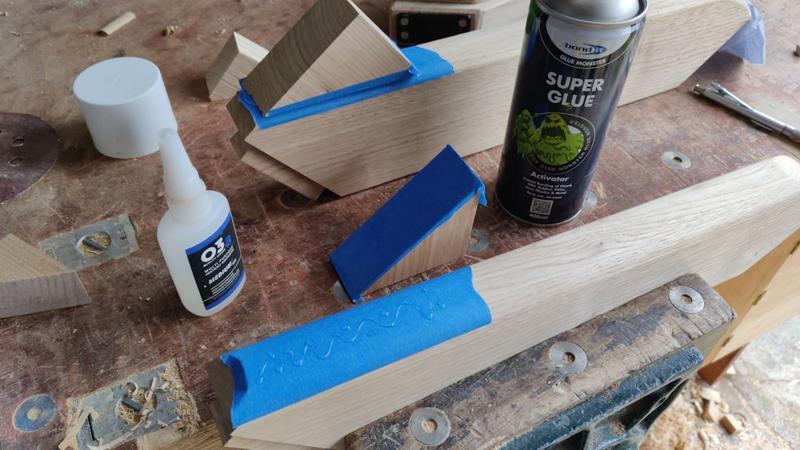
Given the gappiness of the test joint, I decided to quickly knock up another jig, much like the one I used before. There's a photo of it later, but as I said, it's really just a board with an angle planed on one edge. I'd tried "persuading" the arm into the dovetail socket quite enthusiastically (after taking the photo of the fit!) and it hadn't shown any signs of splitting, so that gave me some confidence to start cutting the socket for real.
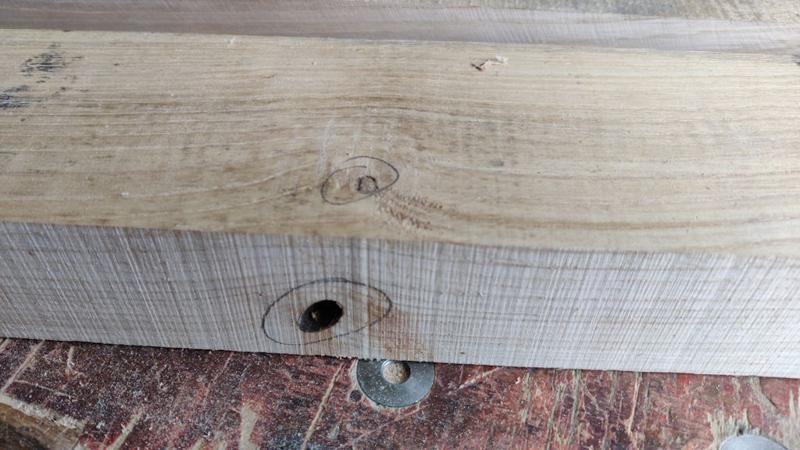
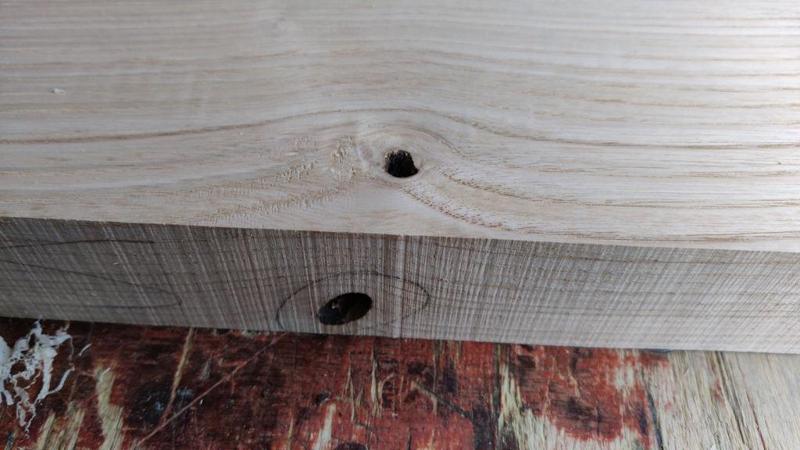
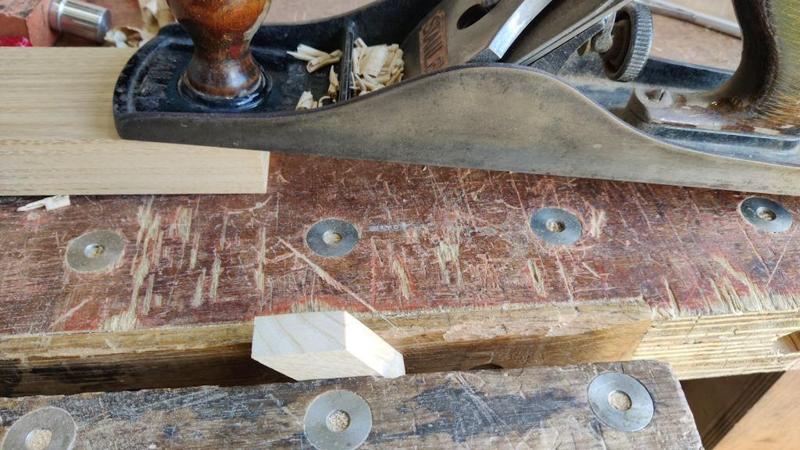
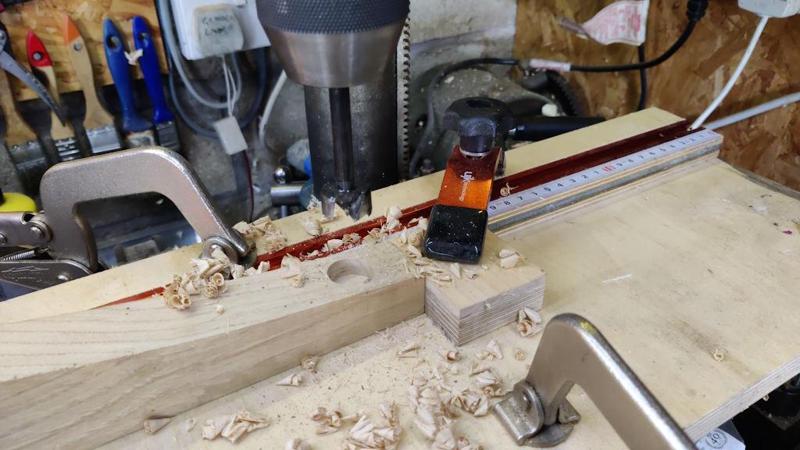
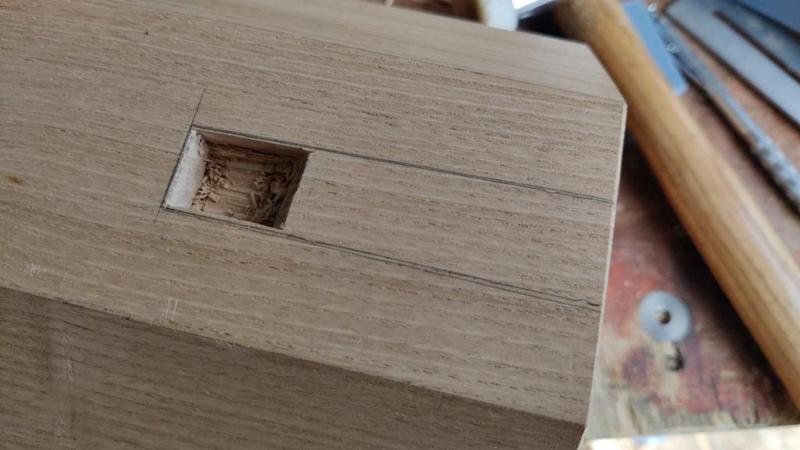
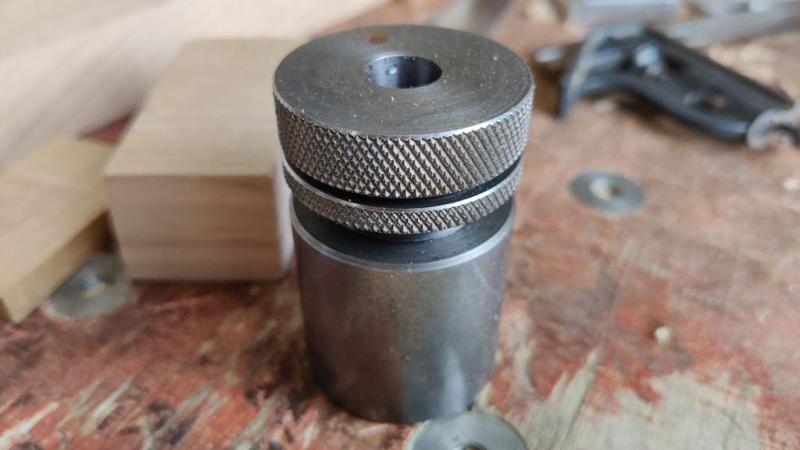
One of the challenges of cutting the sockets in the column is the process of chopping out the clearance hole at the bottom of the socket. As the column is essentially hollow, chopping down into it isn't a great thing to do. A few years ago I made a little Machinist's Jack for use on the milling machine's table. I've since lost one of the bits and not got round to replacing it, but here's what's left:
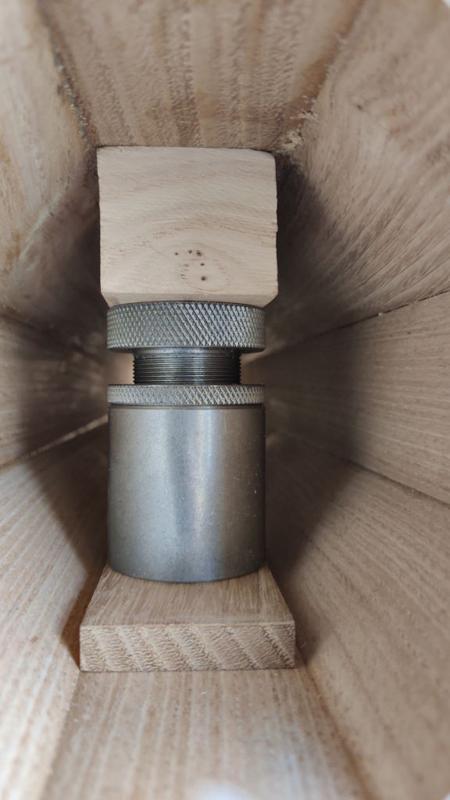
In combination with a couple of scraps of wood, that served as a nice way to add some support in the middle of the column, right under where I'd be chopping:
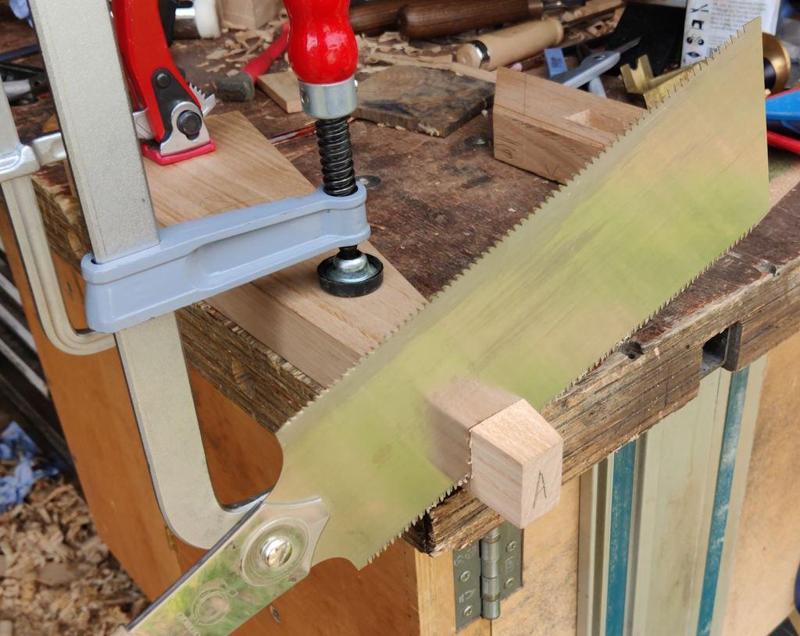
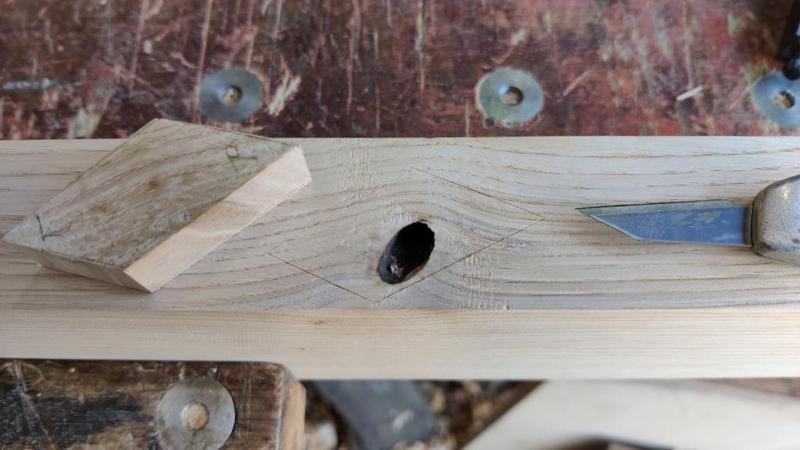
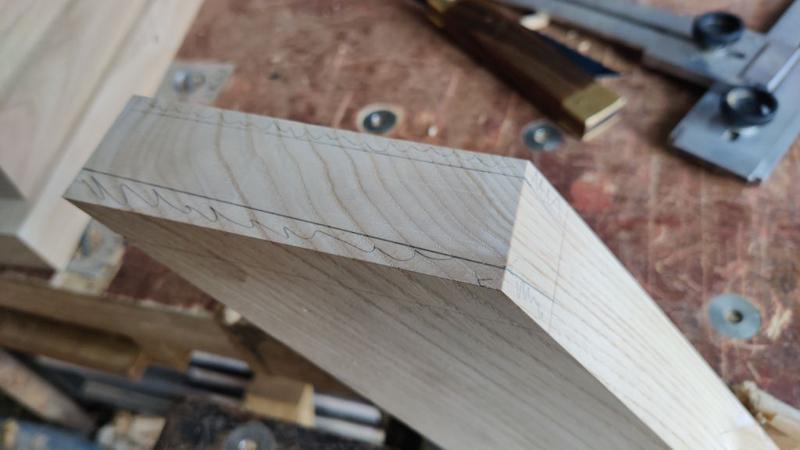
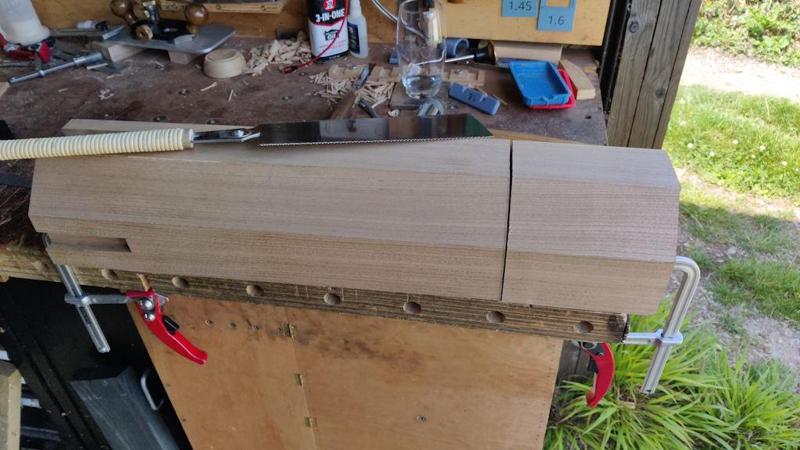
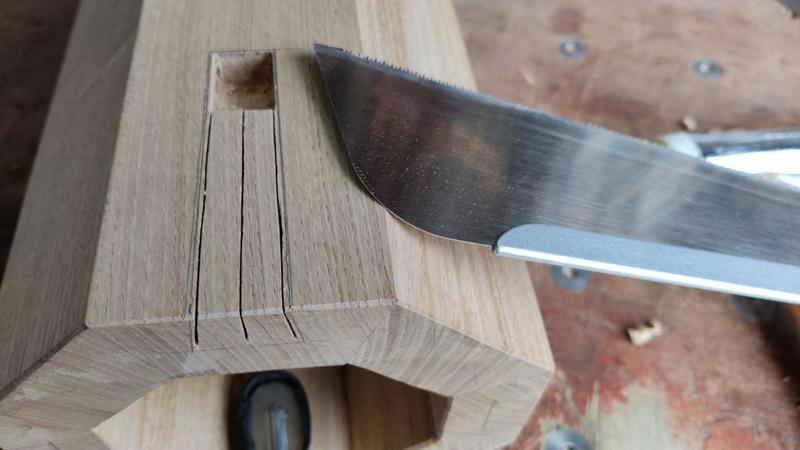
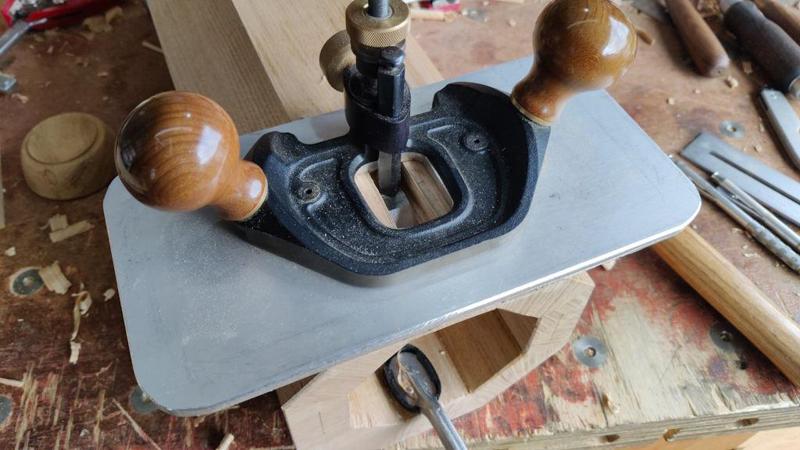
Chopping was done with the 8 mm mortice chisel as before, with a bit of masking tape to show depth:
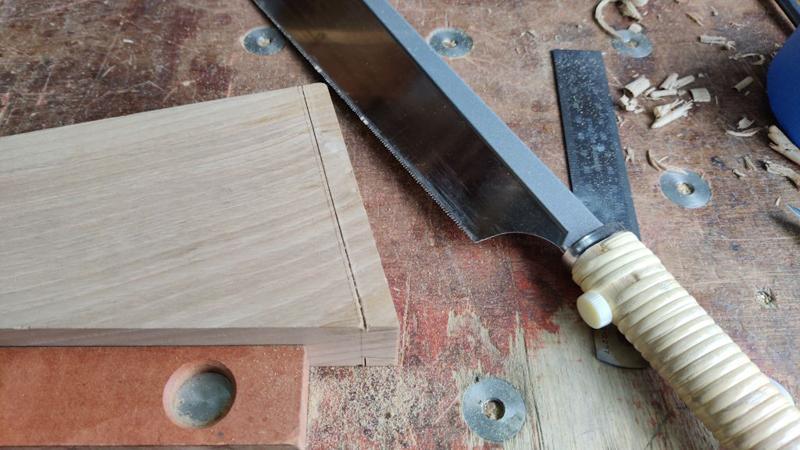
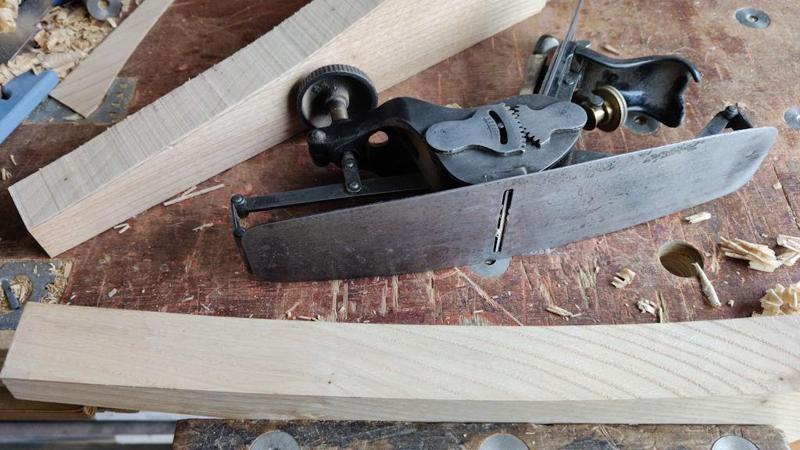
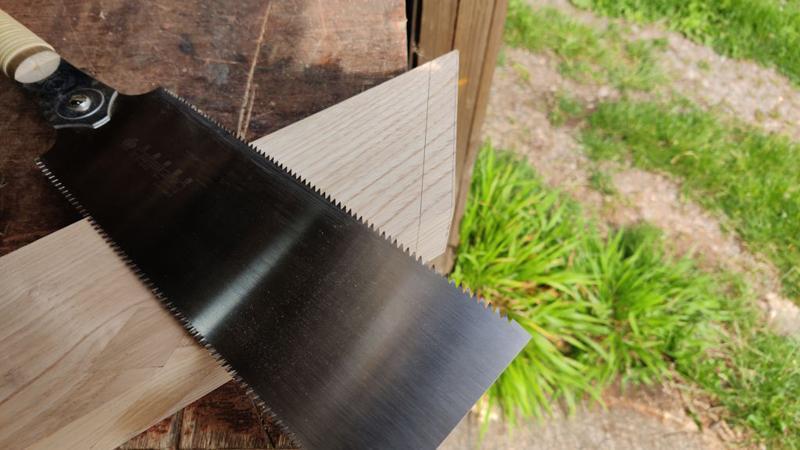
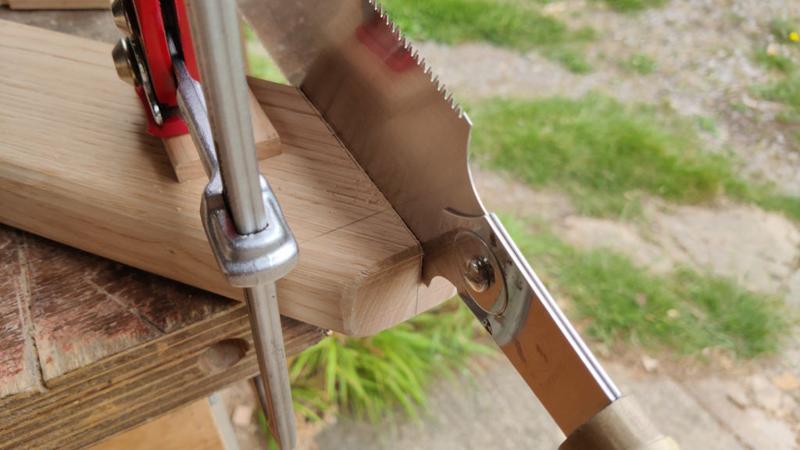
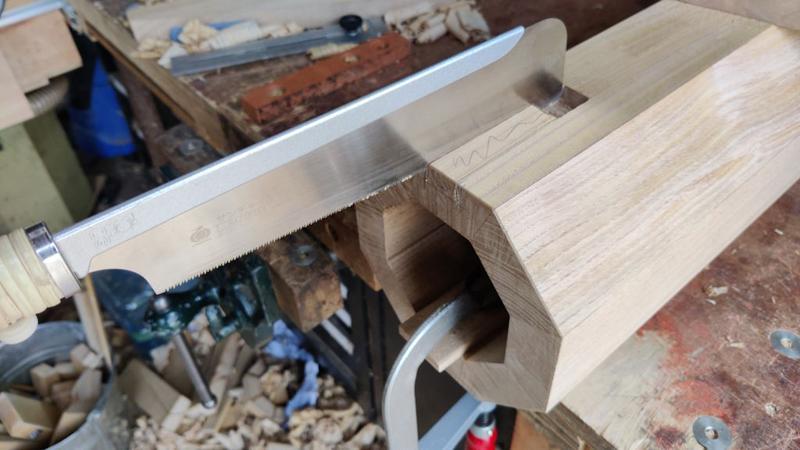
The edges (and a relief cut in the middle) were cut with the Dozuki again:
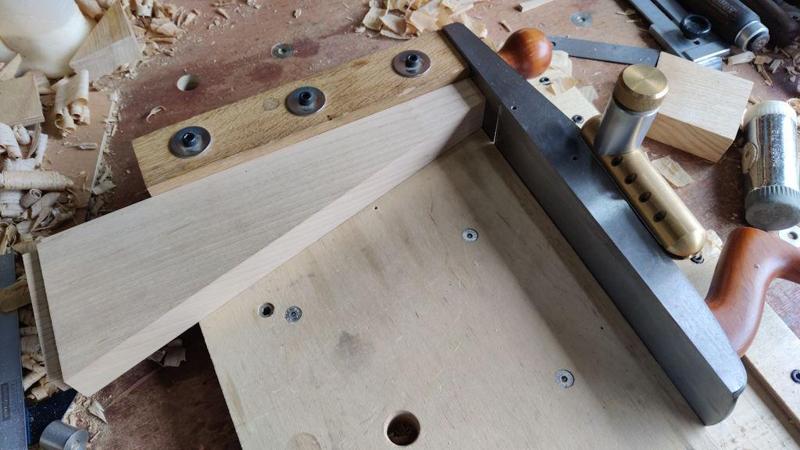
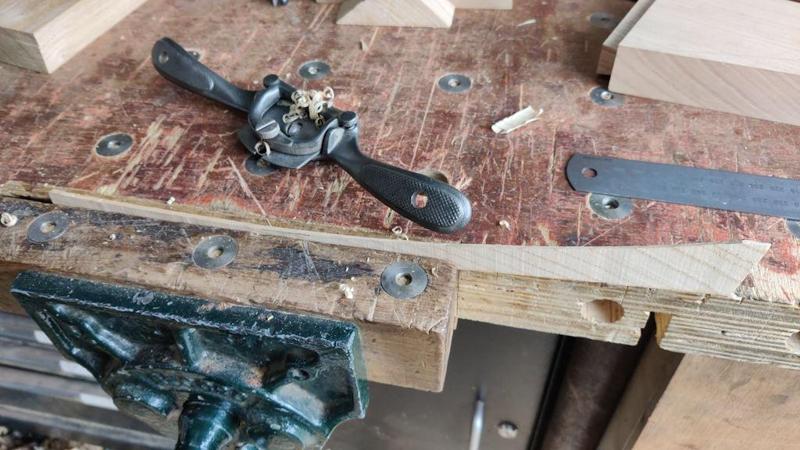
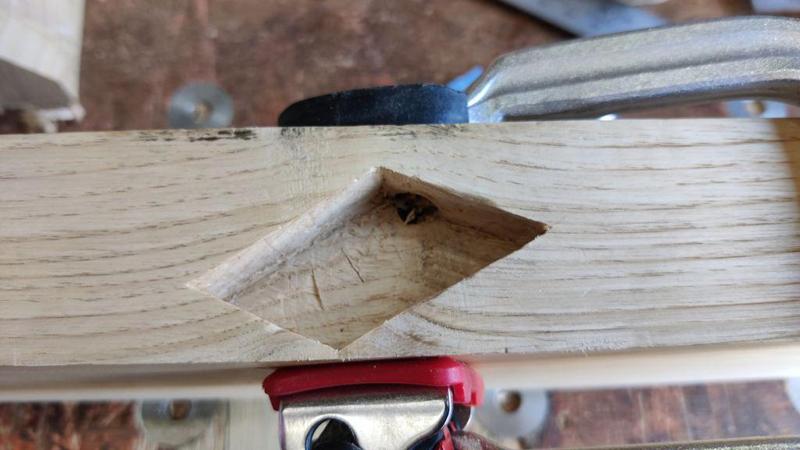
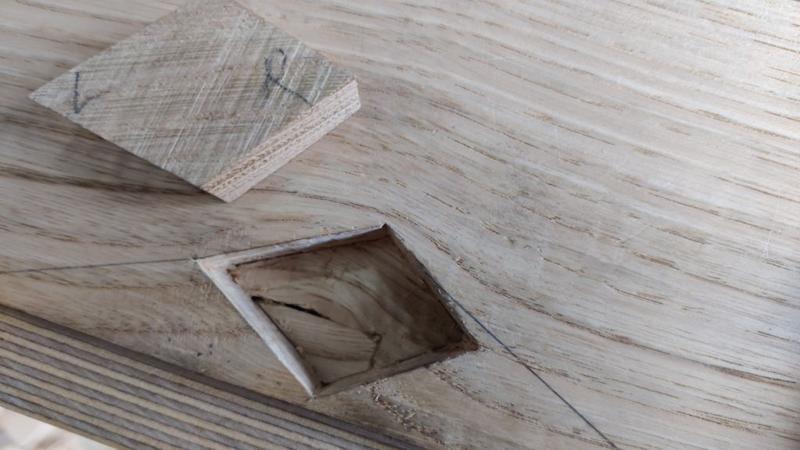
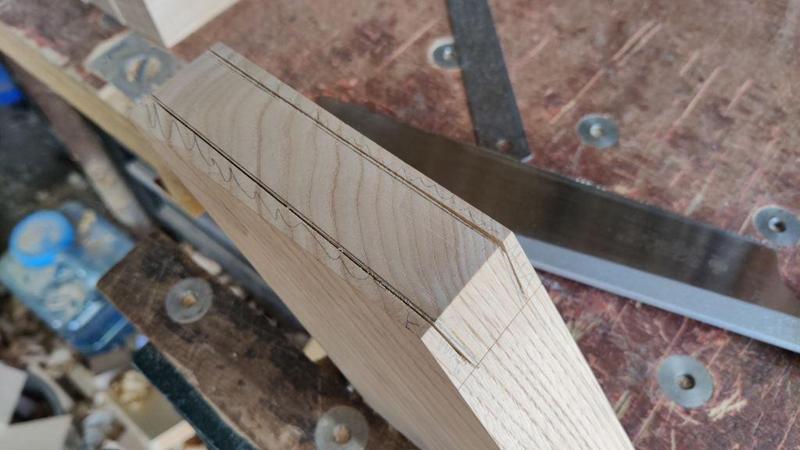
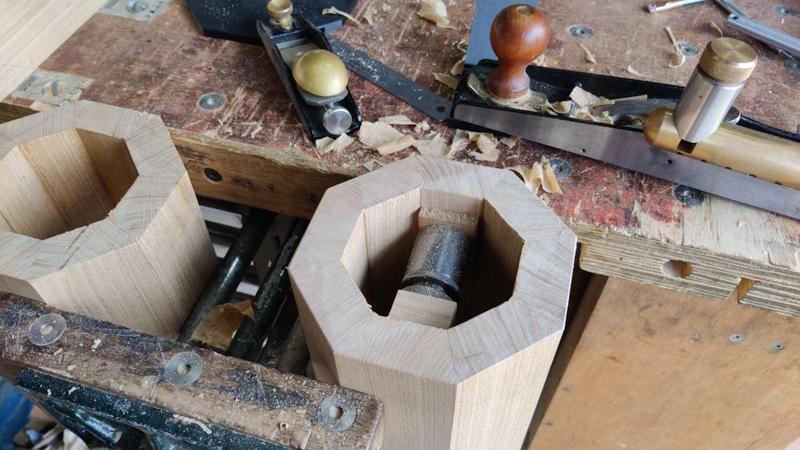
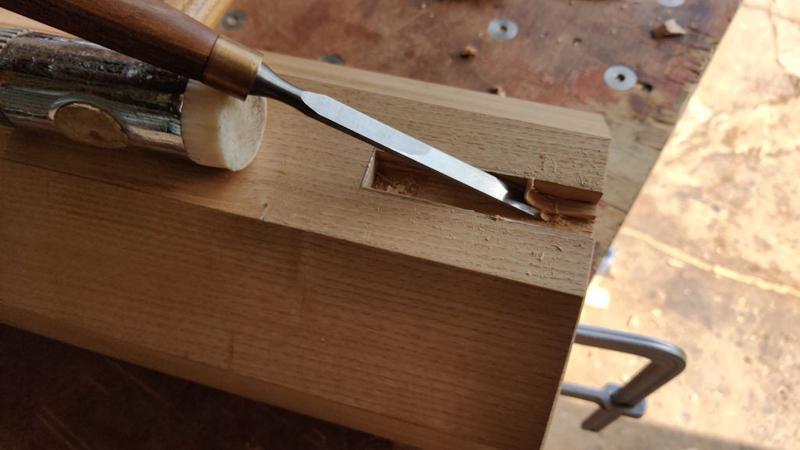
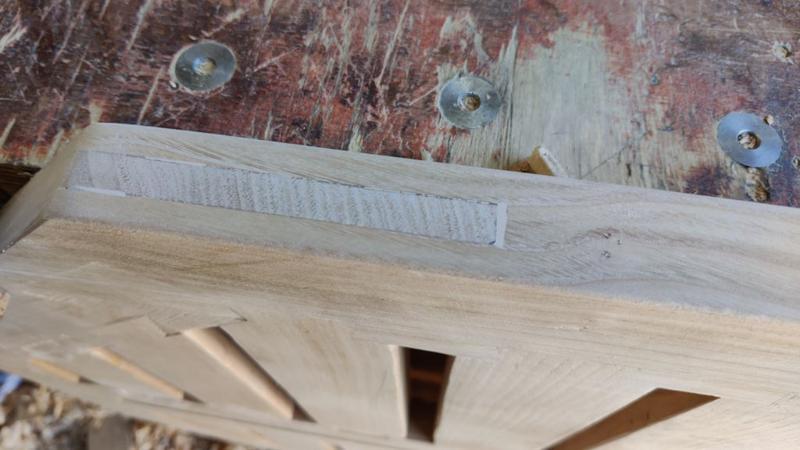
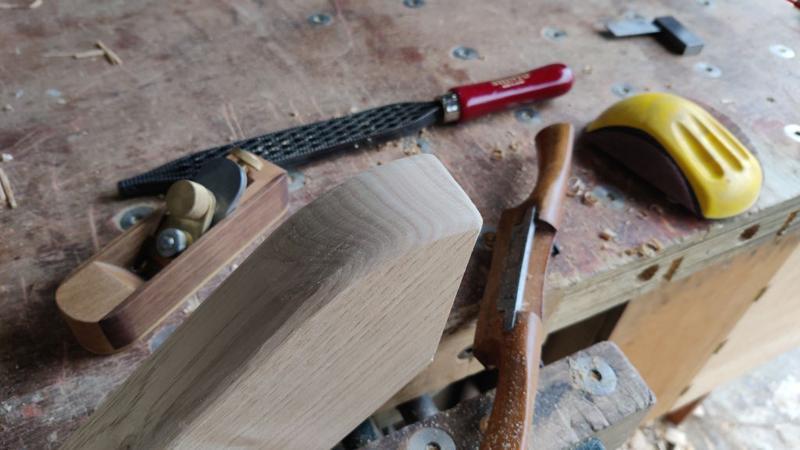
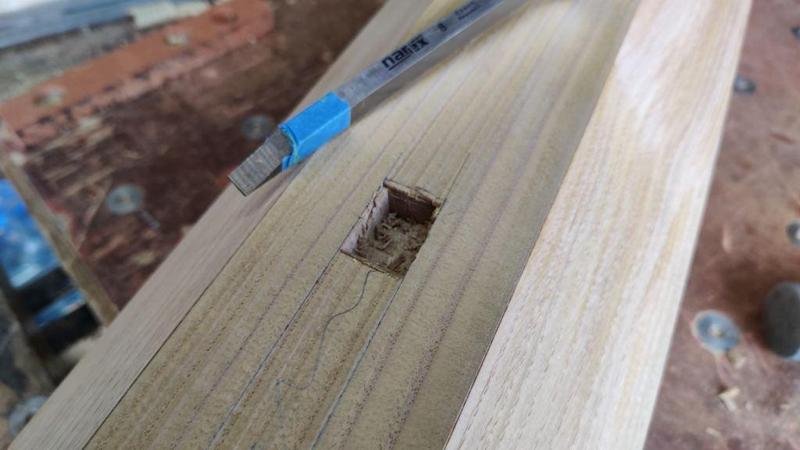
After chiselling and router planing, I had a nice finish inside:

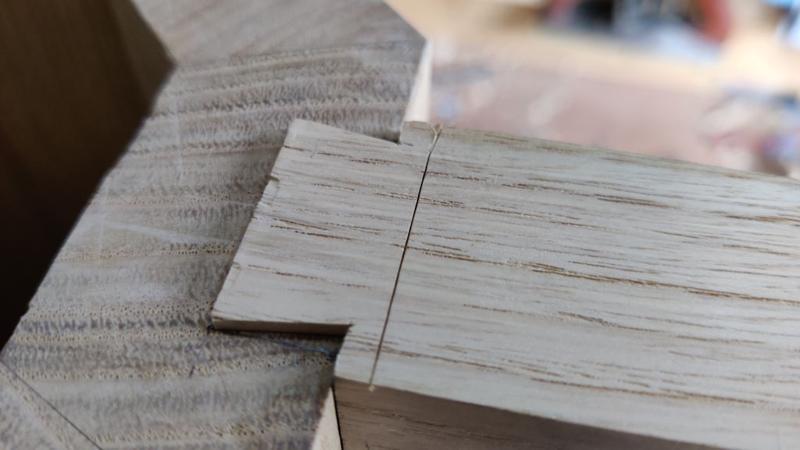
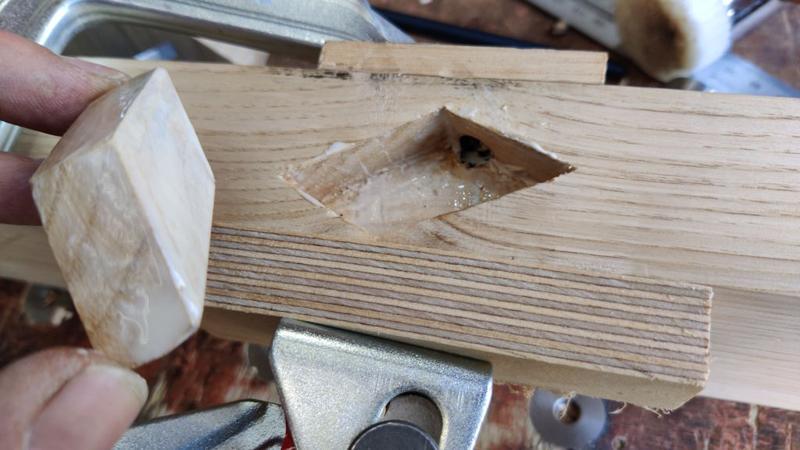
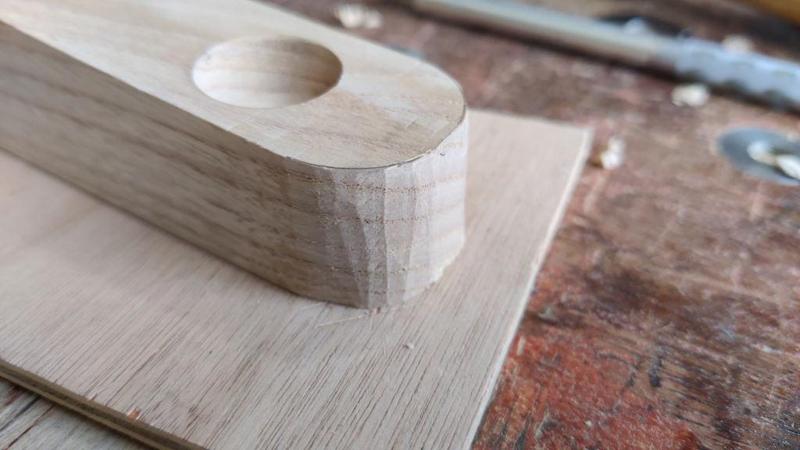
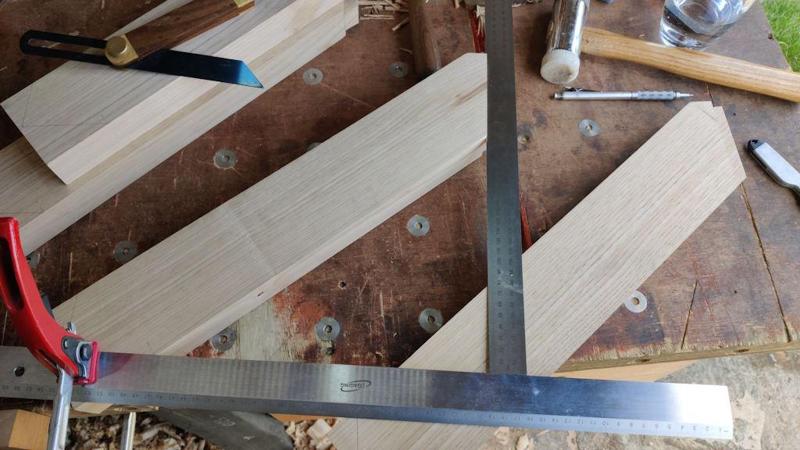
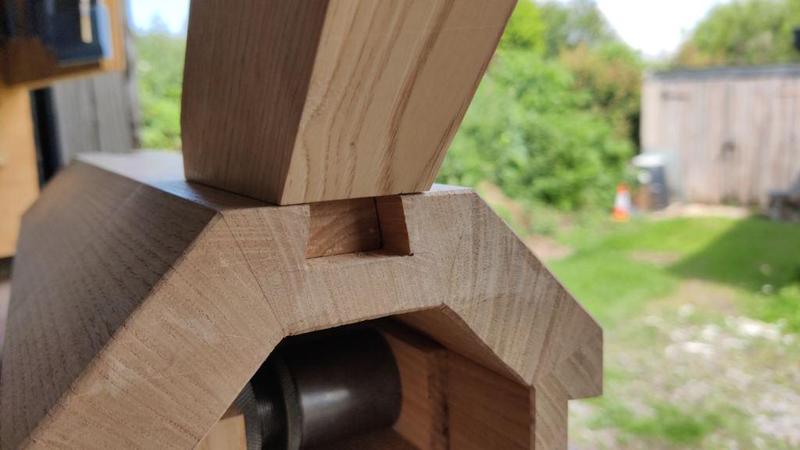
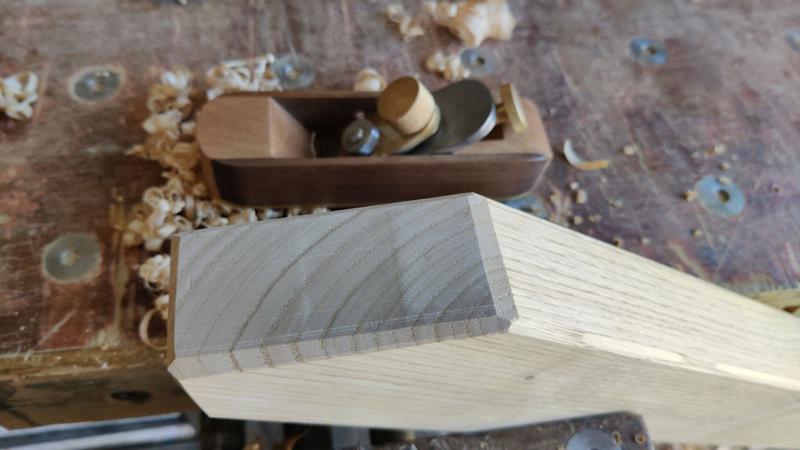
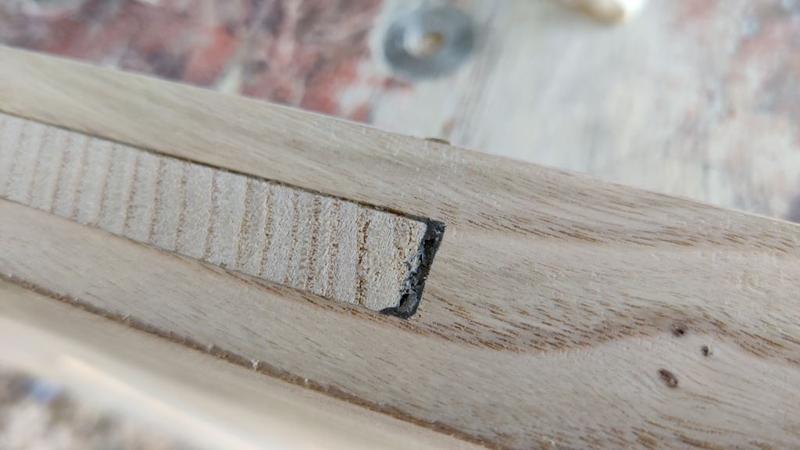
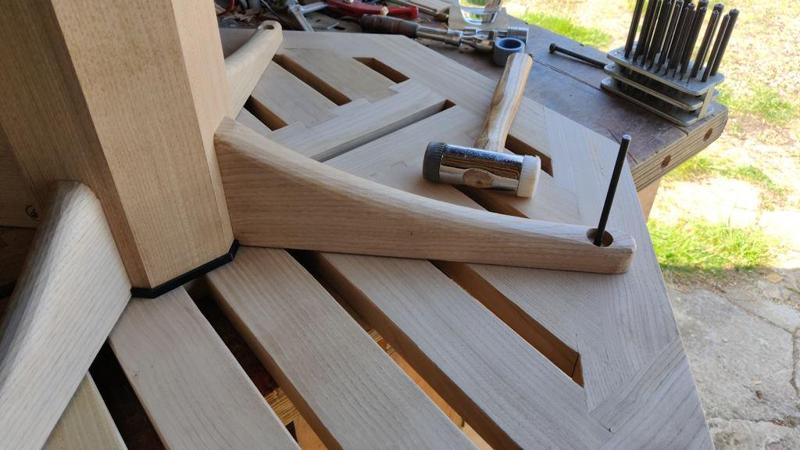
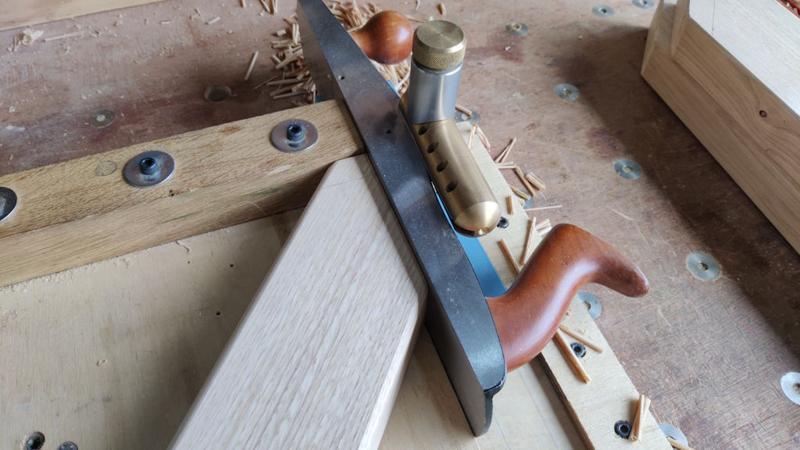
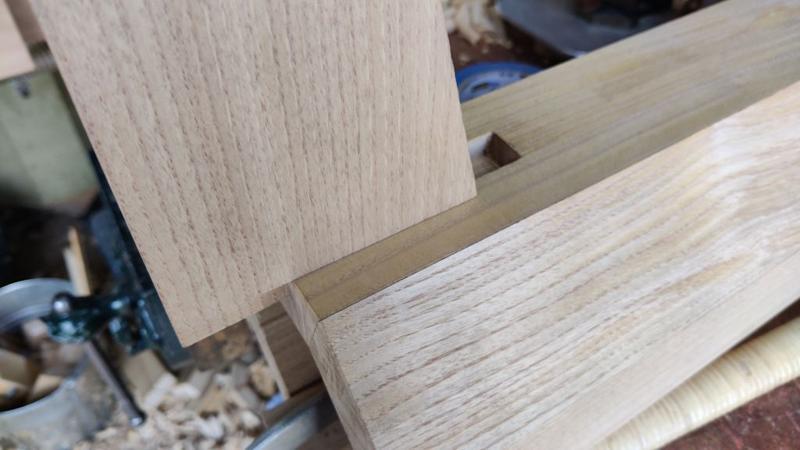
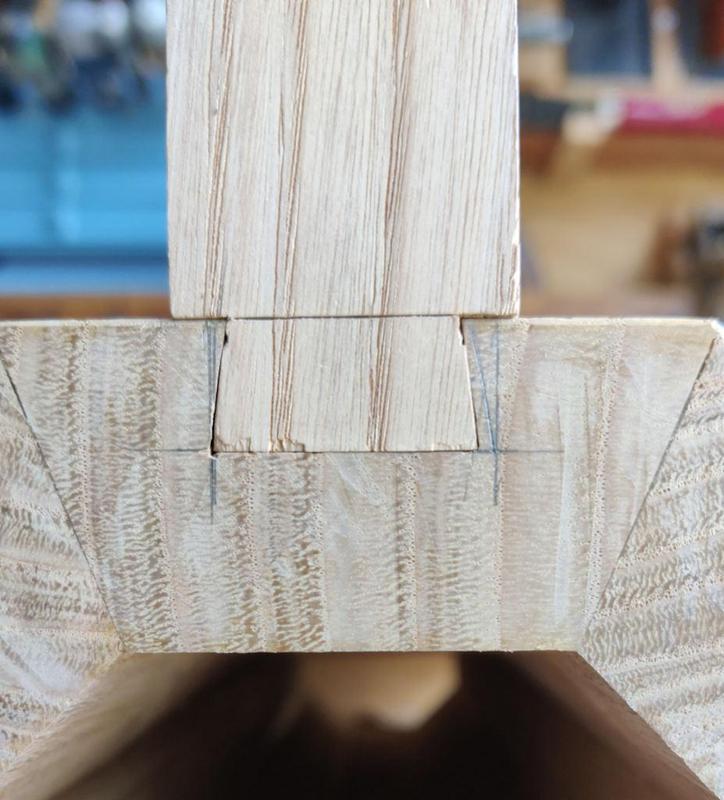
The grain direction was in the kinder direction this time (but of course that means that if I use similar joints for the legs, then the grain direction will be the other way for them). The first fit was a fair way off:
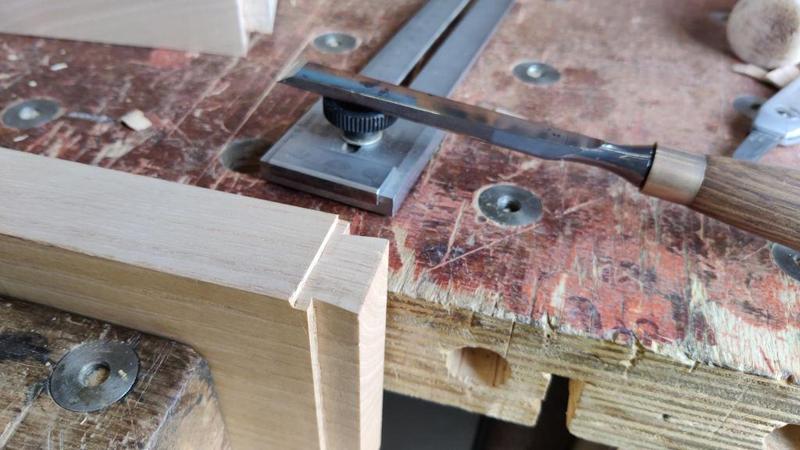
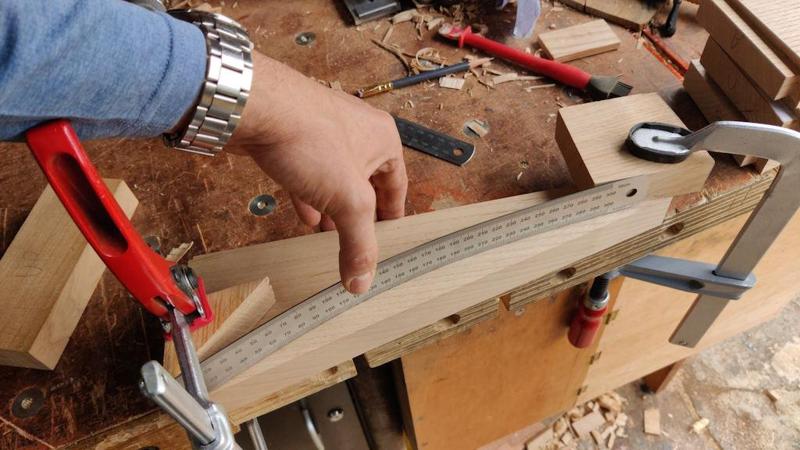
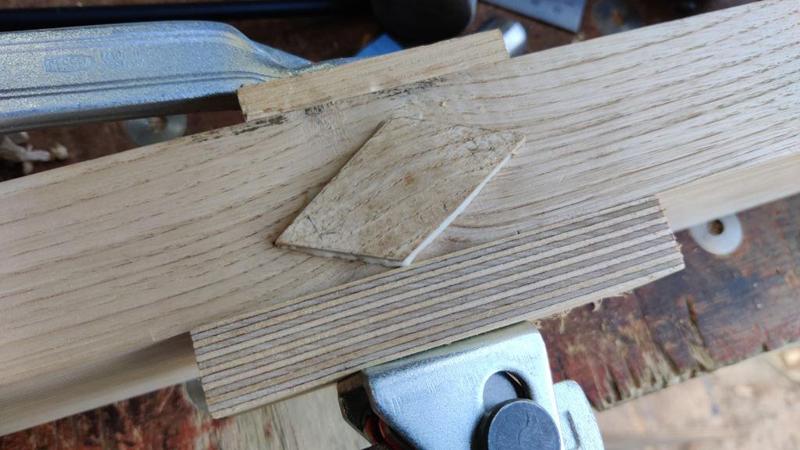
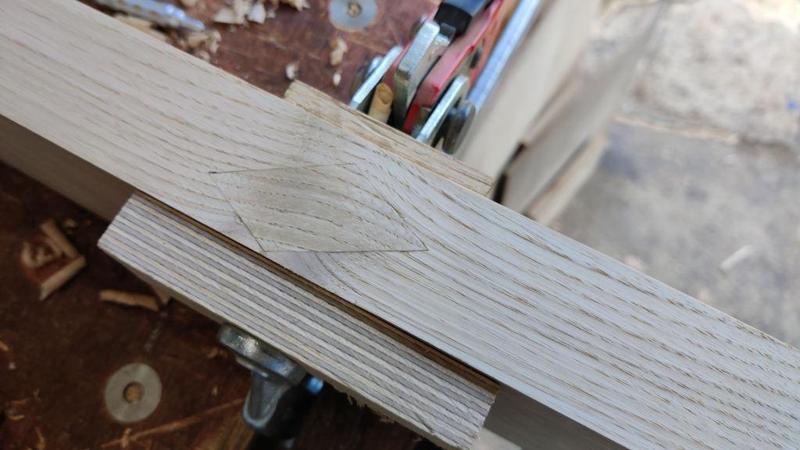
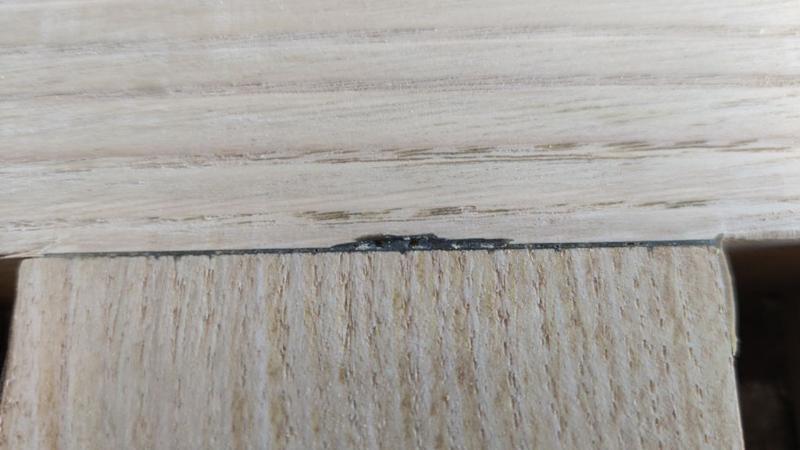
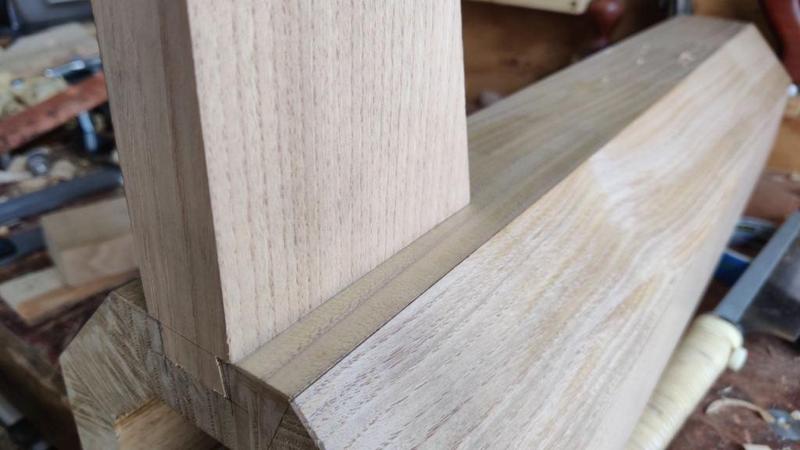
However, adjustment was nice and quick as I could just clamp the jig thing in the vice at the taper angle and just slide the plank along a bit, pare with the chisel, test fit, slide it a bit further along the jig, pare a bit etc and in very little time I had a good fit:
I didn't take any photos of the jig in the vice, but there are some photos on page 7 of the shelf unit build log.
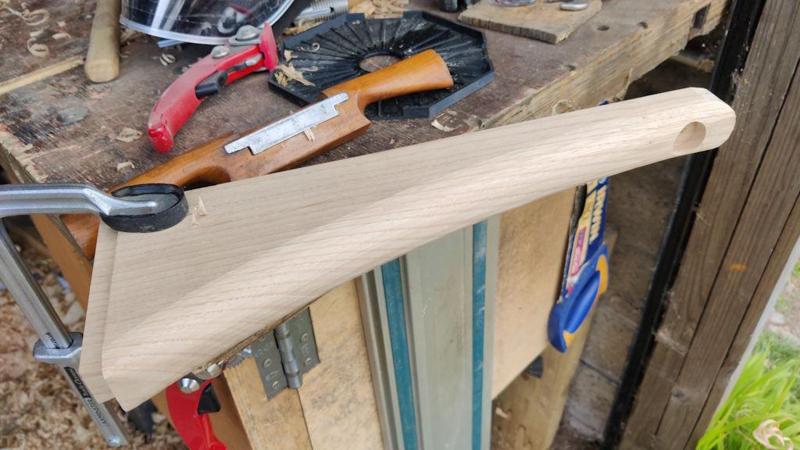
The result was a much better angle fit between the two dovetail parts than I got on the previous attempt.
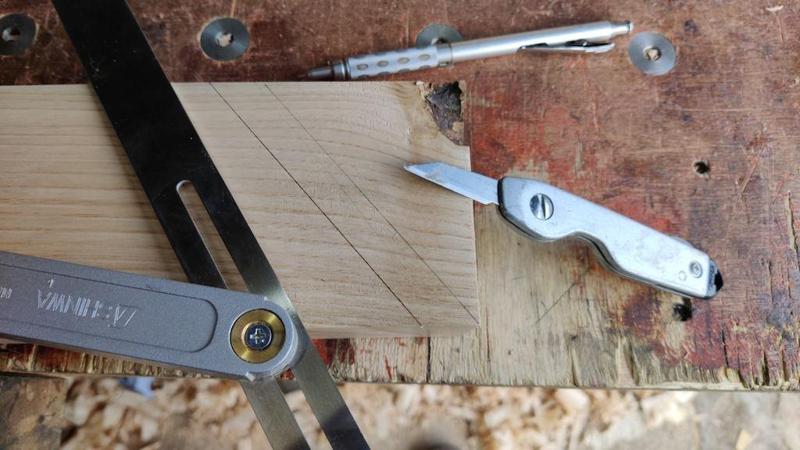
The jig isn't quite as easy to use as the one I used for the shelf unit as, when paring the socket, there really isn't any way of clamping it in place, so it just has to be held roughly in the right place with the chisel held against the angled face:

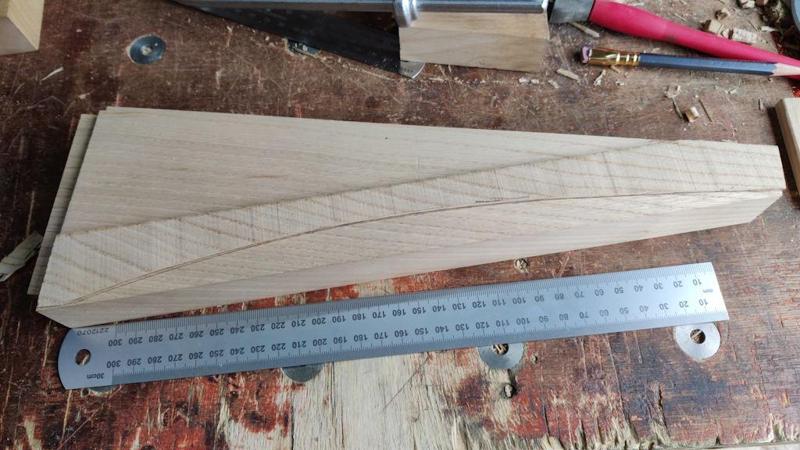
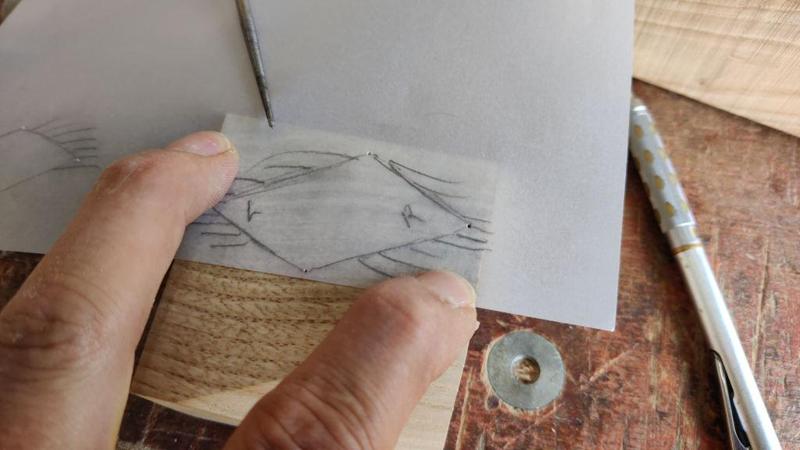
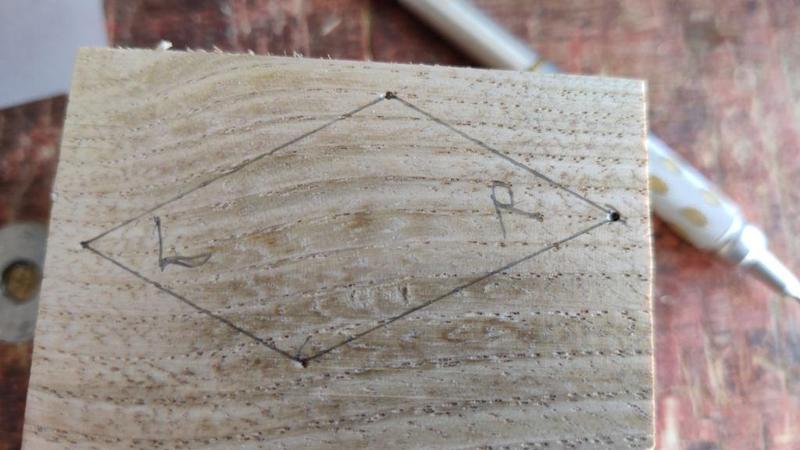
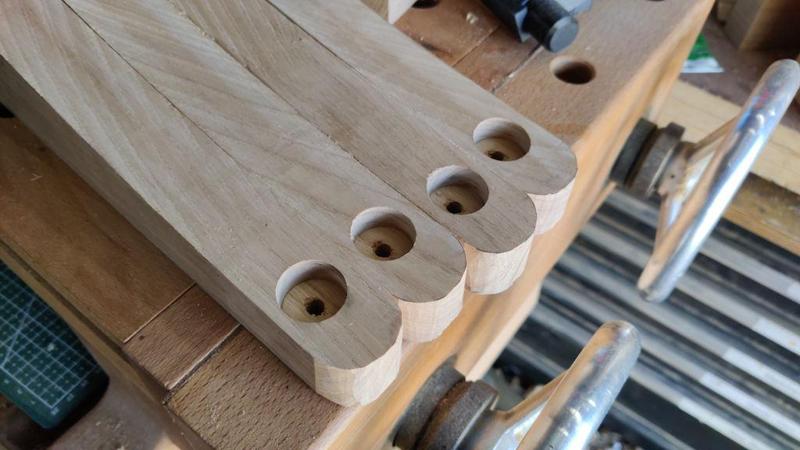
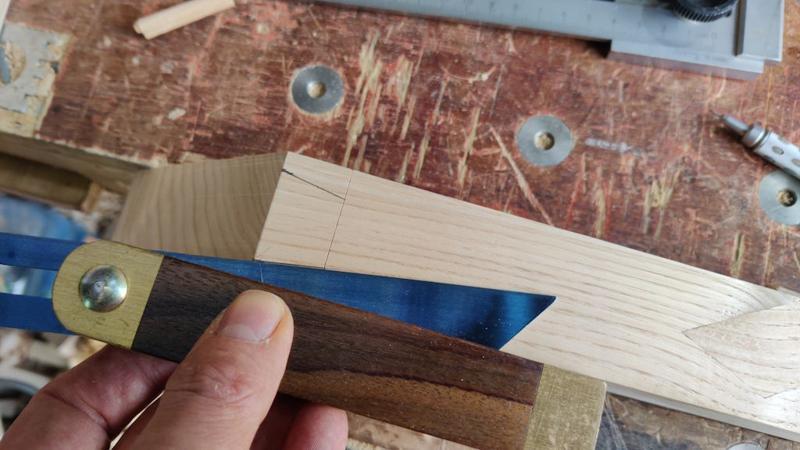
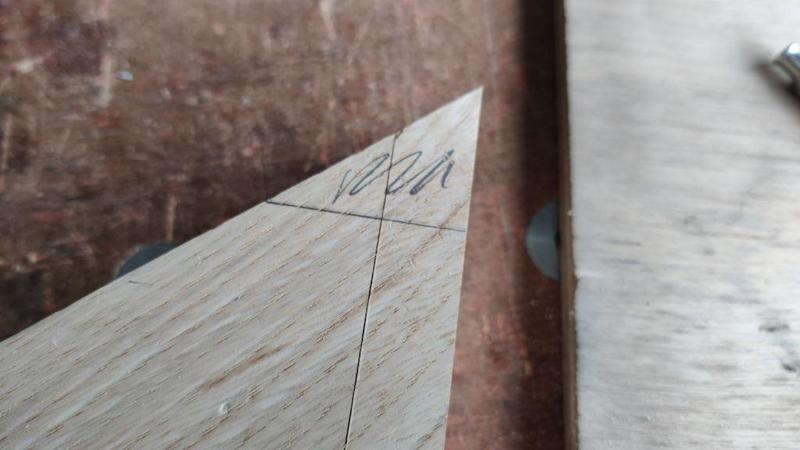
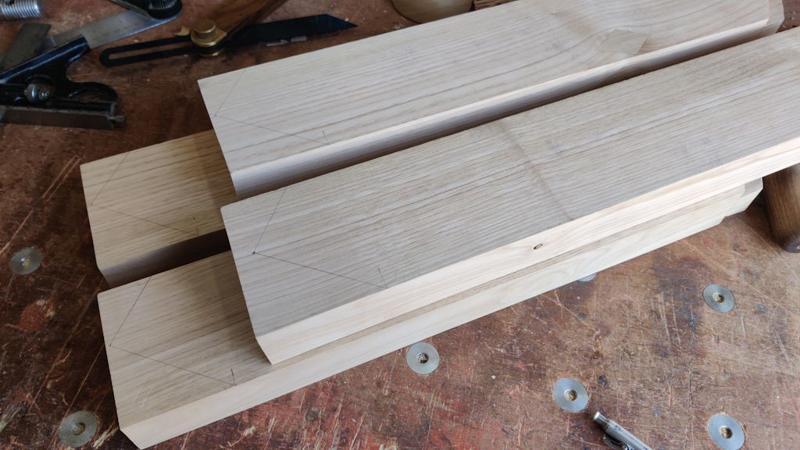
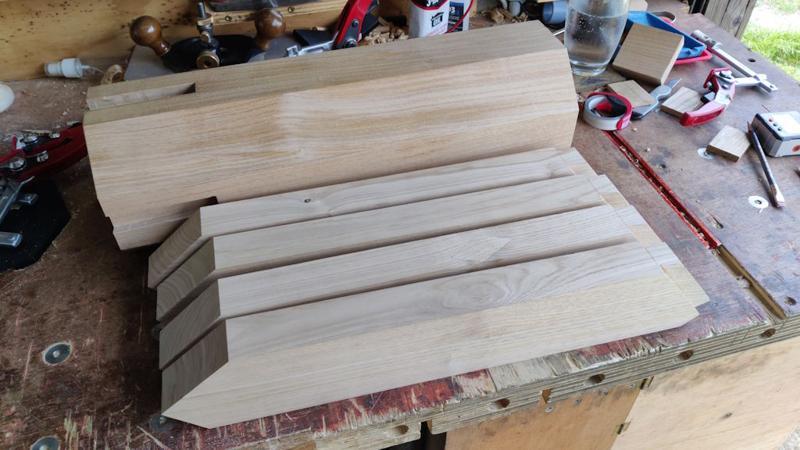
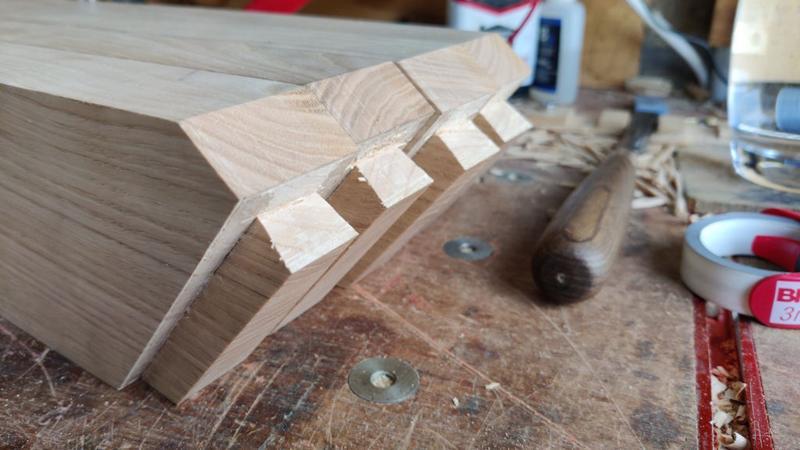
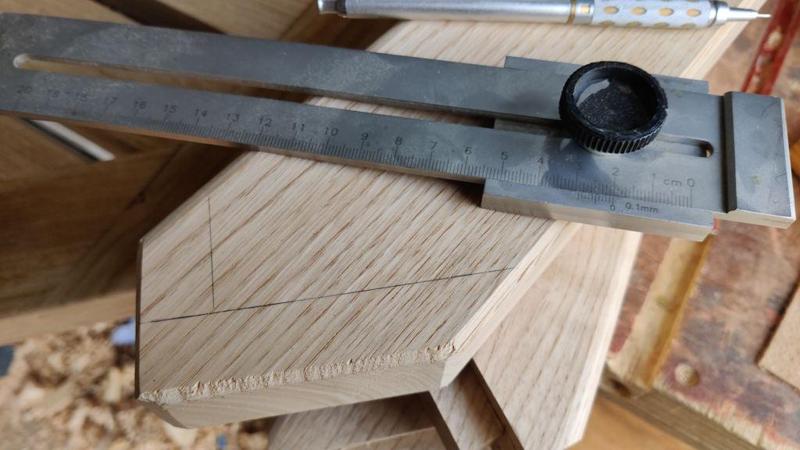
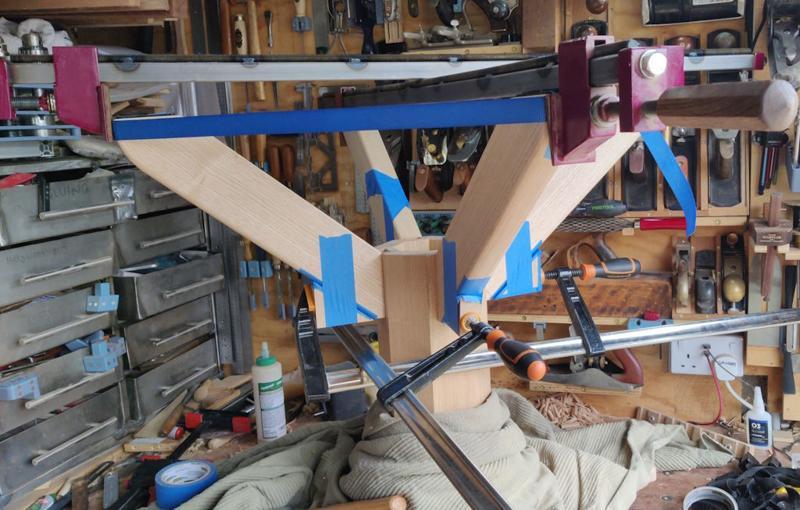
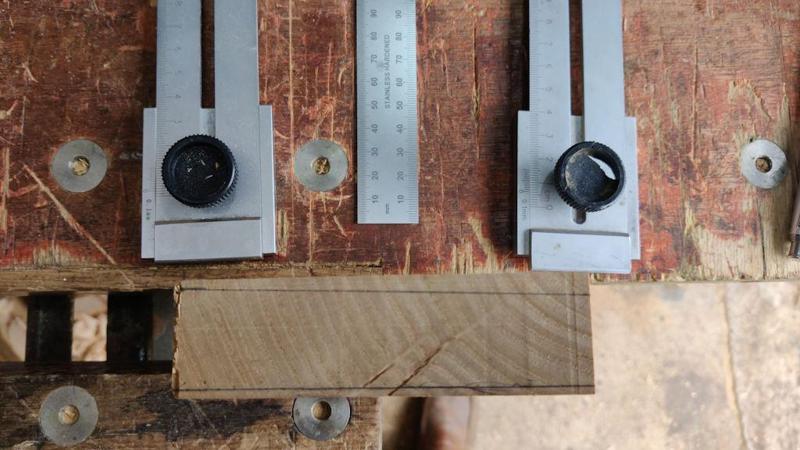
That's basically as far as I've got so far, but I did mark up the tails on the other three arm pieces. For my birthday recently, I got given a second one of my favourite marking tools, so I set one for the straight side and also the left-hand end of the tapered side and set the other for the right-hand end of the tapered side. It was then very quick to mark the ends and join with a rule and pencil:
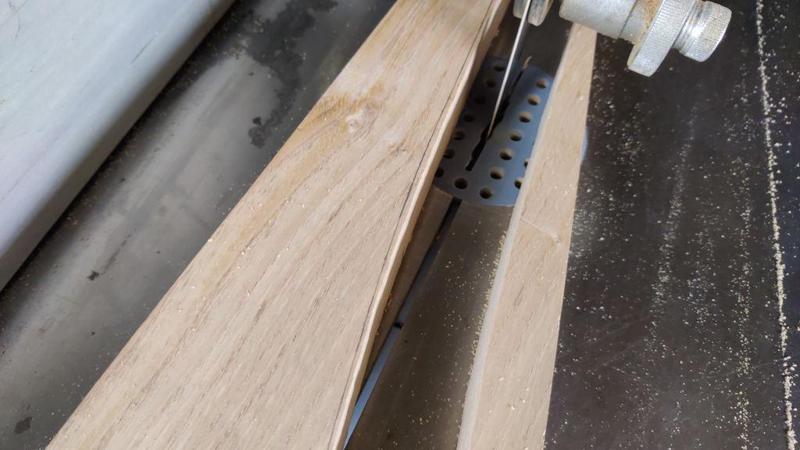
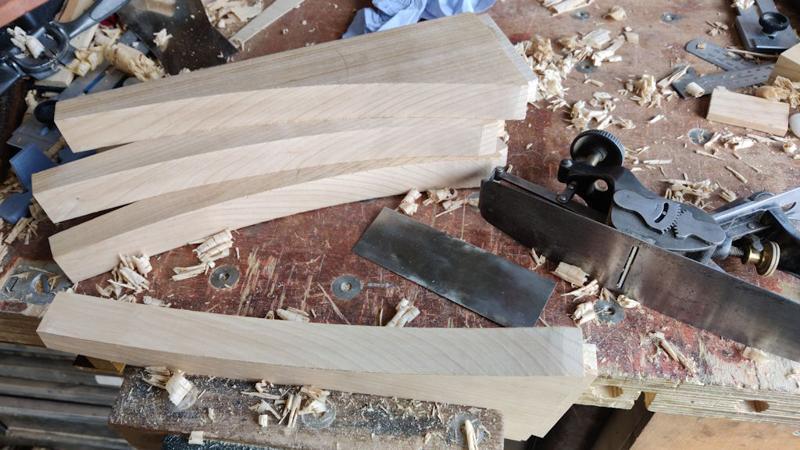
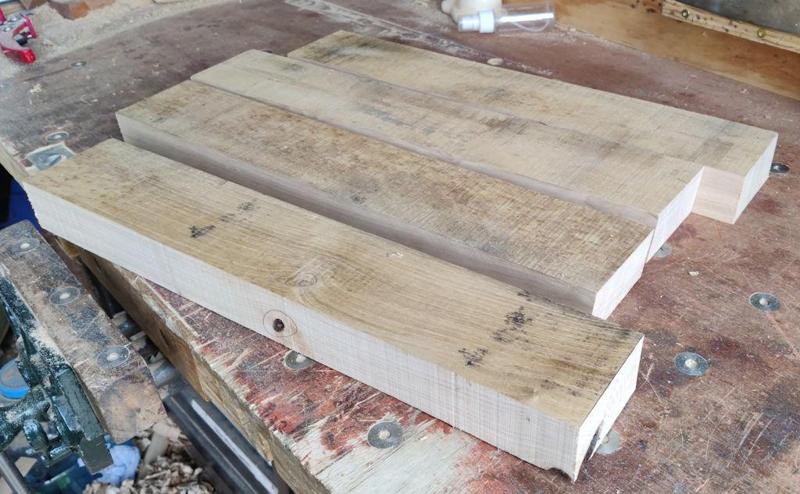
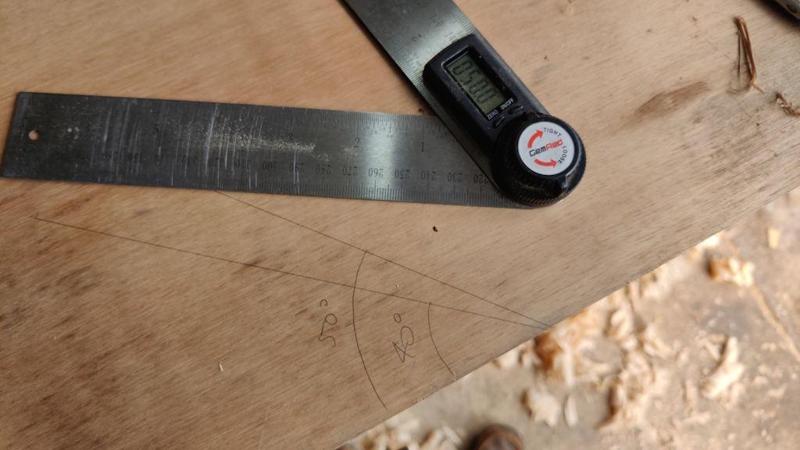
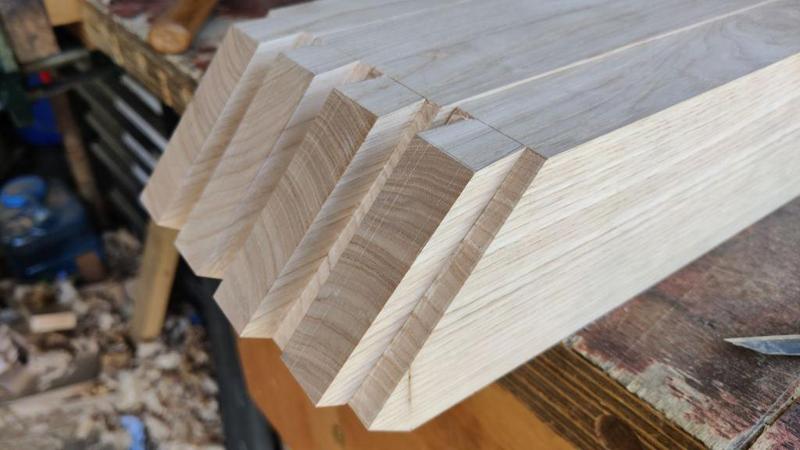
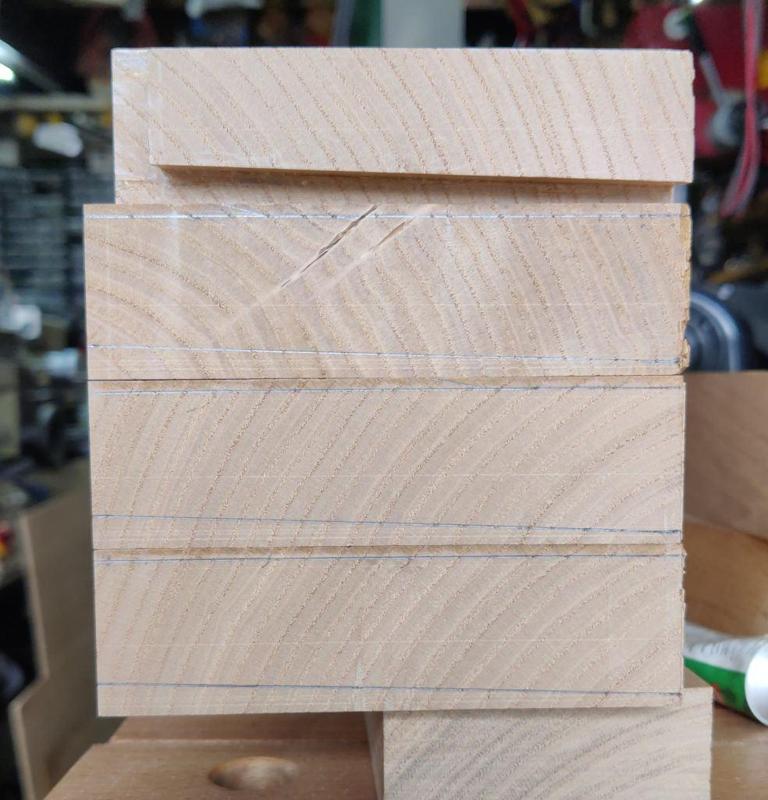
I made a point of arranging all the pieces with the tapered side on the same edge in the hope of minimising the chances of me doing something daft when I'm cutting the sockets:
That's it for now; the next post will probably be when I've had time to finish off those remaining three sliding dovetails and am starting to think about legs.
One of the challenges of cutting the sockets in the column is the process of chopping out the clearance hole at the bottom of the socket. As the column is essentially hollow, chopping down into it isn't a great thing to do. A few years ago I made a little Machinist's Jack for use on the milling machine's table. I've since lost one of the bits and not got round to replacing it, but here's what's left:
In combination with a couple of scraps of wood, that served as a nice way to add some support in the middle of the column, right under where I'd be chopping:
Chopping was done with the 8 mm mortice chisel as before, with a bit of masking tape to show depth:
The edges (and a relief cut in the middle) were cut with the Dozuki again:
After chiselling and router planing, I had a nice finish inside:
The grain direction was in the kinder direction this time (but of course that means that if I use similar joints for the legs, then the grain direction will be the other way for them). The first fit was a fair way off:
However, adjustment was nice and quick as I could just clamp the jig thing in the vice at the taper angle and just slide the plank along a bit, pare with the chisel, test fit, slide it a bit further along the jig, pare a bit etc and in very little time I had a good fit:
I didn't take any photos of the jig in the vice, but there are some photos on page 7 of the shelf unit build log.
The result was a much better angle fit between the two dovetail parts than I got on the previous attempt.
The jig isn't quite as easy to use as the one I used for the shelf unit as, when paring the socket, there really isn't any way of clamping it in place, so it just has to be held roughly in the right place with the chisel held against the angled face:
That's basically as far as I've got so far, but I did mark up the tails on the other three arm pieces. For my birthday recently, I got given a second one of my favourite marking tools, so I set one for the straight side and also the left-hand end of the tapered side and set the other for the right-hand end of the tapered side. It was then very quick to mark the ends and join with a rule and pencil:
I made a point of arranging all the pieces with the tapered side on the same edge in the hope of minimising the chances of me doing something daft when I'm cutting the sockets:
That's it for now; the next post will probably be when I've had time to finish off those remaining three sliding dovetails and am starting to think about legs.