


Country Joe
Argoshield Dark
- Messages
- 1,730
- Location
- Somerset - United Kingdom
Ahoy there,
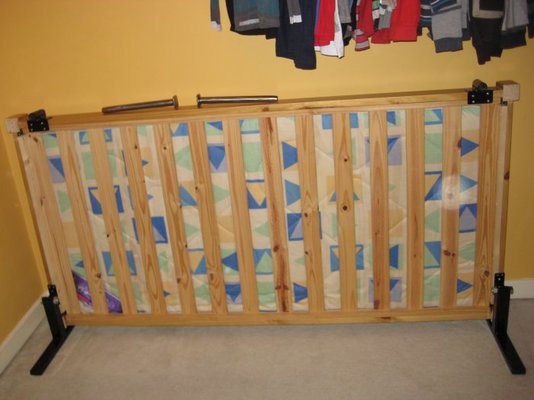
My ten year old kid's room is too small to contain his mess, so I concocted something to make it seem bigger.
I'd seen something like this on-line somewhere, but it seemed to cost quite a lot, for what it was, so worked out it could be made for a lot less using steel that was already littering the garage. And once I'd blurted to the Kid, that I could make it, I could hardly stop - I'd never hear the end of it!
Would have taken more shots of it during the bare metal stage, but once you get busy, its hard to remember to.
The bed was the top bunk of his bunk bed, and I chopped off the legs just above and below the frame that the mattress sits in.
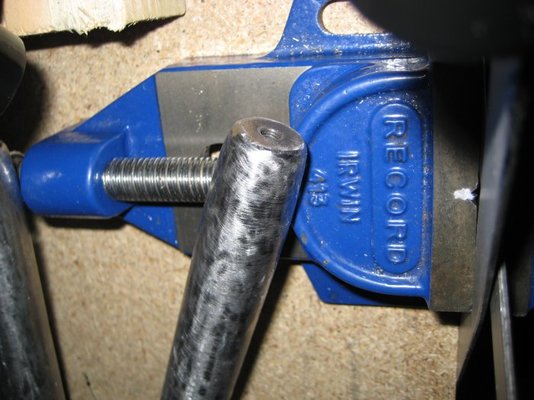
The "T" shaped parts are 50x50 joined to 50x25, both 3mm wall thickness. I had to drill a 20mm hole through them, and having stepped up from 5mm to 10mm holes, I had nothing in-between that and 20mm.
I'd had an inkling that 10-20 mm in one go might be too much of a jump - seems I was almost right. I mean it worked, but it just didn't go as smoothly as I'd hoped. A holesaw might have been easier, I guess.
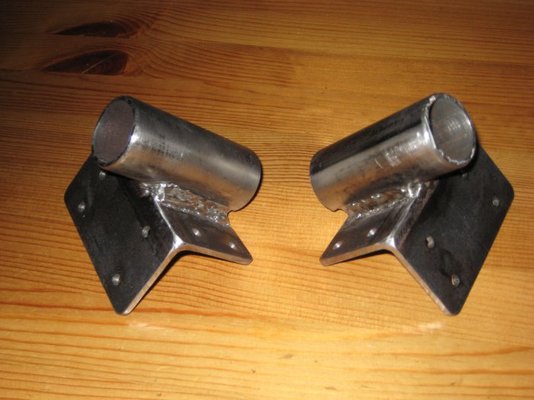
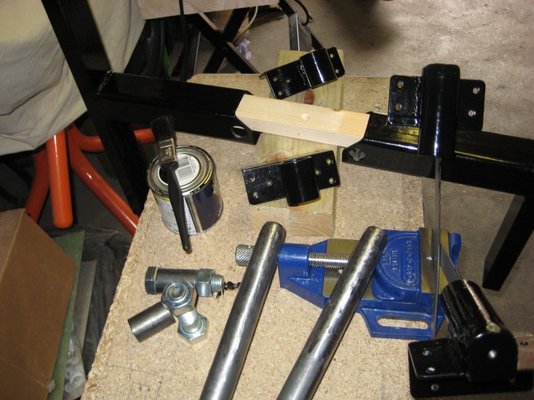
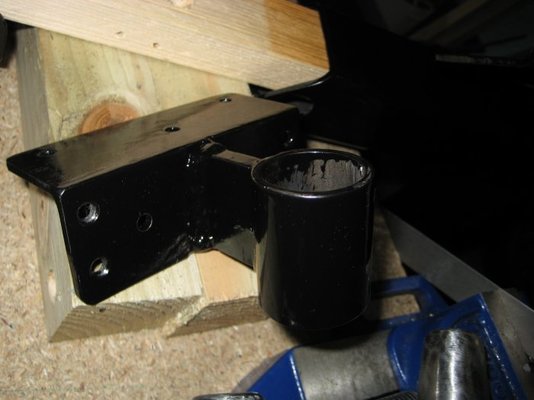
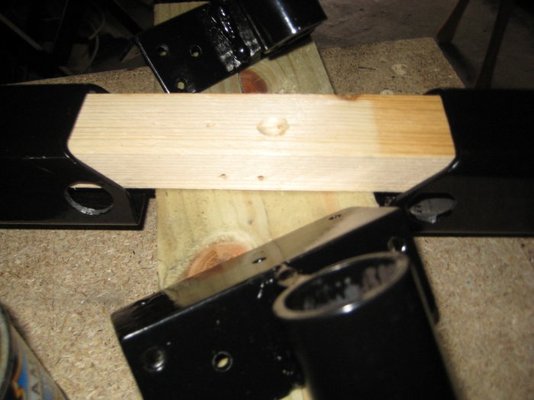
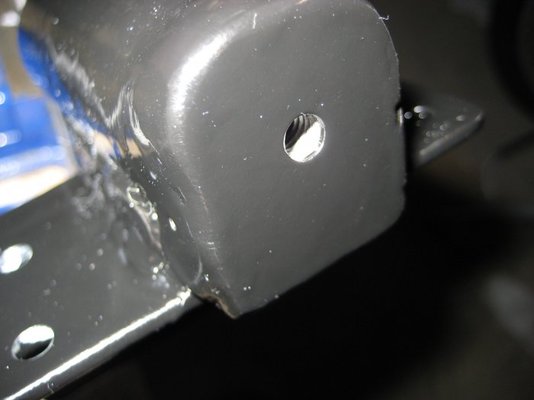
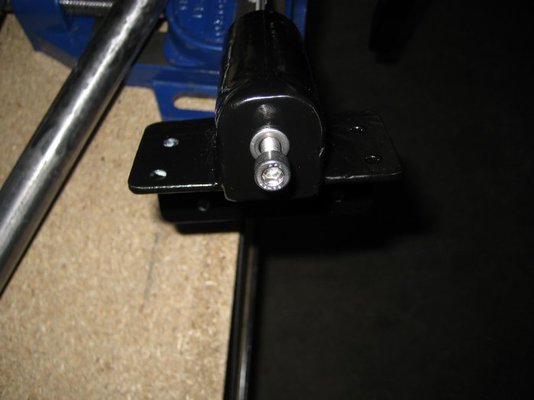
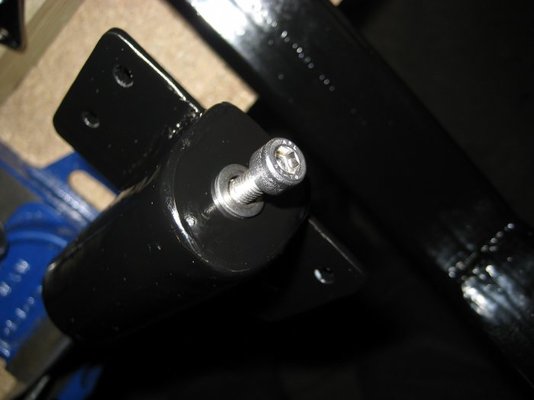
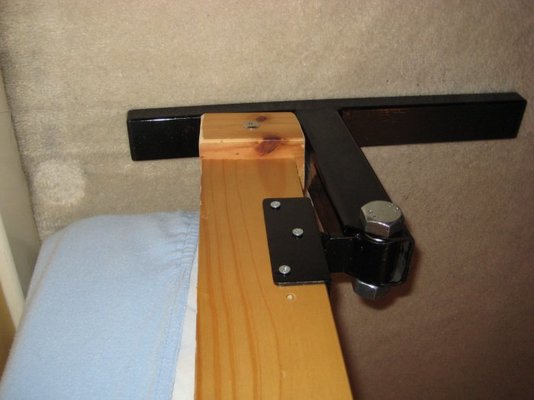
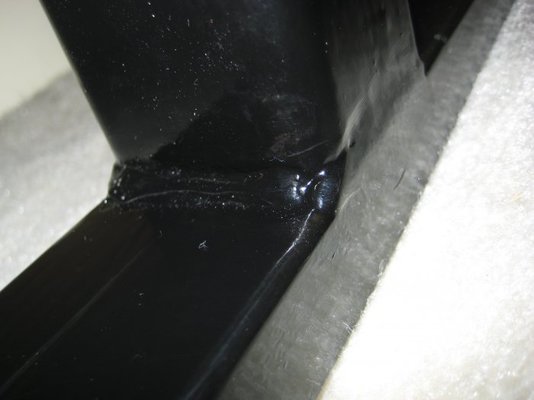
The "hinge" type parts are 27 & 34mm tubing, both 3mm wall thickness too, which luckily makes them a sliding fit! These are then held in place by the M20 bolts. The bit that the bed sits in is 40x40 angle, again 3mm thick. In between them is a piece of 30x7mm bar.
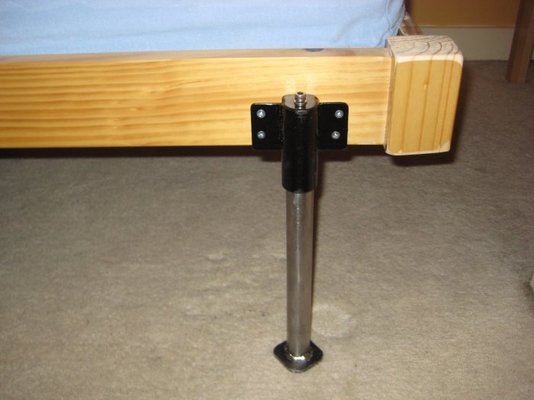
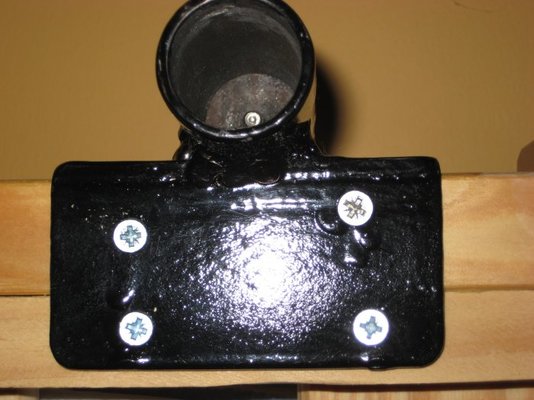
The screw-in legs (and the things they screw into) are made from the same sliding fit tubing as the hinge affairs use. Onto the end of each is a piece of 30x7mm strip, which I rounded off, and then tapped a 6mm thread for the allen bolts. The tops of the legs are tapered because the threaded holes didn't exactly line up properly! On the other ends are pieces of 50x5mm strip, cut into squares, with rounded corners for the feet, so it doesn't cut holes in the floor. This gives it a bit of a shape to grip it with, rather than round feet - and I'm rubbish at cutting circles!
There are plastic end caps in the tubing, to make it look more finished. I realise it looks a bit wonky at the back, as I'd not tightened the hinge bolts yet.
Since taking those shots, I've since put some bracing pieces across the corners, to stop it from trying to go out-of-square.
Nothing to do with this, but...
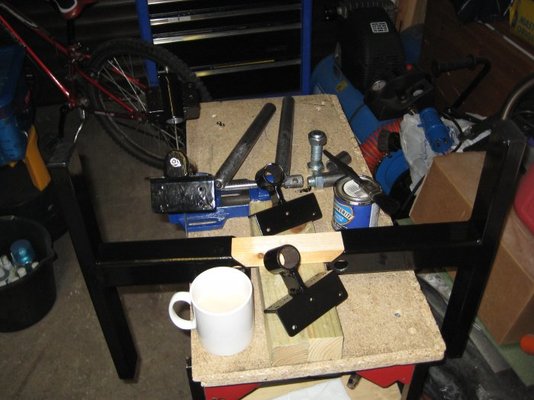
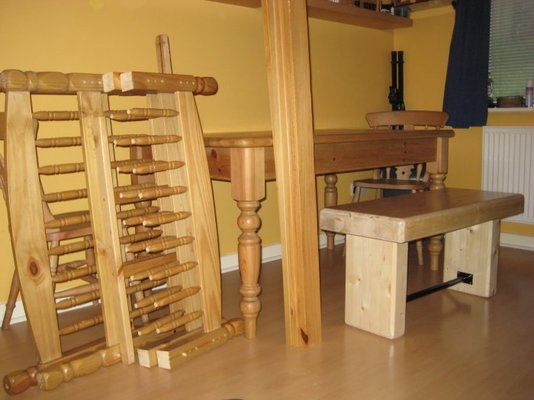
The stonehenge type bench, in the last picture, next to the leftovers is what got made on Sunday. Someone a few miles away is using it for firewood. Brand new beams, (he calls them offcuts) - all in these two sizes, 400x90 (used for the top) and 245x90, for the legs. The only bit of welding is the end plates on the 34mm tube.
All the Best,
CJ
My ten year old kid's room is too small to contain his mess, so I concocted something to make it seem bigger.
I'd seen something like this on-line somewhere, but it seemed to cost quite a lot, for what it was, so worked out it could be made for a lot less using steel that was already littering the garage. And once I'd blurted to the Kid, that I could make it, I could hardly stop - I'd never hear the end of it!
Would have taken more shots of it during the bare metal stage, but once you get busy, its hard to remember to.
The bed was the top bunk of his bunk bed, and I chopped off the legs just above and below the frame that the mattress sits in.
The "T" shaped parts are 50x50 joined to 50x25, both 3mm wall thickness. I had to drill a 20mm hole through them, and having stepped up from 5mm to 10mm holes, I had nothing in-between that and 20mm.
I'd had an inkling that 10-20 mm in one go might be too much of a jump - seems I was almost right. I mean it worked, but it just didn't go as smoothly as I'd hoped. A holesaw might have been easier, I guess.
The "hinge" type parts are 27 & 34mm tubing, both 3mm wall thickness too, which luckily makes them a sliding fit! These are then held in place by the M20 bolts. The bit that the bed sits in is 40x40 angle, again 3mm thick. In between them is a piece of 30x7mm bar.
The screw-in legs (and the things they screw into) are made from the same sliding fit tubing as the hinge affairs use. Onto the end of each is a piece of 30x7mm strip, which I rounded off, and then tapped a 6mm thread for the allen bolts. The tops of the legs are tapered because the threaded holes didn't exactly line up properly! On the other ends are pieces of 50x5mm strip, cut into squares, with rounded corners for the feet, so it doesn't cut holes in the floor. This gives it a bit of a shape to grip it with, rather than round feet - and I'm rubbish at cutting circles!
There are plastic end caps in the tubing, to make it look more finished. I realise it looks a bit wonky at the back, as I'd not tightened the hinge bolts yet.
Since taking those shots, I've since put some bracing pieces across the corners, to stop it from trying to go out-of-square.
Nothing to do with this, but...
The stonehenge type bench, in the last picture, next to the leftovers is what got made on Sunday. Someone a few miles away is using it for firewood. Brand new beams, (he calls them offcuts) - all in these two sizes, 400x90 (used for the top) and 245x90, for the legs. The only bit of welding is the end plates on the 34mm tube.
All the Best,
CJ
-
 1.jpg62.3 KB · Views: 1,795
 -
 2.jpg78.9 KB · Views: 1,780
 -
 3.jpg48.4 KB · Views: 1,732
 -
 4.jpg52.6 KB · Views: 1,745
 -
 5.jpg36.3 KB · Views: 1,764
 -
 6.jpg37.8 KB · Views: 1,765
 -
 7.jpg33 KB · Views: 1,760
 -
 8.jpg68.6 KB · Views: 1,773
 -
 9.jpg72.6 KB · Views: 1,763
 -
 10.jpg55.4 KB · Views: 1,764
 -
 11.jpg49.7 KB · Views: 1,835
 -
 12.jpg50 KB · Views: 1,772
 -
 13.jpg38 KB · Views: 1,760
 -
 14.jpg67.8 KB · Views: 1,767
 -
 15.jpg58.3 KB · Views: 1,746
")


