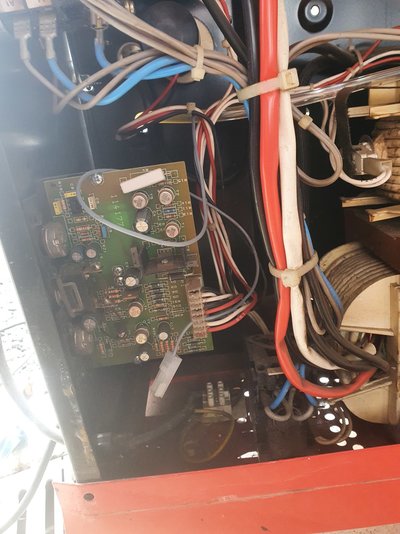
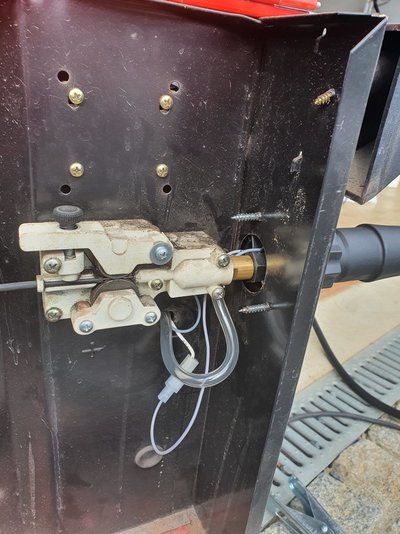
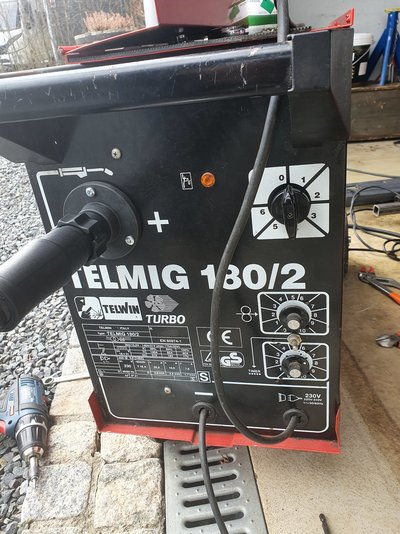
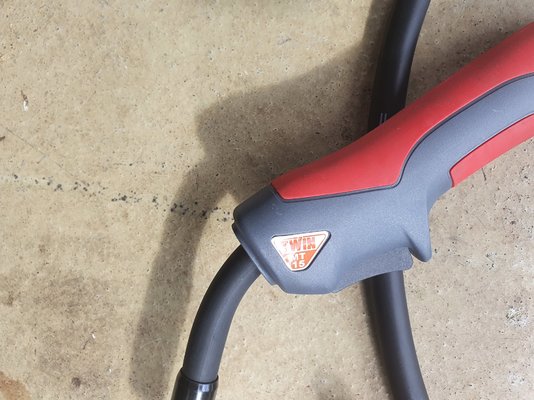
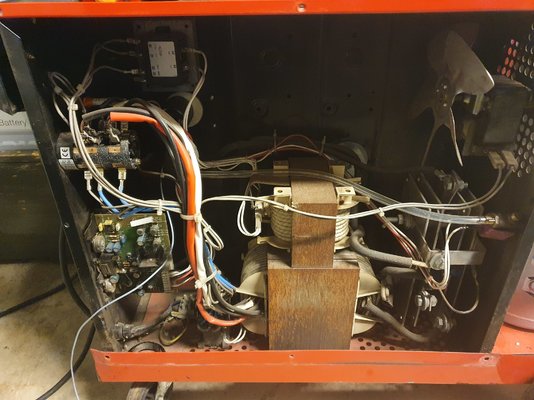
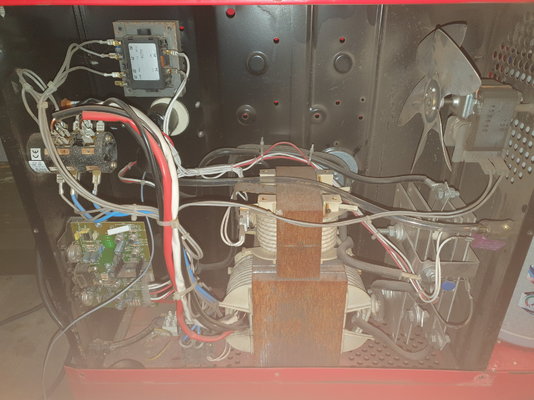
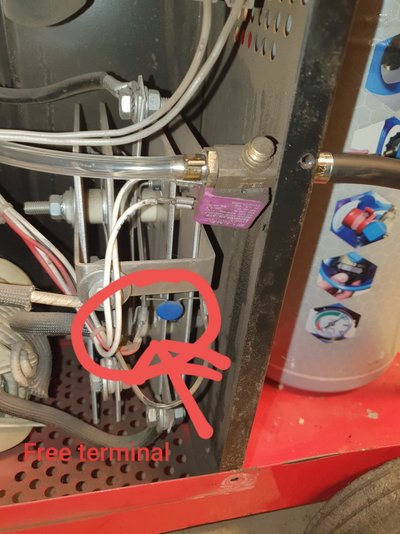
Hello. I just found out that my trusty Telwin 180/2 Turbo needed a new torch. I ordered a Twin 15, which was supposed to fit my machine. The old torch had just one wire. The new had two. One long and one short. The gas line fits, but I can not seem to figure out where to connect the cables. Been trawling the net, with no luck. Hope someone can help. Thanks
Welcome! Essentially this is same model as my old Sealey 195. One wire connects via terminal 7 on the PCB, the other to DC +ve on the bridge rectifier. The old torch would have shorted the single wire to the torch gas block / valve (dc +ve), whereas your replacement only contains a micro switch to join the two wires. Diagram is here: https://www.mig-welding.co.uk/forum/threads/sealy-supermig-185-pcb-repair-help.53483/
It's bottom right. One of the plates has the thick torch (DC +ve) wire connected to it, this is the one you want. See if you get any other responses, as I could be wrong about the 2 wires!
I am sure that that is correct. Originally the switch in a single-wire torch would make contact with the brass block/swan neck, which is the positive welder output. Now having two wires and a real microswitch, you still need that positive rectifier output to correctly drive the relay logic on the PCB. [ In this 2-wire torch situation, you have the option of making the torch negative to use no-gas flux-core wire, but the PCB will still get the correct positive signal from the trigger switch.]
Thank You very much! As i found the #7 terminal is the one that originally goes to the torch, and as I found out there is a free terminal on the bridge rectifier. This seems to be correct then? See picture. Best regards, Lars
Not easy to tell from the photo but I think that's the 'wrong side'. As in dc -ve. That's going to the inductor (like a big transformer) then on to the earth lead. You need to tap into the top bolted dc +ve connection, or any free spade on it. I could be wrong, blame my eyes...
Lars, yes, that is correct. In the centre of the rectifier there is a heavy steel bar that is bolted to the black cable, going to the torch. There is also a thinner tab, on the same central bolt, which has a soldered connection to the blue circular component ( a spike suppressor ), and finally two red wires. That is where you need to connect the 2nd thin wire from the Euro torch. [ The negative, as mentioned by a111r, is the U-shaped strap linking the two outer plates of the rectifier. It is bolted to the solid winding wire of the inductor, which sits on top of the main transformer.]
It worked! I plugged it to the terminal mentioned. Thanks for all the help! Tomorrow I finally get to start welding on the Brewing table .