You need to up your gas flow John .
The good thing about the Morris 1000 is parts are still readily available for them, I doubt there's much you can't still get.
You need to up your gas flow John .
The good thing about the Morris 1000 is parts are still readily available for them, I doubt there's much you can't still get.
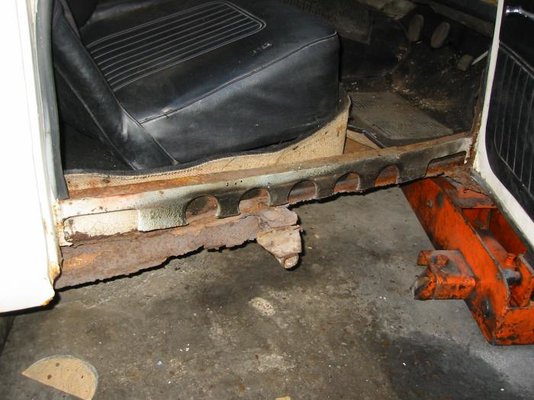
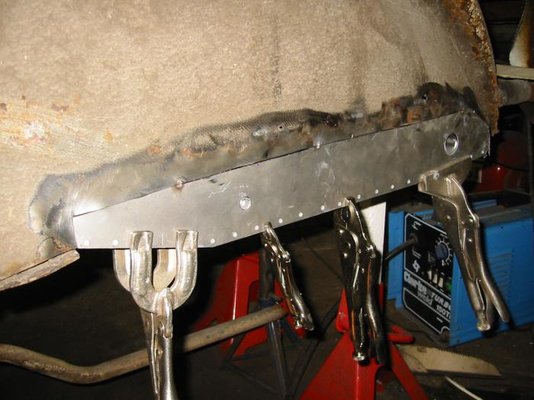
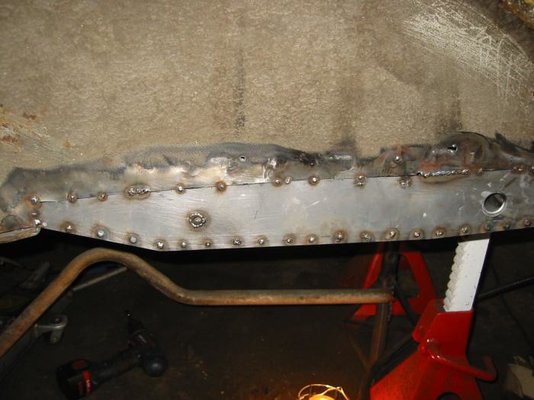
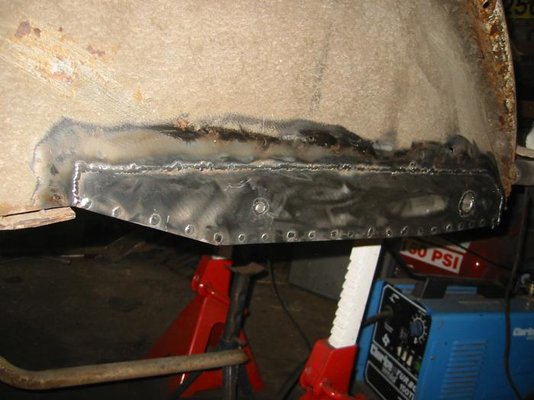
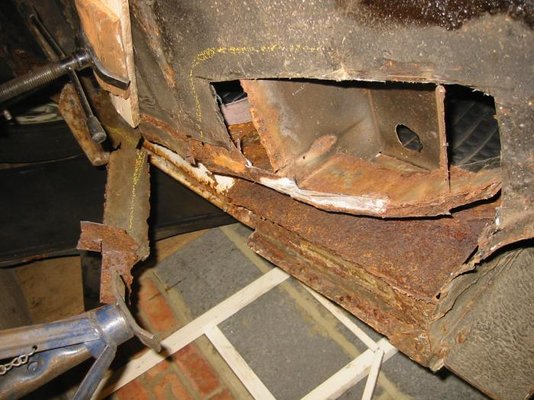
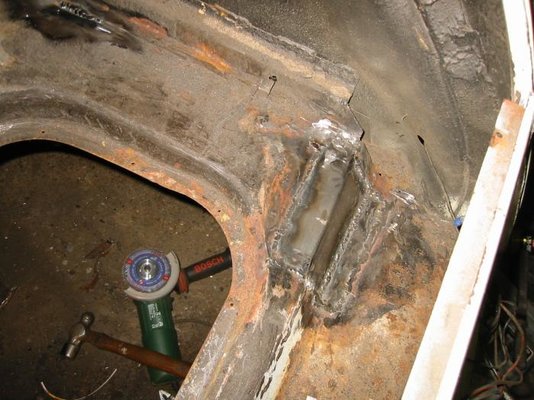
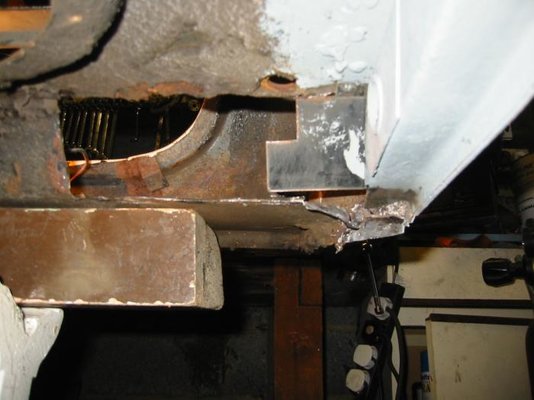
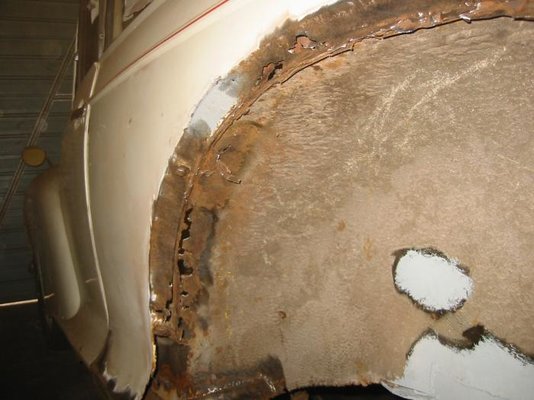
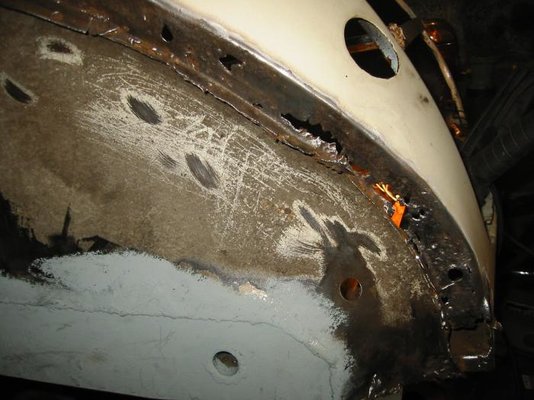
I'm on my 3rd (at least) pub cylinder of CO2. Yes, lots of bits available but some are just bent up bits of steel- more fun (and cheaper) to make then yourself. I bought (and used ) sill sections both sides, RHS front floor pan, spring hanger on plate and rear chassis leg pieces, door bottoms I used, both sides and boot lid lower repair. Many small pieces, I made up myself.
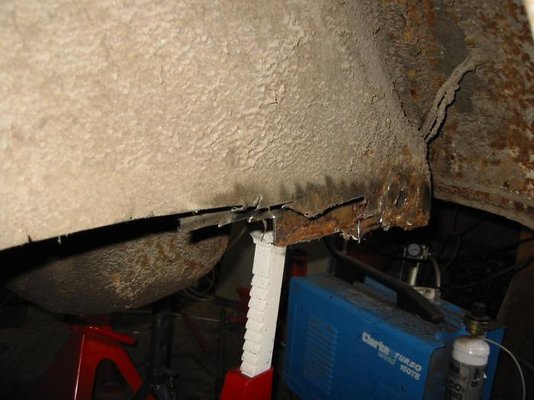
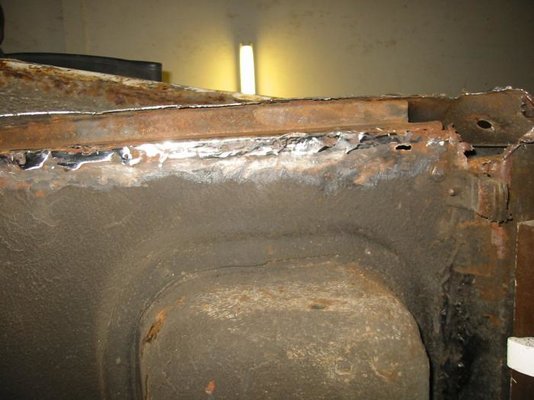
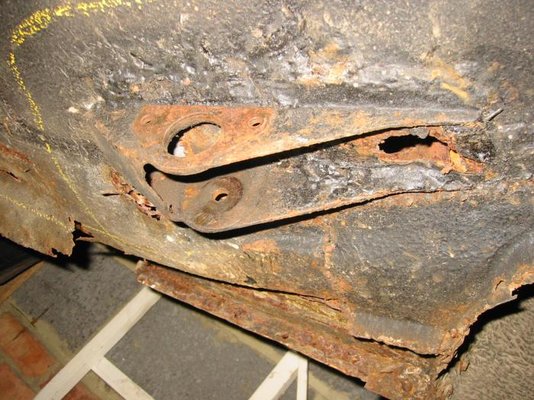
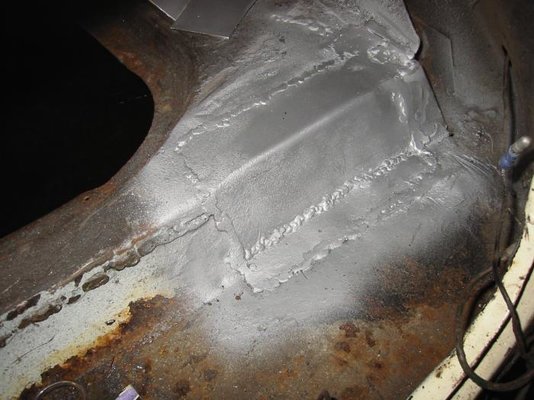
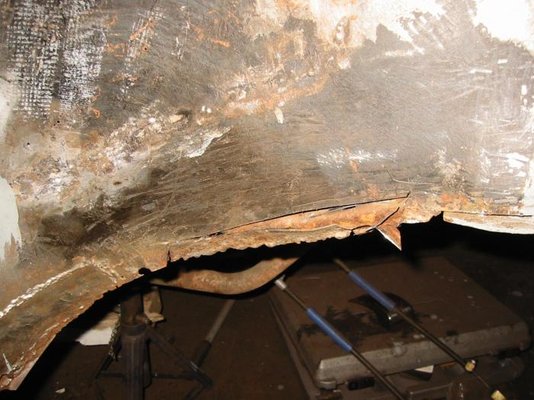
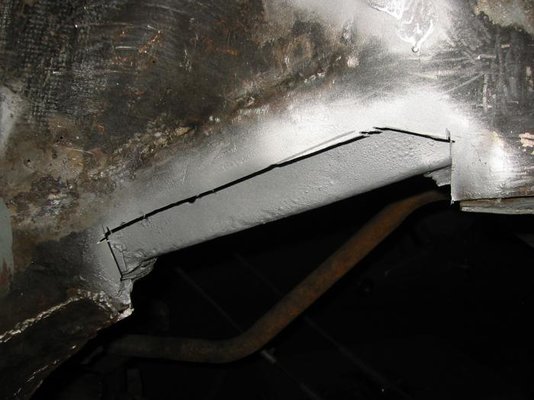
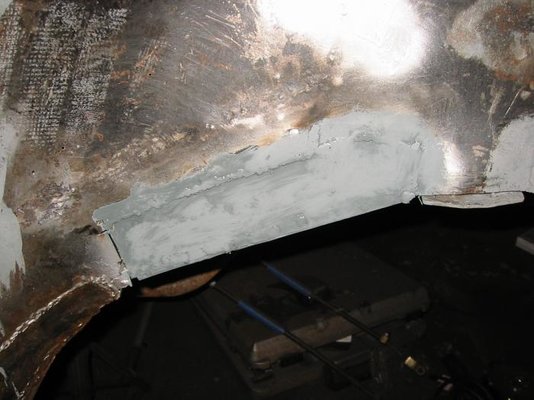
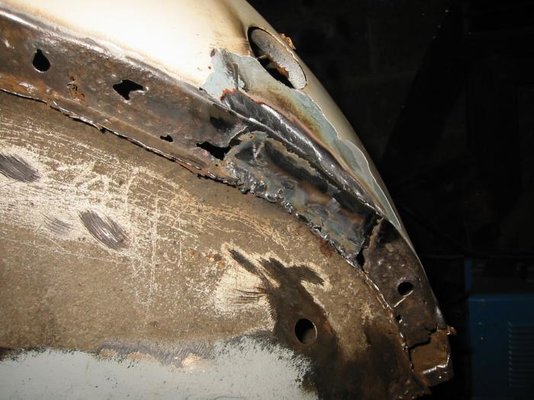
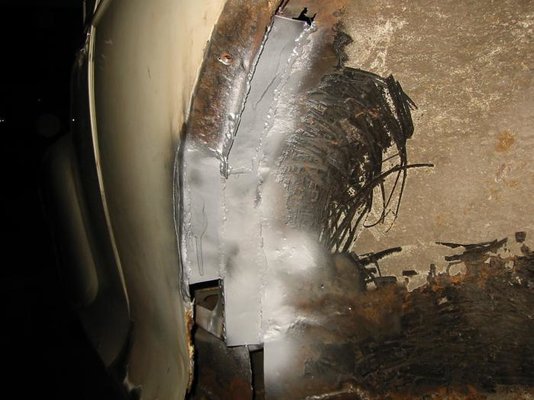
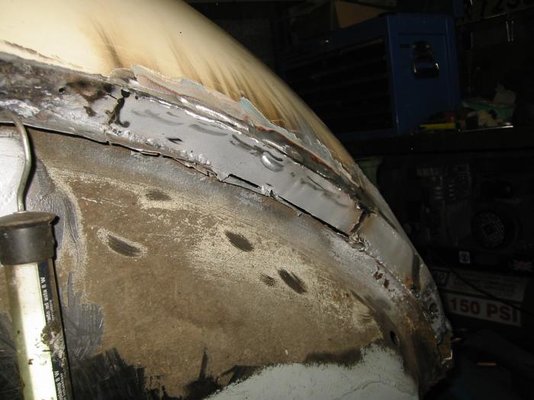
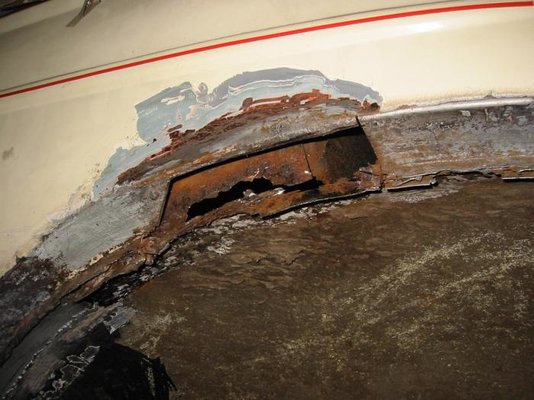
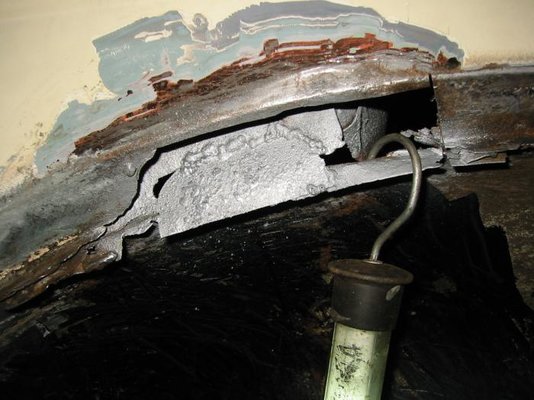
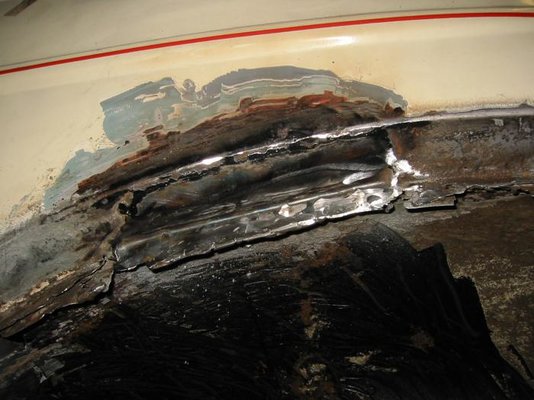
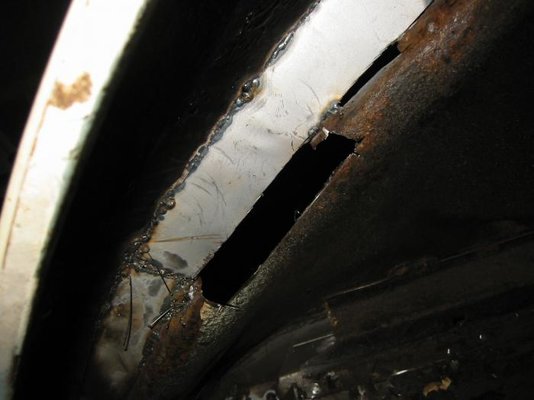
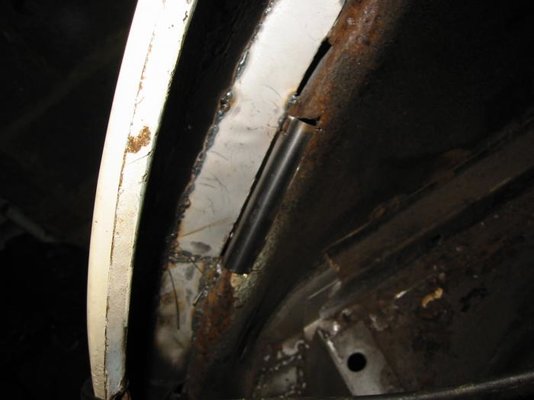
I used a coarse wire wheel on grinder to remove all loose rust and expose the areas needing replacement. You can get complete sections of wing mounting flange but I decided to replace in sections to minimise distortion this being a convertible with a lot of rust, i cut out only a piece at a time before welding a new piece in. All cutting done with 1mm cutting disks and occasionally tin-snips or air powered saw.
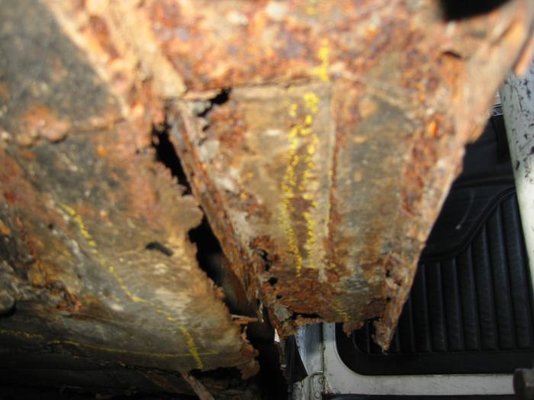
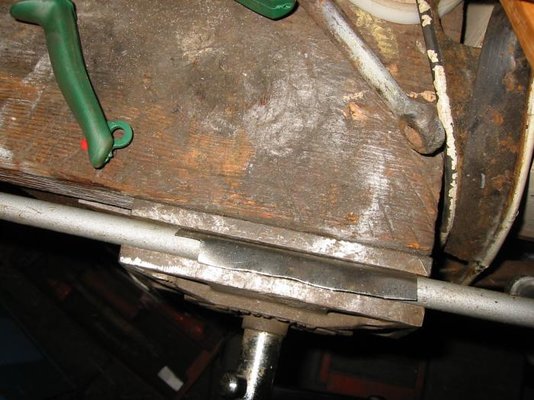
Where the innerwing meets the outer wing mounting flange, there are tightly curved sections that had rusted through. I made replacements by bending 0.9mm steel around in a tight curve, using, of all things the morris minor starting handle as a former. Once the welds were gound down and the pieces painted, they look pretty good.
Blimmey thats some serious work you've put in there, well done. Actually looking through your photos has given me some much needed inspiration to get that last stage of my traveller finished.
Keep up the good work.
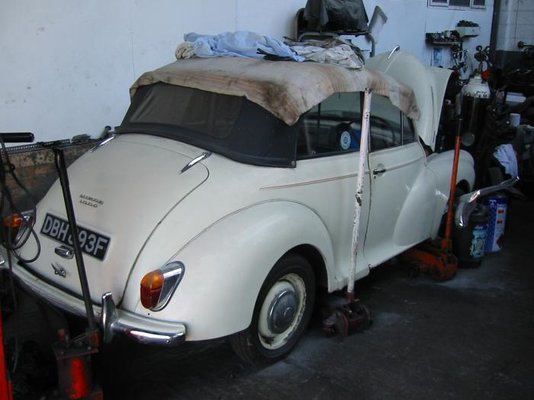
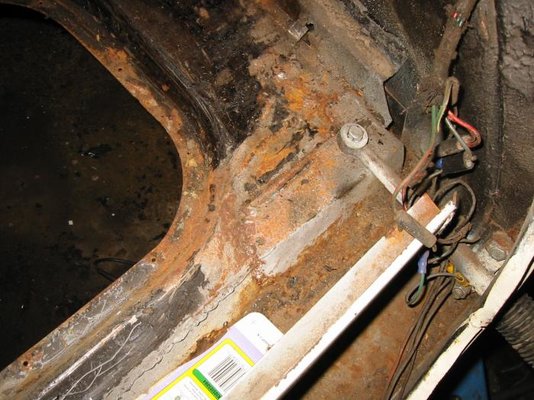
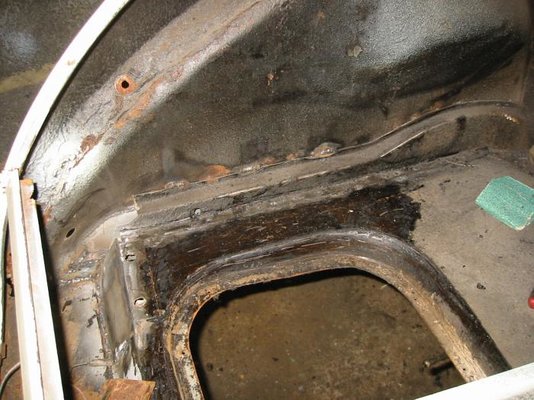
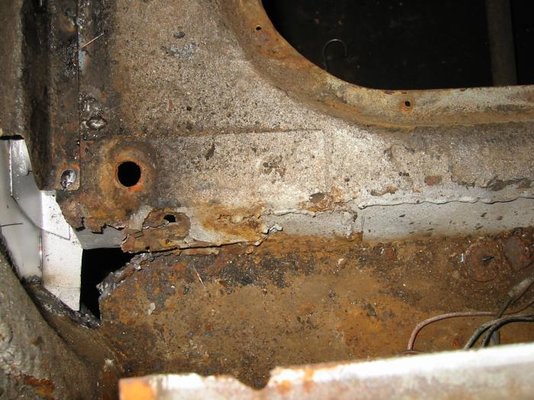
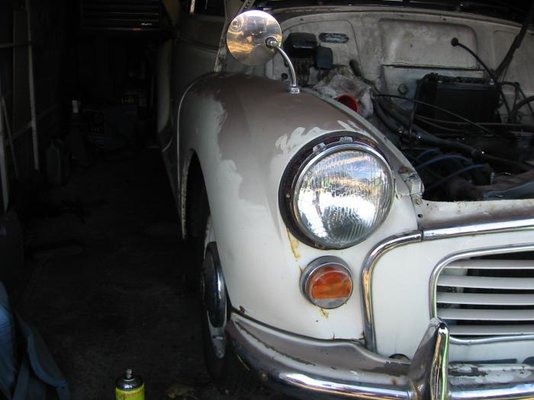
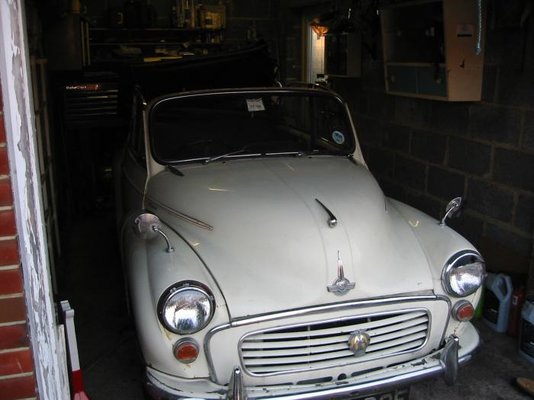
Thanks for the kind words chaps! yes the car did look fairly tidy from the outside, would have been a nightmare purchase from Ebay for someone. Just goes to show that Moggies hide their rot underneath. I am nearing the end of the welding (I hope) as the chassis legs and crossmember seem sound but I have yet to strip the underseal off them. It has taken two years on and off since July 2006. The car was not kept by the sea, lived most of its life in Buckinghamshire. I have done quite a bit more work than already shown, which will be posted bit by bit, in roughly the order the work was done over the coming weeks.
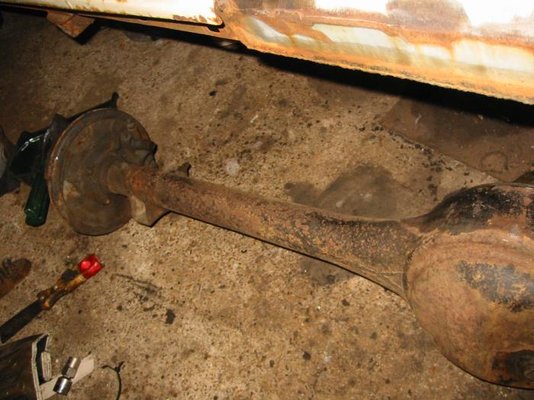
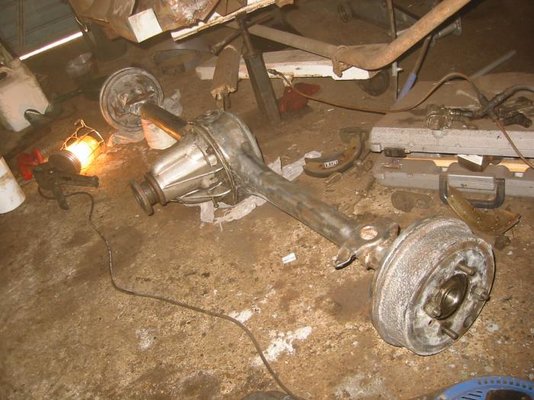
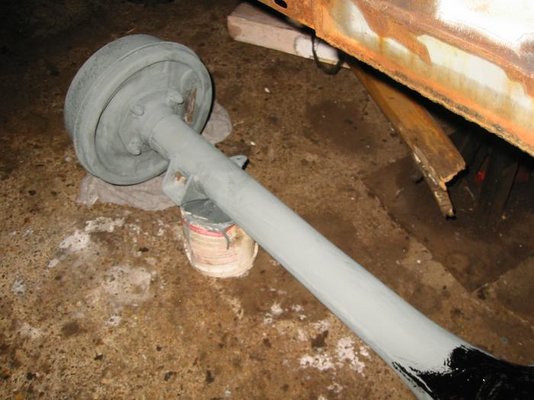
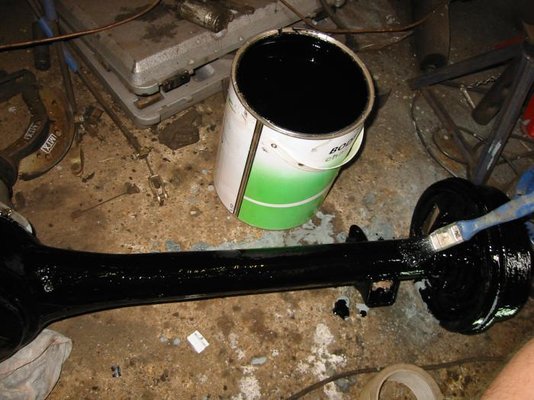
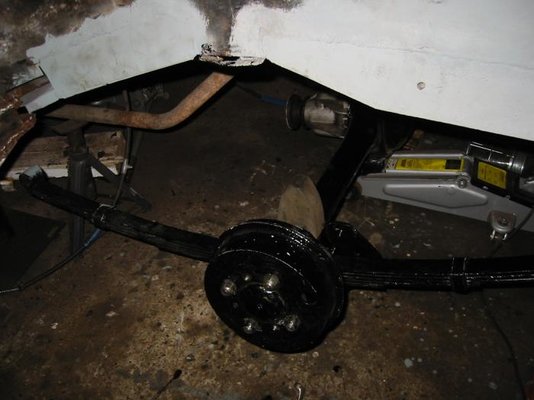
It seemed a huge shame to put a rusty manky looking rear axle back underneath the restored and painted rear end of the car. So, I laborously cleaned off all the muck and grease with parrafin, used a coarse wire brush on grinder to get the rust off, then phosphoric acid to get into the pits then more wirebrushing, then finally back to the bare steel. two coats of 90% zinc rich primer was followed by 2 coats of Bodyline chassis black paint. The axle will get underbody wax protection together with the rest of the underside once the car is MOT'd and on the road again.
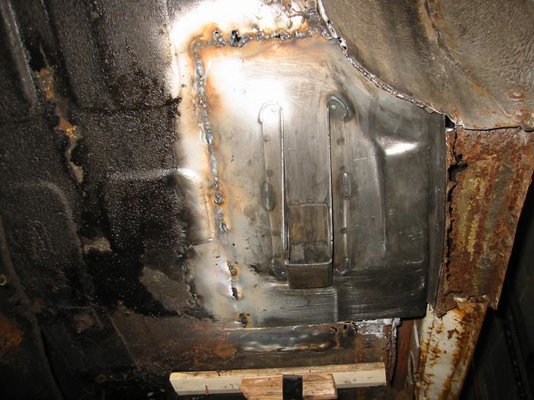
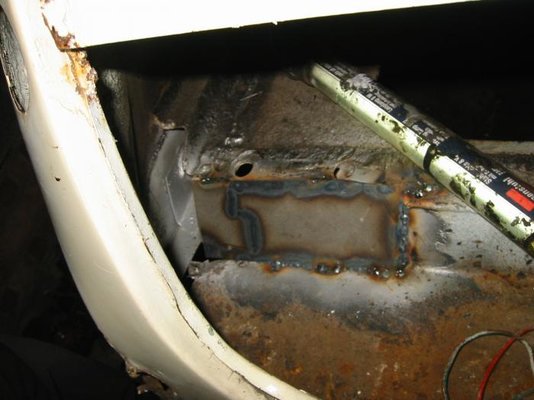
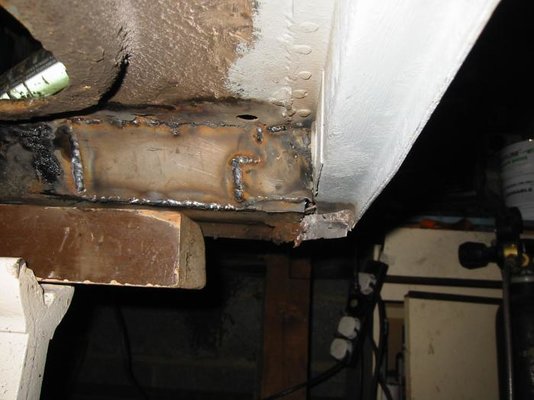
Hello Eggman, I make a continuous butt- weld between the taks- small sections at a time in different alternate places on the patch to minimise distortion. Then grind any uneven tops off, zinc prime, then seam seal before applying a top coat. I like to use "Chassis black" paint for the top coat. I only ever use filler on repairs to visible body colour panels, such as wings doors or rear 1/4's etc.
Here is the painted restored axle being offered up to the now rust free lower rear wheelarch.


.