gavcarter
Member
- Messages
- 458
- Location
- Hartlepool
lifted this off an old bike forum I used to frequent, before I gave in the bikes for a car 
made it 3 or 4 years ago, first real thing I did with a welder, an old wolf(?) buzz box
Started taking pictures well after id started on this....
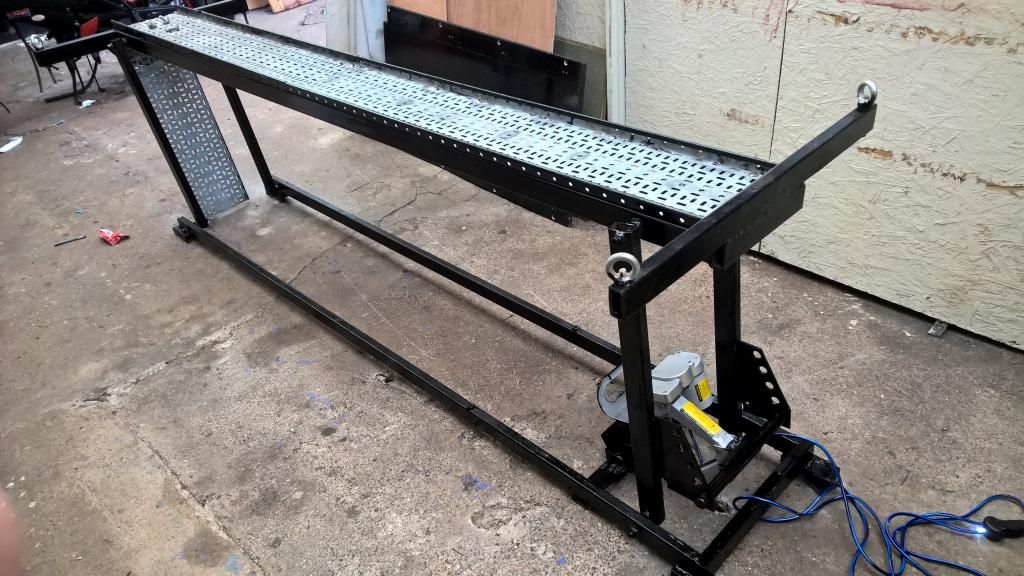
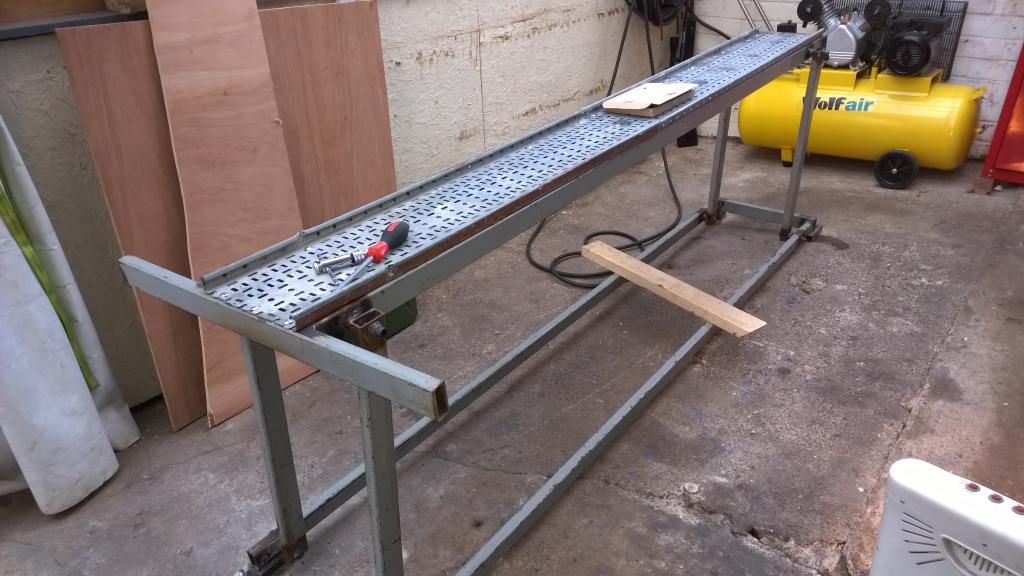
I am stuck for space, I dont have a huge garage, and I dont have spare £300 for a hydraulic bike lift that will take up all the floorspace I have left.
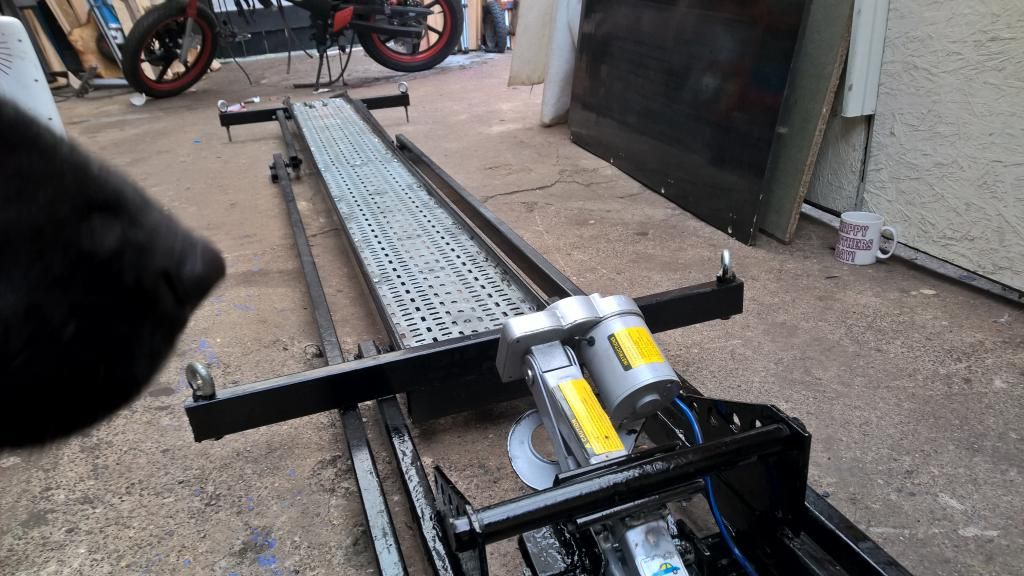
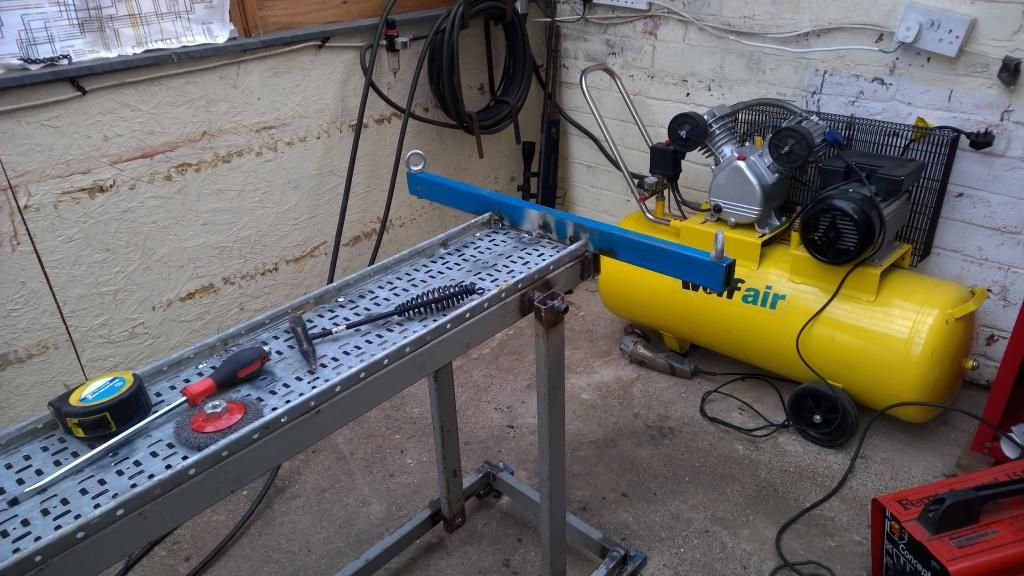
What I do have is a few good lengths of 25x50x3mm rectangle box section, some spare cable tray, a stick welder, spare time and a need to get all filthy and oily!
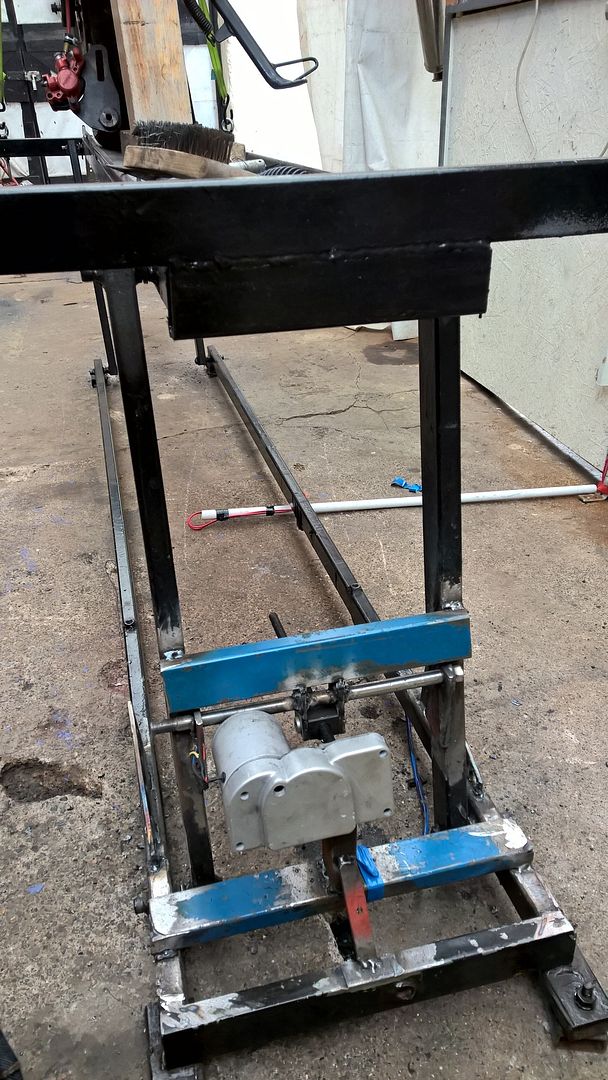
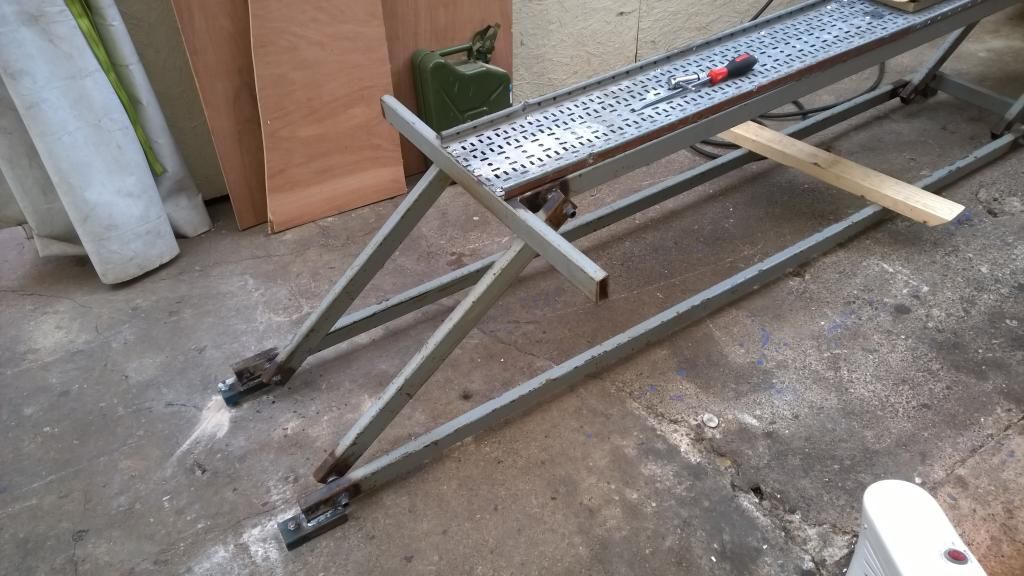
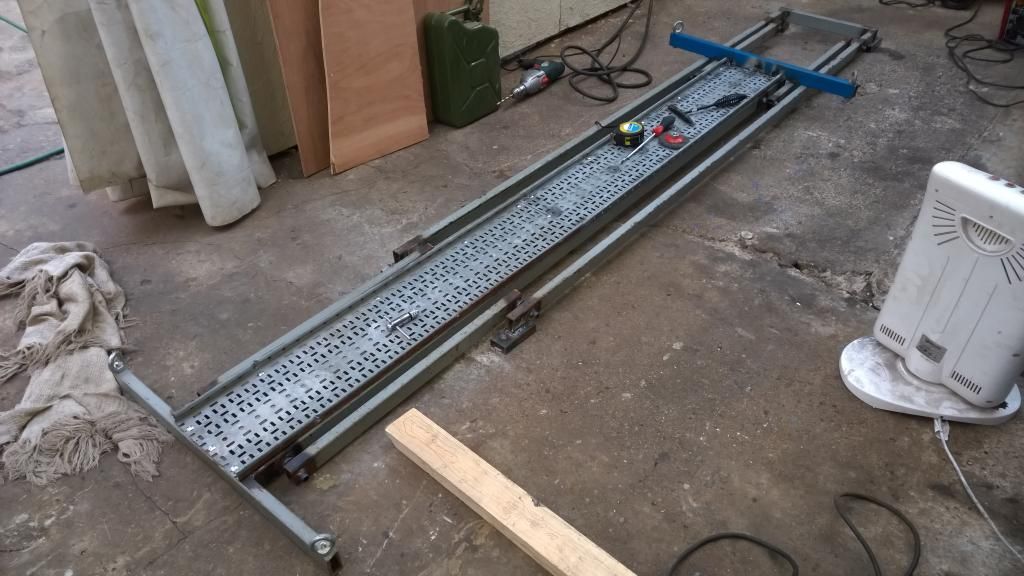
The basic frame is an open ended rectangle with a full rectangle that will fit inside, with enough clearance to get the legs on.
All the pivots must line up, and be the same distance apart, so the top rails must match the bottom rails and the legs must all match
each other.
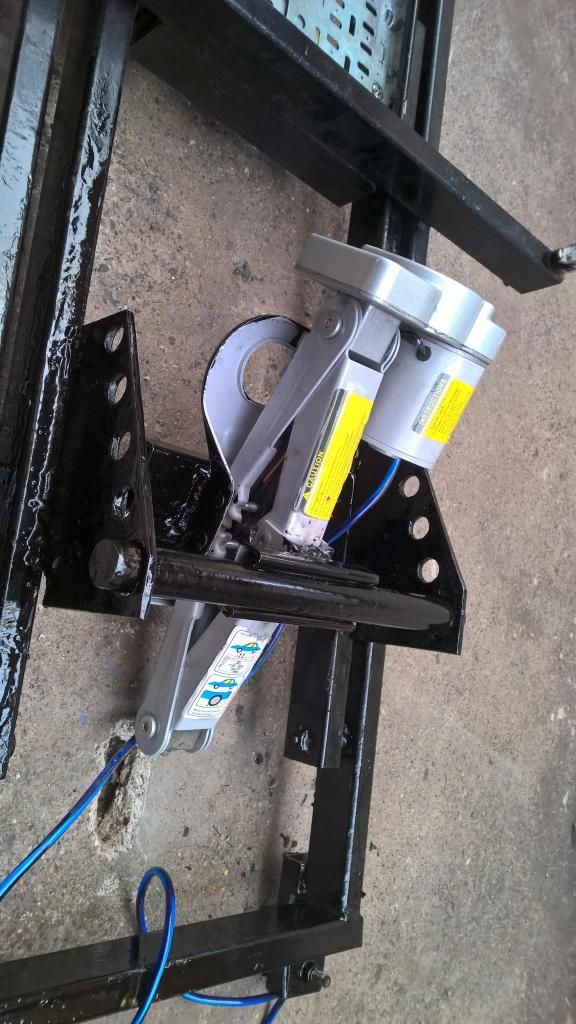
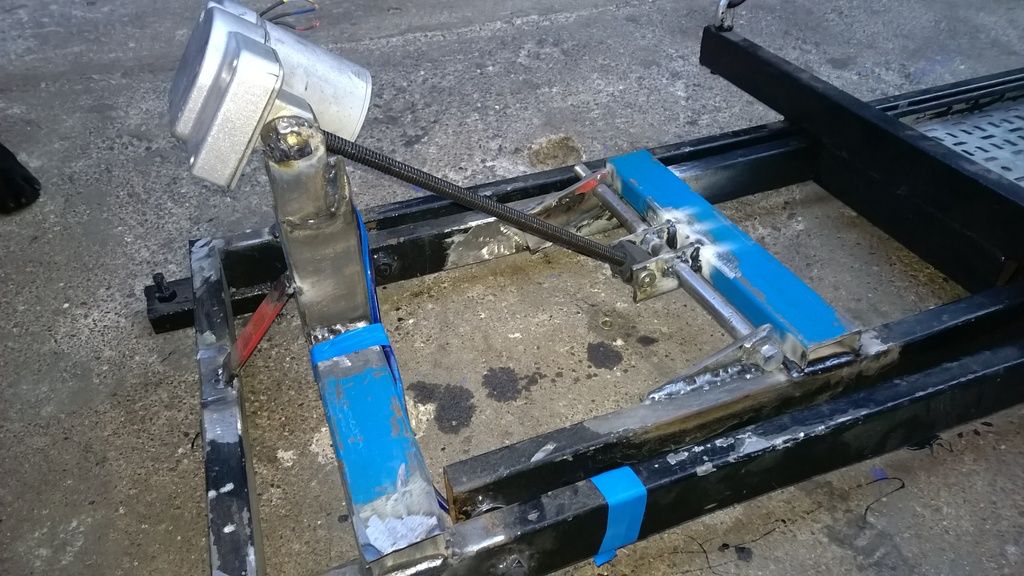
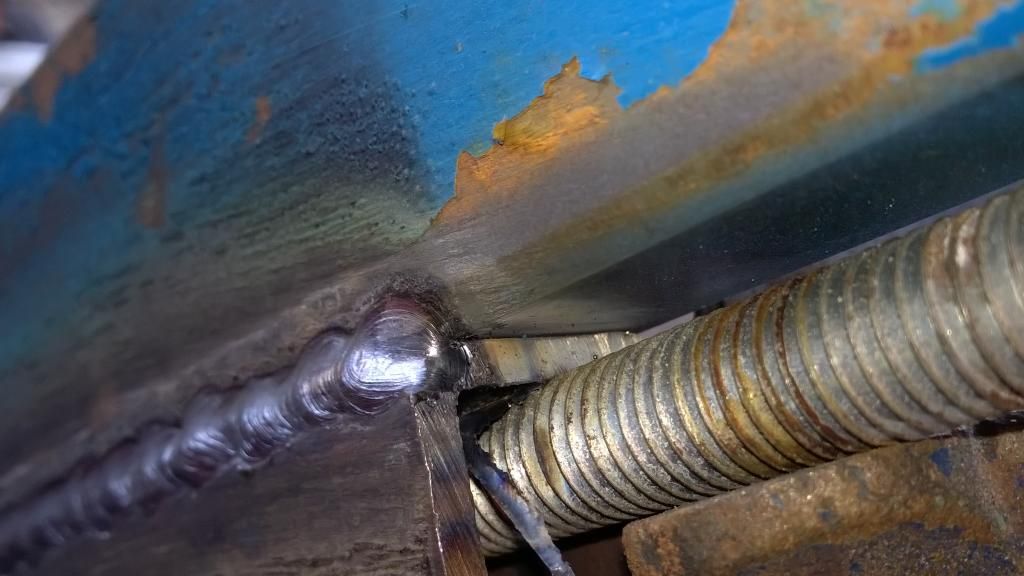
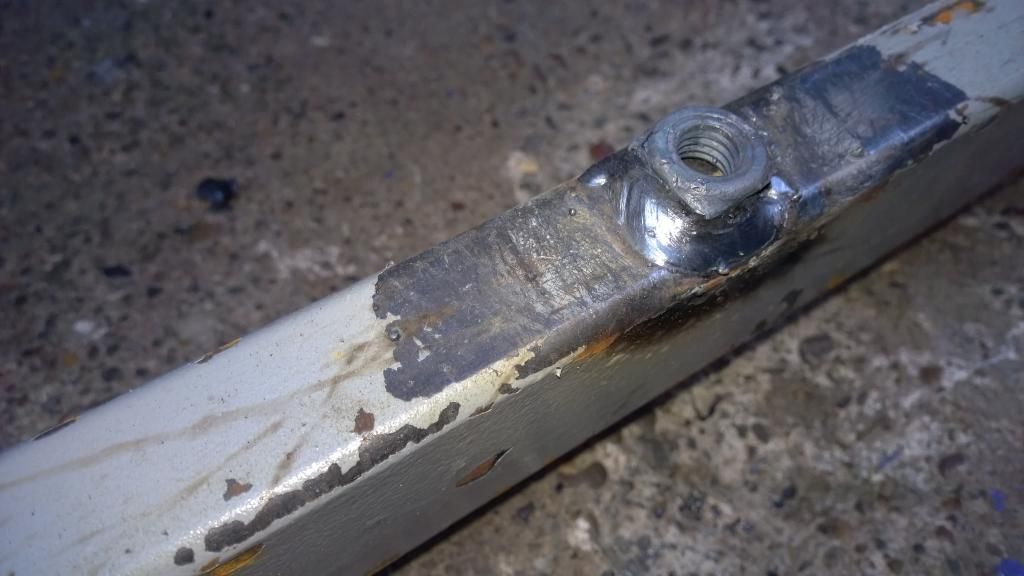
Forgive my scruffy looking welding, but this is how the pivots were made
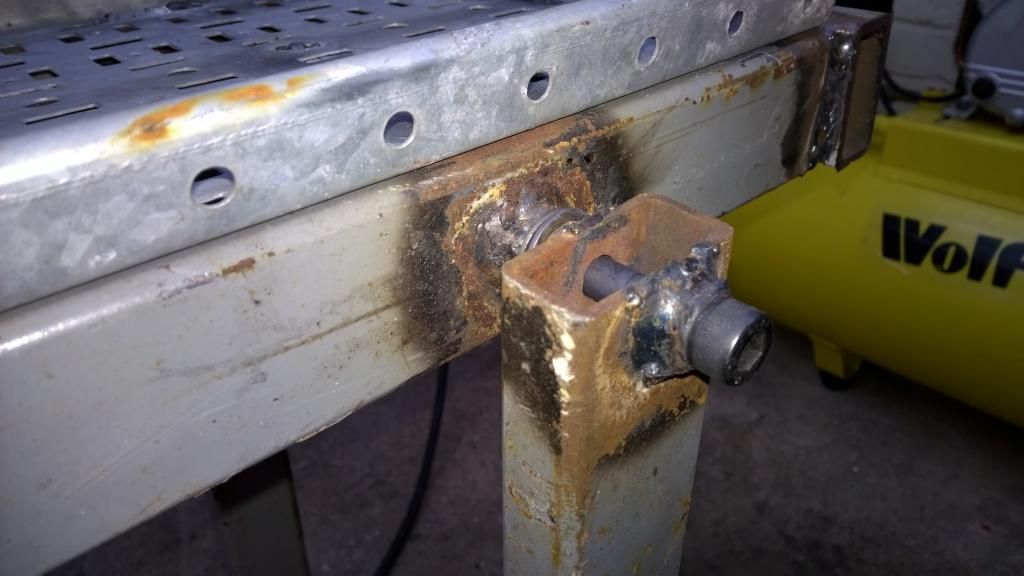
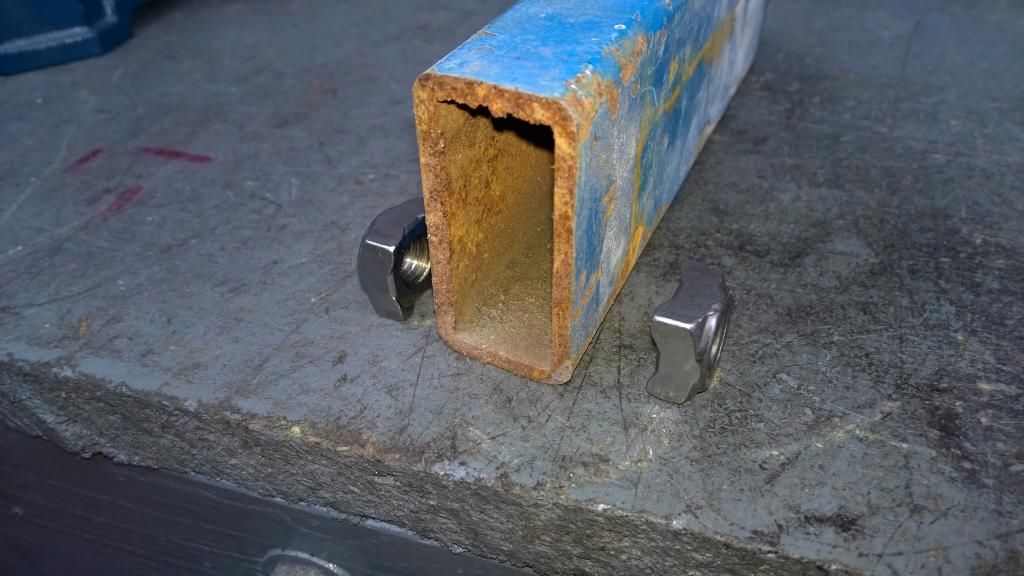
One captive nut on each side of rail, or leg.
If i had to do this again, i would make a jig for getting all these dead-on as i had to cut a couple off and shuffle them over and re-weld
They need to be somewhere near the end of the rail, If i had more faith in my welding then I would have got them right on the end, and removed the need to raise the lower frame off the floor, making the ramp about 50mm lower than it is now.

The top is just cable tray, but there is another rail that runs right down the centre of the ramp to stop it bending in over. Its galvanised so it didnt weld very well, after a few tries I gave up and used dome headed roofing bolts to attatch it.
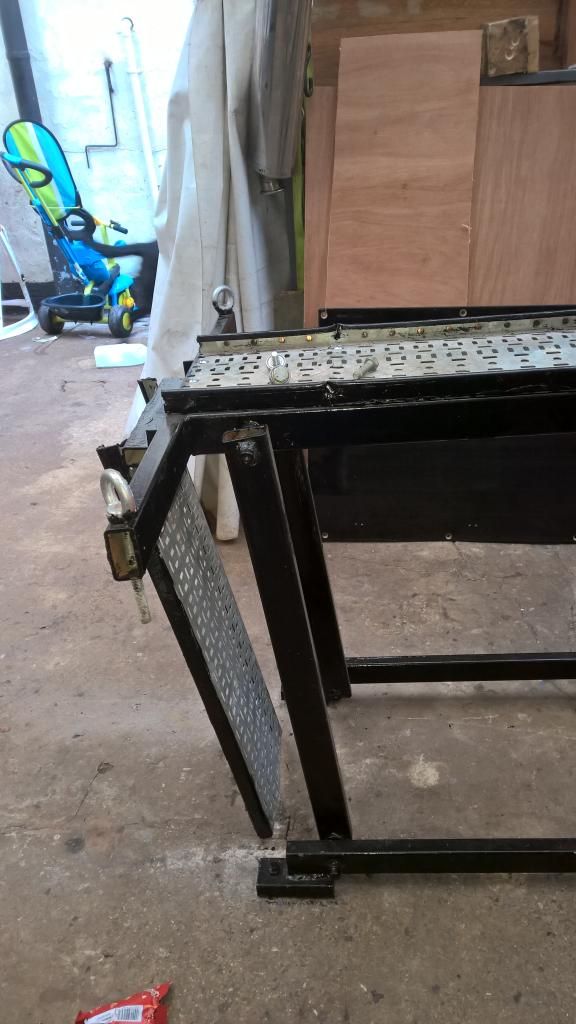
The REAR end of the ramp had a wide rail on, level with the support rails ( so you can drive over it ) but you can only do this at the rear for two reasons.
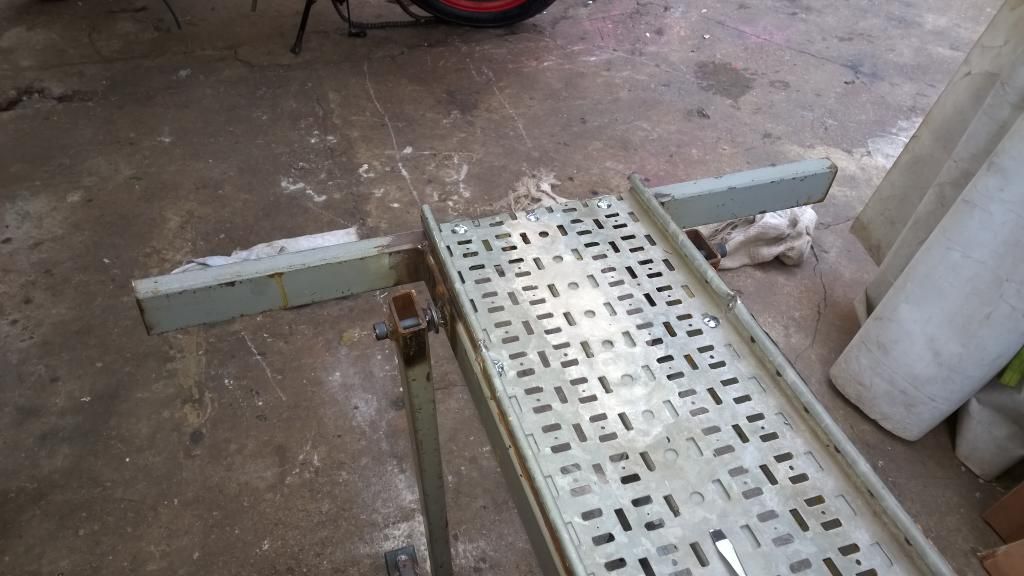
Firstly you have to ride over it, and secondly this happens if the ramp tries to lower in the oppssite direction
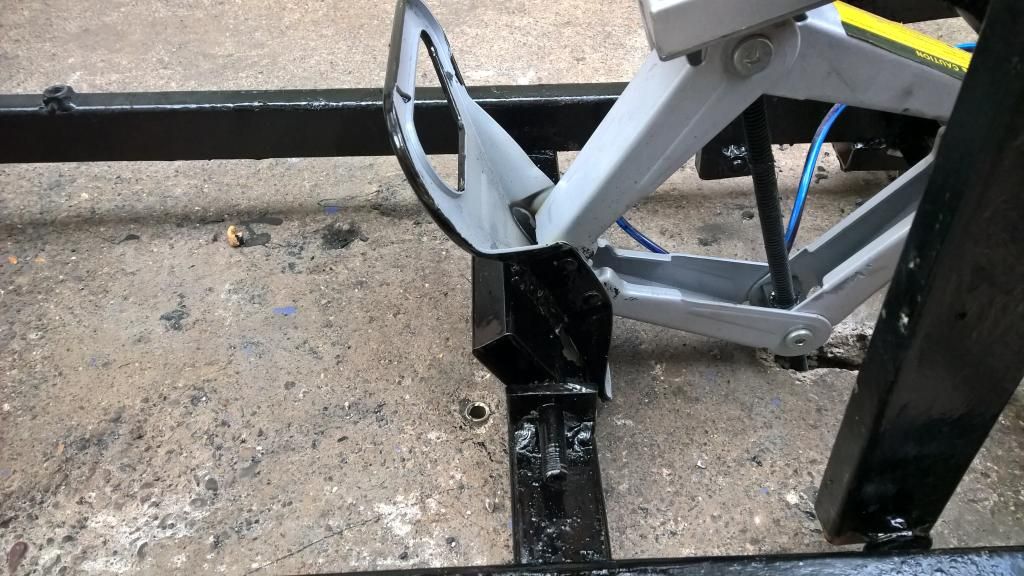
The front rail must be welded ON TOP of the ramp, so it is above the upper support frame, like so
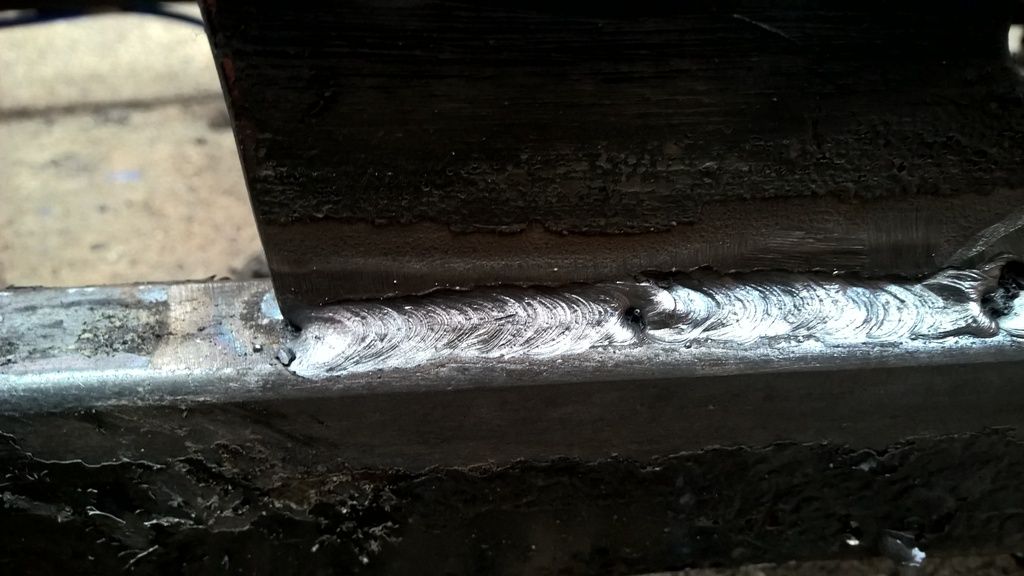
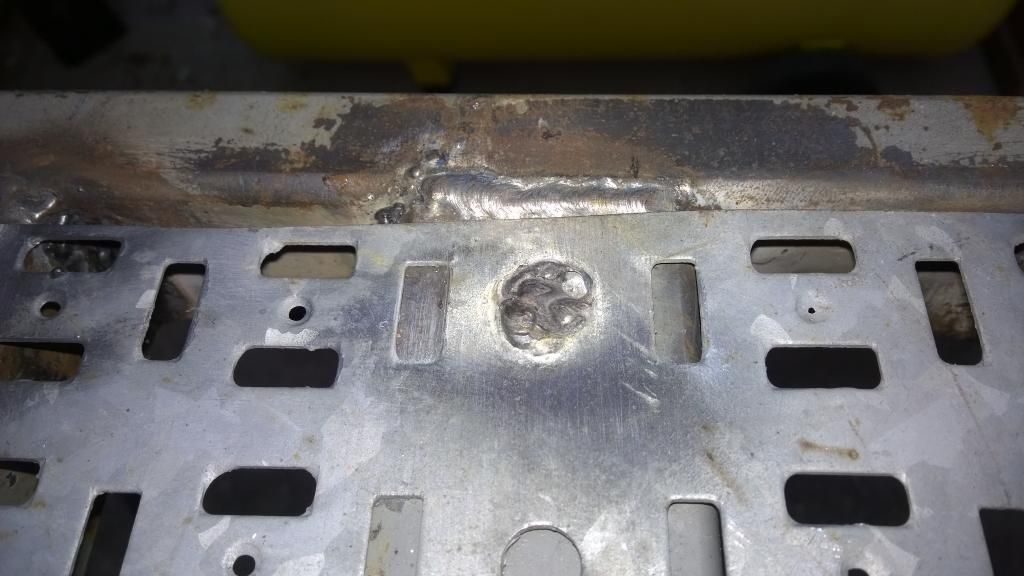
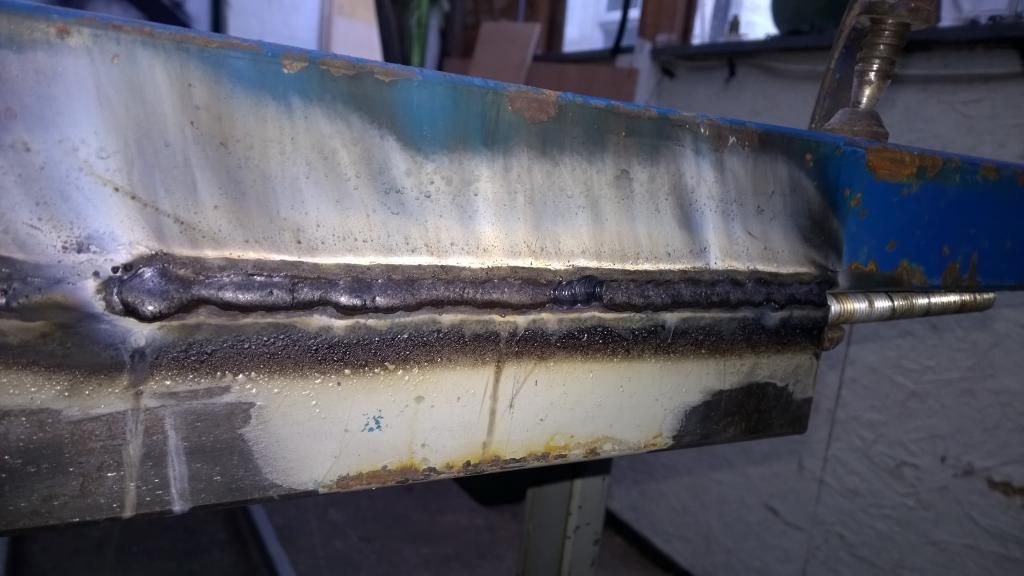
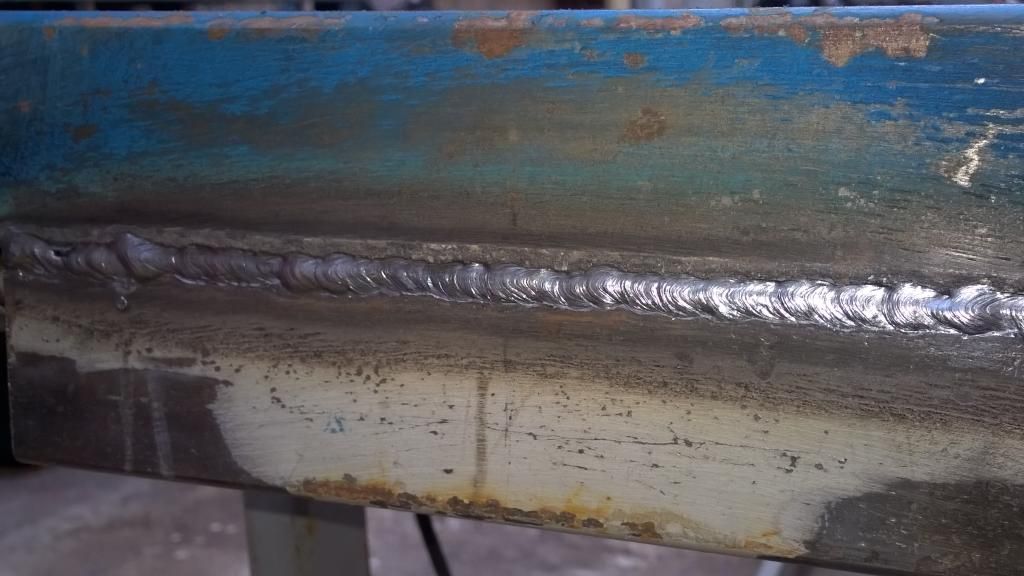
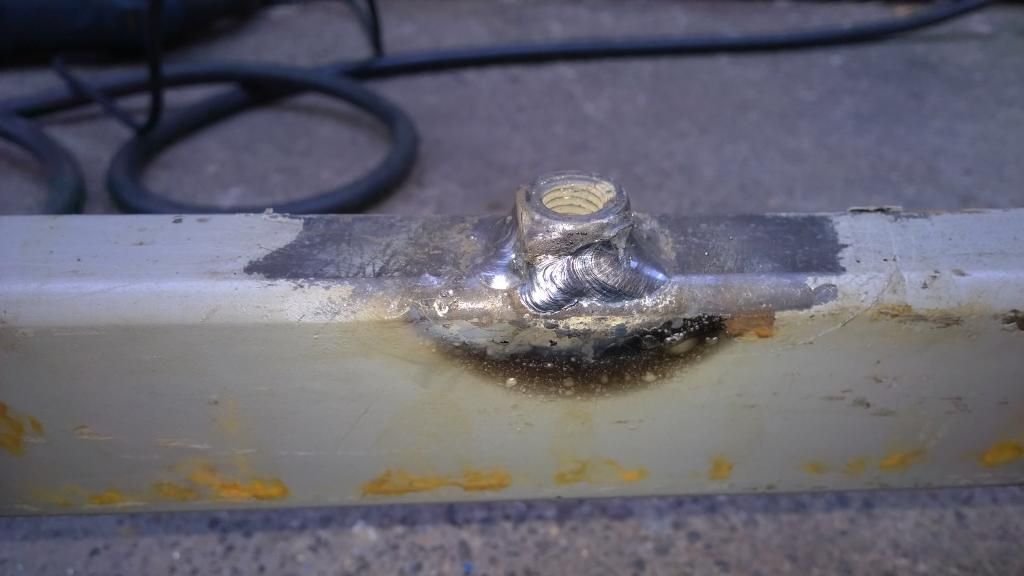
joint cleaned up
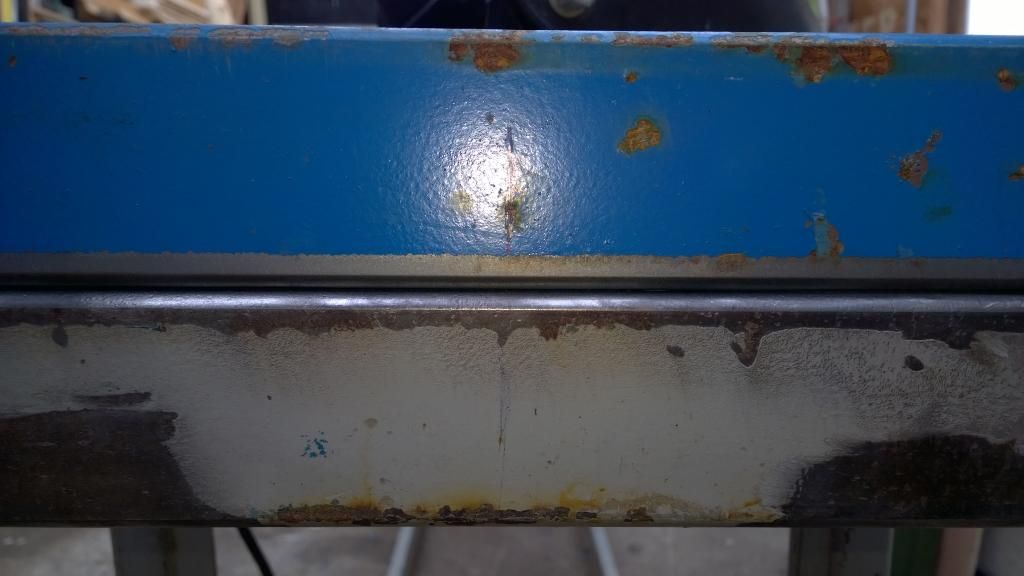
Not a bad weld, its getting better, the slag peeled itself
after a wire bursh you can see, im still practising so the bead width isnt very even, but we have penetration and the gap is filled so i declare that peice stuck!
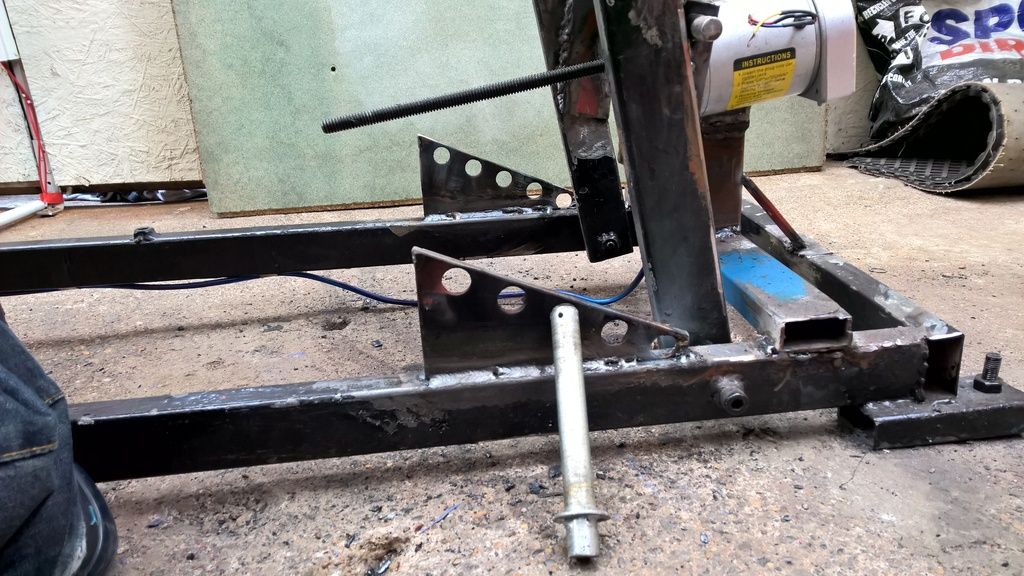
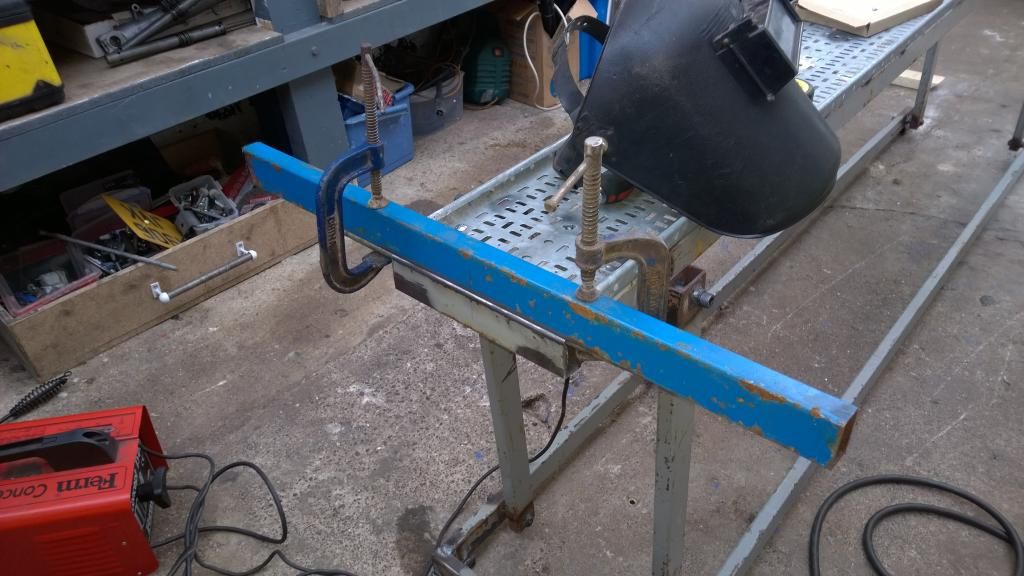
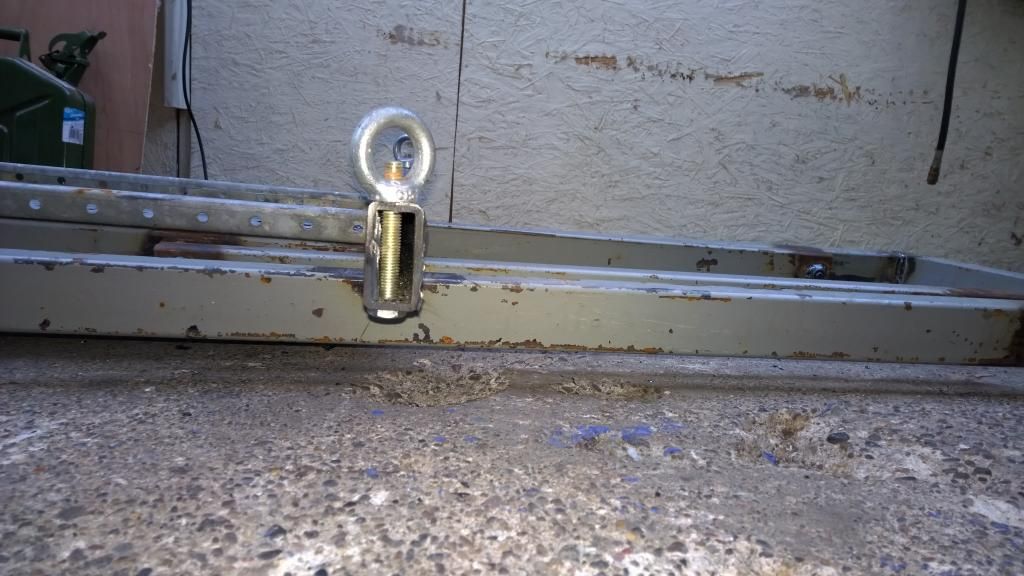
Next we need some eyes on the wider rails, for ratchet straps
and you can see now why the front rail should be above the upper frame...
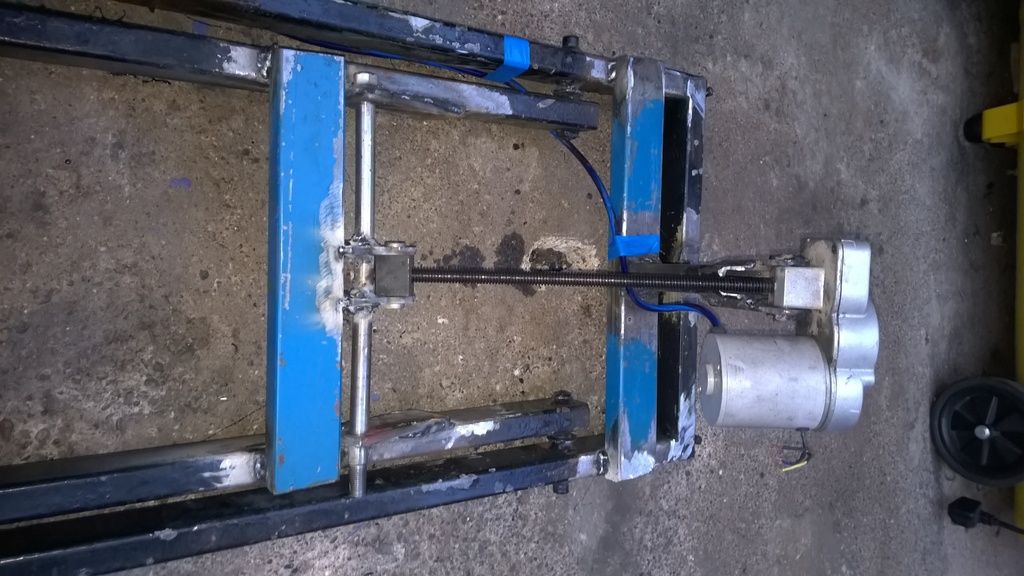
To keep the legs at a postive angle , i stuck a couple of nuts on the bottom rails where the wide rails touches it.
This just keeps the legs slighty raised and makes it a lot easier to start the lift moving.
Its more apparent on the rear legs, where my floor is a bit flatter
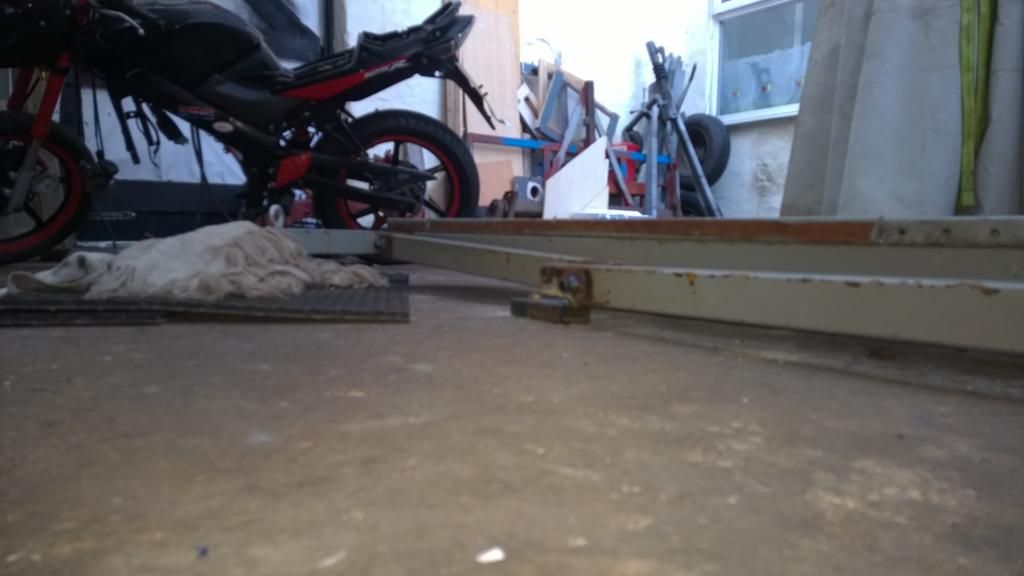
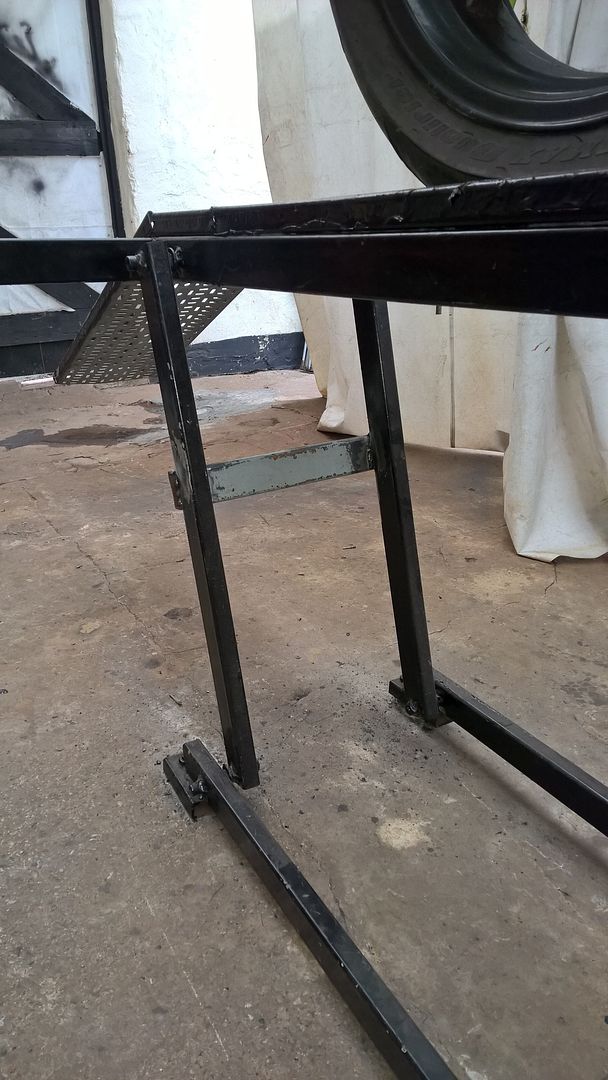
So fully down the ramp has a total height of about 115mm, or 4 1/2" in black and white
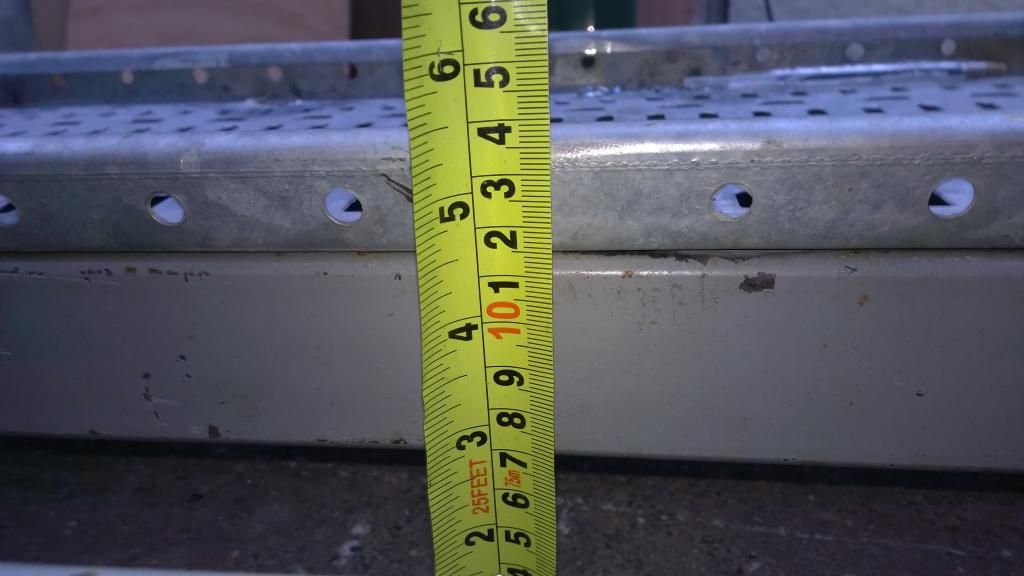
You could knock and inch off for the uneven floor, and if you rounded the bottoms of the legs, or got the pivots very close the the bottom you could take off another 40-50mm because I welded box section feet on the bottom of the lower rails to clear the legs off the floor.
made it 3 or 4 years ago, first real thing I did with a welder, an old wolf(?) buzz box
Started taking pictures well after id started on this....
I am stuck for space, I dont have a huge garage, and I dont have spare £300 for a hydraulic bike lift that will take up all the floorspace I have left.
What I do have is a few good lengths of 25x50x3mm rectangle box section, some spare cable tray, a stick welder, spare time and a need to get all filthy and oily!
The basic frame is an open ended rectangle with a full rectangle that will fit inside, with enough clearance to get the legs on.
All the pivots must line up, and be the same distance apart, so the top rails must match the bottom rails and the legs must all match
each other.
Forgive my scruffy looking welding, but this is how the pivots were made
One captive nut on each side of rail, or leg.
If i had to do this again, i would make a jig for getting all these dead-on as i had to cut a couple off and shuffle them over and re-weld
They need to be somewhere near the end of the rail, If i had more faith in my welding then I would have got them right on the end, and removed the need to raise the lower frame off the floor, making the ramp about 50mm lower than it is now.
The top is just cable tray, but there is another rail that runs right down the centre of the ramp to stop it bending in over. Its galvanised so it didnt weld very well, after a few tries I gave up and used dome headed roofing bolts to attatch it.
The REAR end of the ramp had a wide rail on, level with the support rails ( so you can drive over it ) but you can only do this at the rear for two reasons.
Firstly you have to ride over it, and secondly this happens if the ramp tries to lower in the oppssite direction
The front rail must be welded ON TOP of the ramp, so it is above the upper support frame, like so
joint cleaned up
Not a bad weld, its getting better, the slag peeled itself
after a wire bursh you can see, im still practising so the bead width isnt very even, but we have penetration and the gap is filled so i declare that peice stuck!
Next we need some eyes on the wider rails, for ratchet straps
and you can see now why the front rail should be above the upper frame...
To keep the legs at a postive angle , i stuck a couple of nuts on the bottom rails where the wide rails touches it.
This just keeps the legs slighty raised and makes it a lot easier to start the lift moving.
Its more apparent on the rear legs, where my floor is a bit flatter
So fully down the ramp has a total height of about 115mm, or 4 1/2" in black and white
You could knock and inch off for the uneven floor, and if you rounded the bottoms of the legs, or got the pivots very close the the bottom you could take off another 40-50mm because I welded box section feet on the bottom of the lower rails to clear the legs off the floor.