Flourescent Penetrants
Fluorescent penetrants contain dyes that fluoresce when exposed to ultraviolet light. Theses fluorescent penetrant systems are more sensitive than visible red penetrant systems. A disadvantage to this kind over visible penetrants is a dark area and an ultraviolet light are required to see the indications, so a dedicated testing area is required.
There are four types of penetrant:
- Water washable - the dyes wash away with water.
- Lipophilic - the dye dissolves in oil for removal.
- Hydrophilic - the dye washes away with a water rinse, but detergents are necessary.
- Solvent removable - the dye is removed with a cleaning solvent.
There are five levels of testing, from Level ½ (Lowest sensitivity) to Level 4 (Highest Sensitivity).
We have 2 case studies using Flouescent penetrants, the first is below, the second case study follows.
Case Study 1
- Fluorescent penetrant, Solvent removable, Level 3
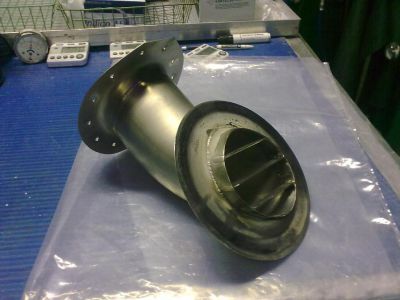
- Titanium alloy hot air duct.
|
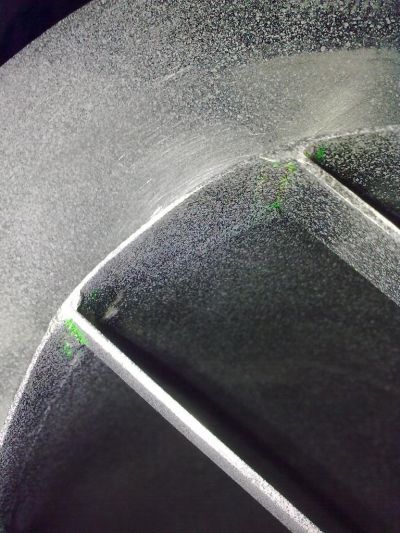
The three ribs guard against large objects entering the duct (the part is situated at the bottom of a gas turbine). The upper two ribs have been replaced, and this called for a local inspection taking in the weld and the heat-affected zone (HAZ). |
|
|
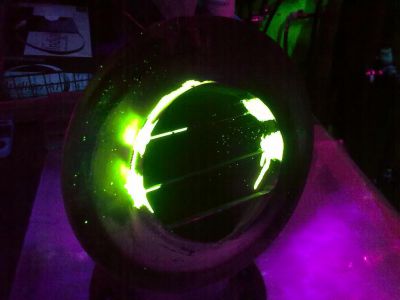
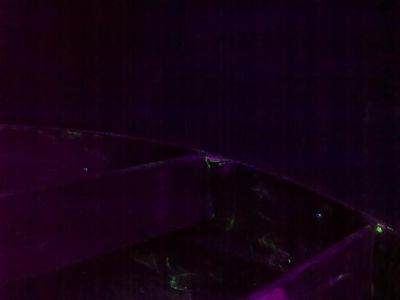
The penetrant is applied by brush to the areas concerned. The contact time is around 20 minutes. This is how it looks as viewed under ultraviolet light after 20 minutes. |
|
|
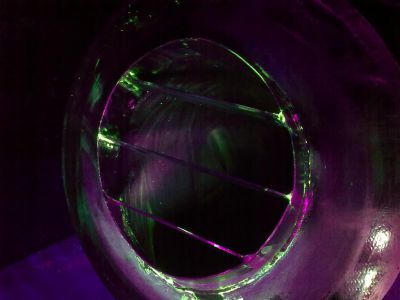
After 20mins, removal takes place by wiping off the excess with lint free wipes, and then spraying the wipes with solvent (not too much), and wiping the remaining penetrant from the surface. This is how the component looks after excess penetrant has been removed. All of these indications in the affected area will need to be verified by using the swab technique. |
|
|
After carefully swabbing, some of the welded areas still show indications. |
|
|
The same area under visible light. Note the leaching, this is where the developer (white powder) is drawing out the penetrant. |
|
|
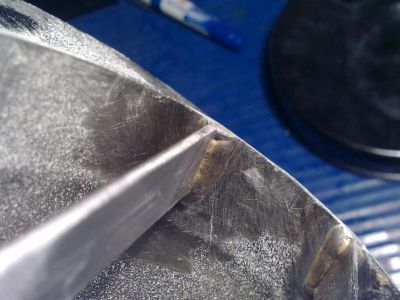
After using the swab technique, these areas were shown to be undercut. This is not necessarily a reason for rejection, as it depends on the manufacturer and what is specified for an in-service repair. All that can be done in this case is record the defect on the paperwork, and mark the area for assessment. After swabbing twice ( the max allowed for any area) an indication still remains, the other side of the same rib also shows a similar result. |
|
|
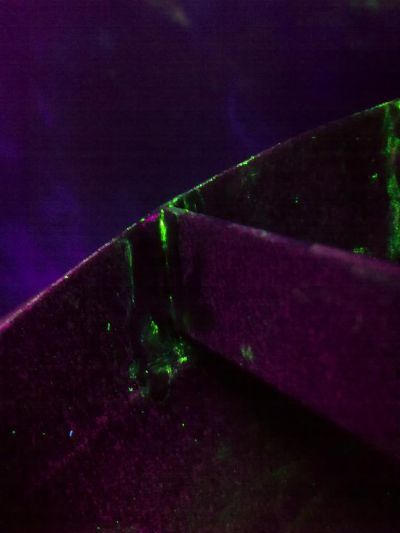
The top of the weld shows that there is clearly an area where the penetrant will remain as there is a dip in the geometry that is too fine to swab. But the edge of the weld where the rib is joined indicates right through the rib, to the other side. This suggests either a lack of fusion or a crack. I failed the component due to this as it would be a definite stress raiser, and could cause fatigue cracking in the future. |
Fluorescent Penetrant, Case Study 2
- Water washable, level 3 fluorescent penetrant inspection.
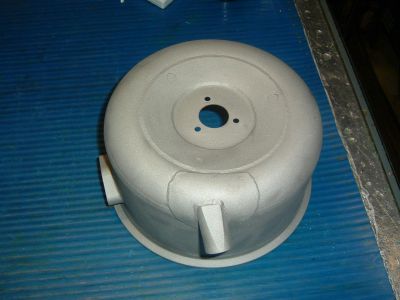
- Combustion cap, Inconel alloy
|
I suspect that these are machine welded in the main areas, and hand finished around the inlet. |
|
|
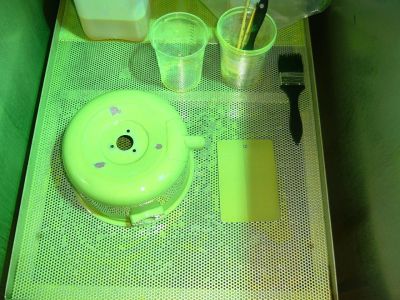
Cap with Penetrant applied. Note TAM panel (system test) next to cap. Typically I allow a 20 minute contact/dwell time before removing the penetrant, although you can extend this up to an hour if required – any longer and the penetrant will start to dry out, and the part will need to be cleaned and re-processed. |
|
|
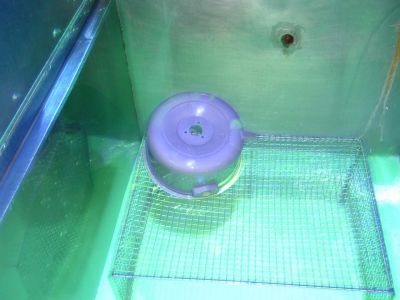
Water wash being used to remove the penetrant. The water spray must be no closer than 12” from the component, and must be a fine spray when it contacts the surface of the component. If this is not observed, there is a risk of over washing (Part of the reason a TAM panel is used). |
|
|
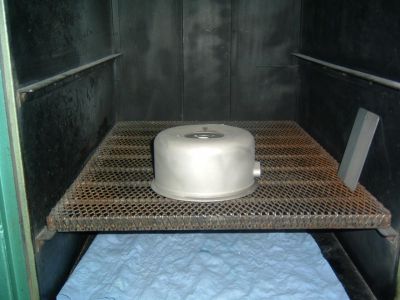
The component is then placed in a drying oven. The surface temperature of the component should not exceed 65 °C. |
|
|
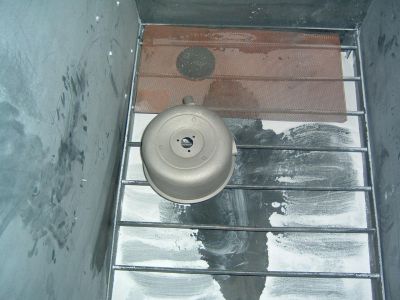
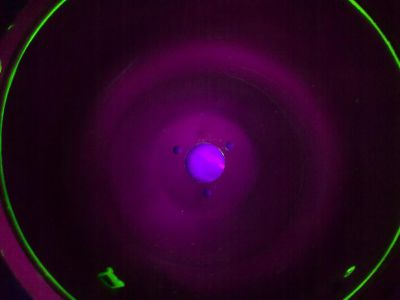
Once dried, the component is placed into a dust-storm cabinet, where it is covered in a fine layer of developer (chalk/talc substance). The metal disc above the component is used as an indicator for when the developer is contaminated. It must have <10 particles of penetrant on it. |
|
|
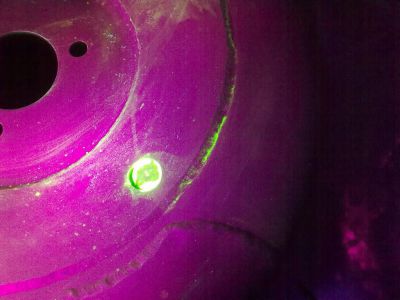
View of the component from above, ready for inspection under UV light. Looks Ok, except for the area at the bottom right, which could be a toe-crack, or undercut, etc. |
|
|
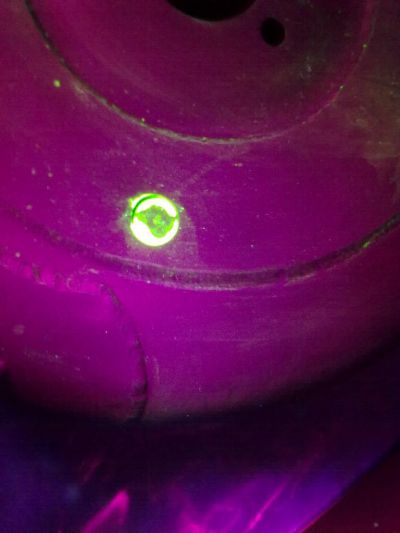
A closer view of the area. The Circular area is a hole to the lower skin, and is a trap for the penetrant. |
|
|
The area is cleaned using a swab technique (cotton bud with solvent). The swab is swiped over the area, and a developer spray is applied. If the indication re-appears it signals a defect is present. |
|
|
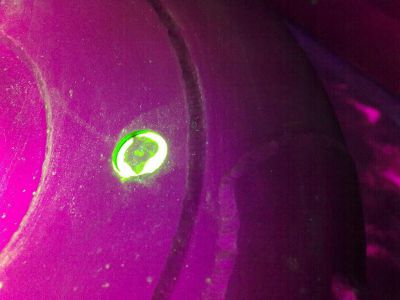
The same area, after 5 minutes. The indication has not reappeared, so I am happy that the penetrant was just caught in the surface geometry (there is some slight undercut on the welds, although the picture doesn't really show this very well. |
|
|
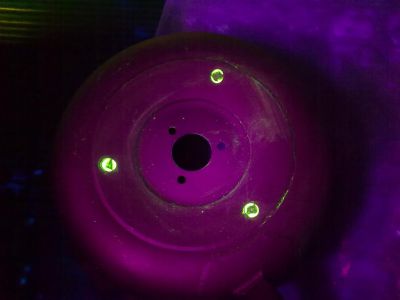
The underside shows no indications. The green areas are where the inlet and igniter join the cap. This cap was released as serviceable. |
|
|
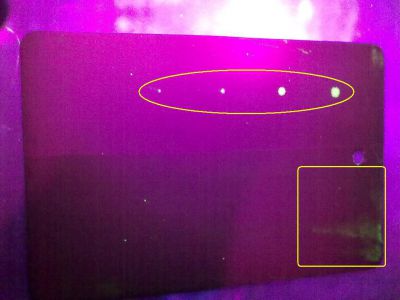
This TAM panel test is carried out to ensure accurate results. Most have 5 test cracks, but this one has four. The cracks are compared to a reference photo of the panel when it was new. If there are less cracks indicating, then you must re-process the parts. The left side (top) has the cracks in it, and the right (bottom) s a background test for under/over washing. The camera has not picked up the faint green background very well in the low light conditions. |
Thanks to Forum member Mark S for the info on this page.
