As promised elsewhere, here are some pics of mine. Can't believe I built this thing 4 years back, even more can't believe I haven't used it in anger yet (can't spare the time to play with it, too many things to do, moves away mumbling in embarrassed fashion to oneself  ).
).
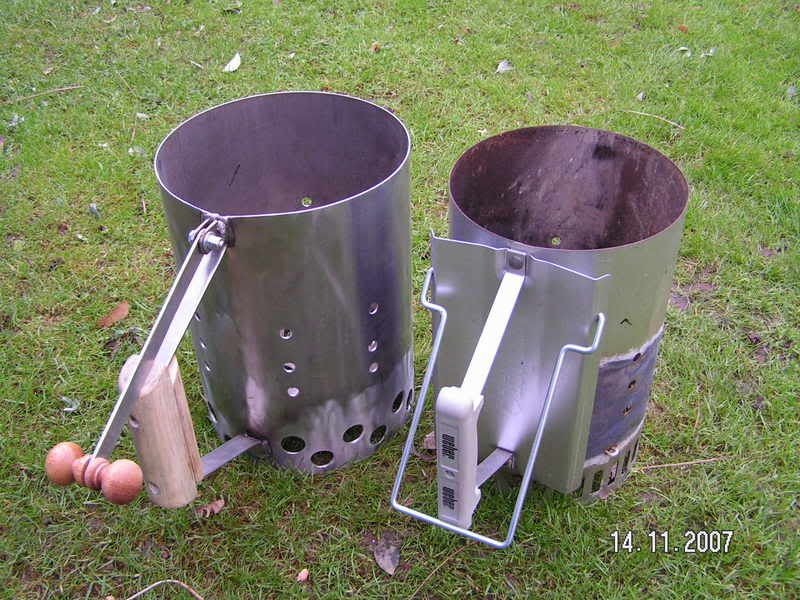
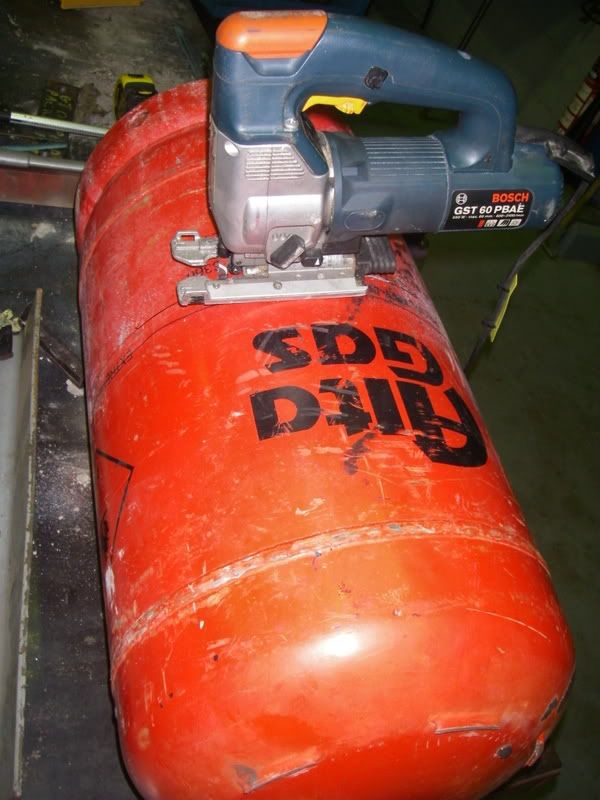
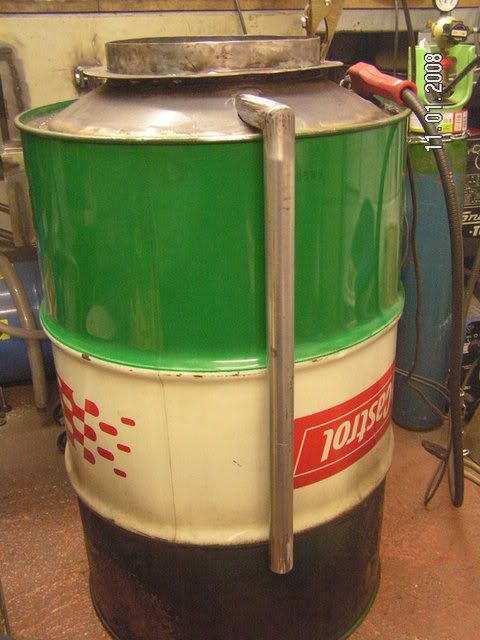
Anyhoo, here goes. The raw materials;
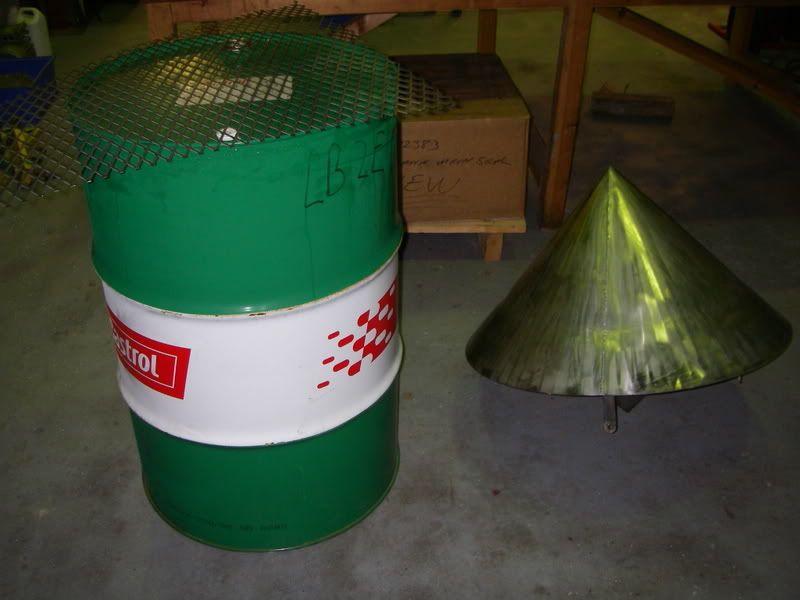
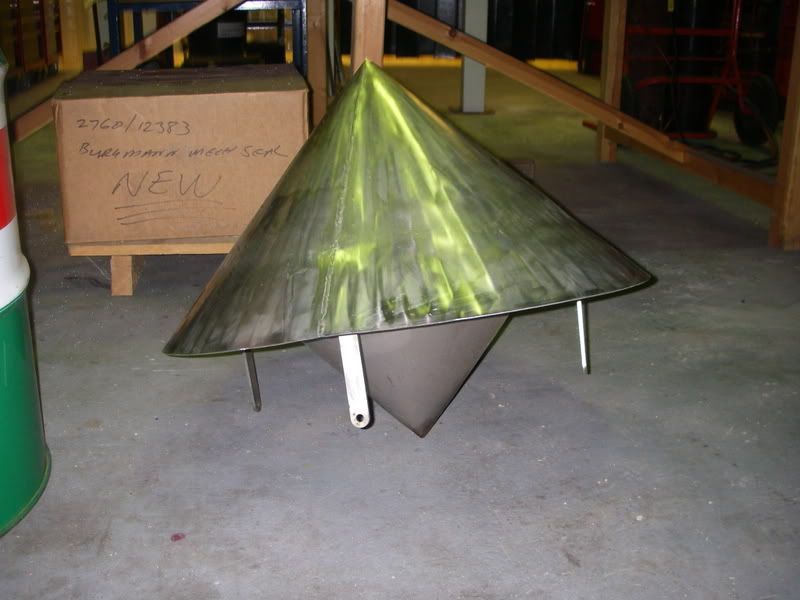
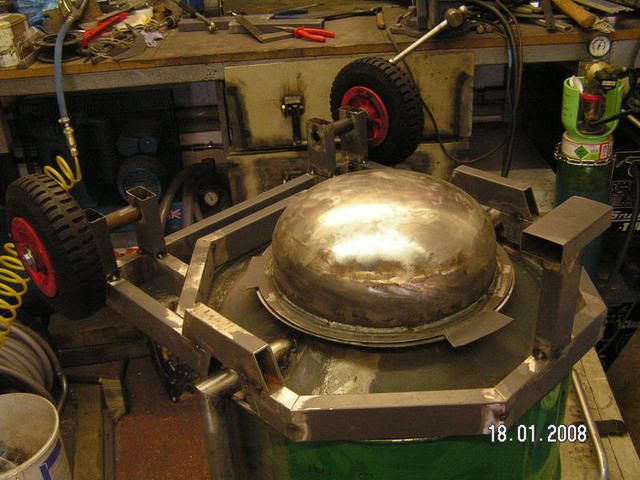
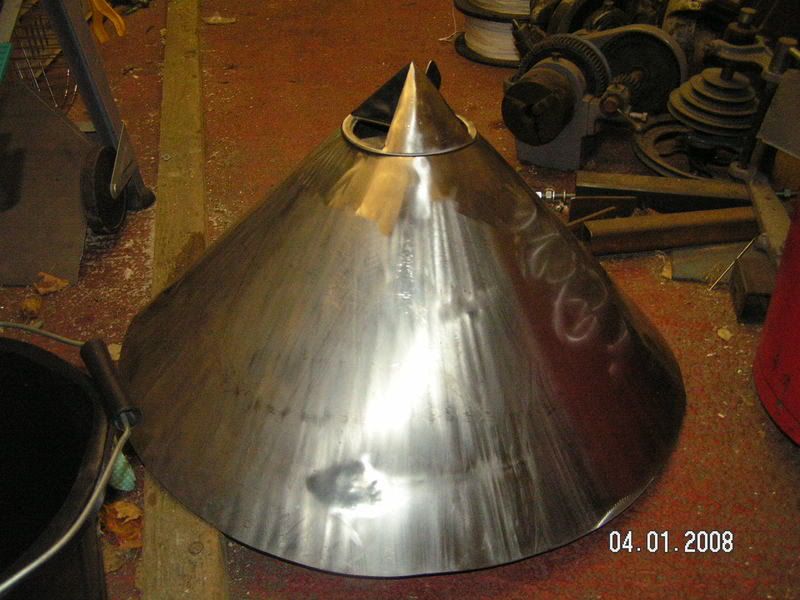
As mentioned elsewhere, the lid was a stainless chinamans hat for a diesel genset exhaust which was incorrectly sized and headed skipwards until I 'caught' it.
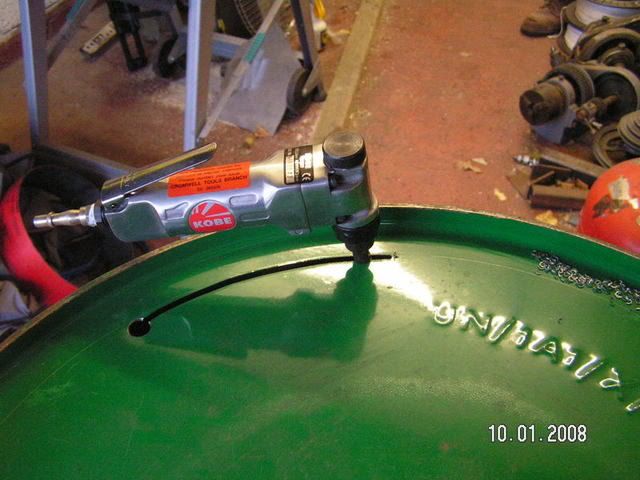
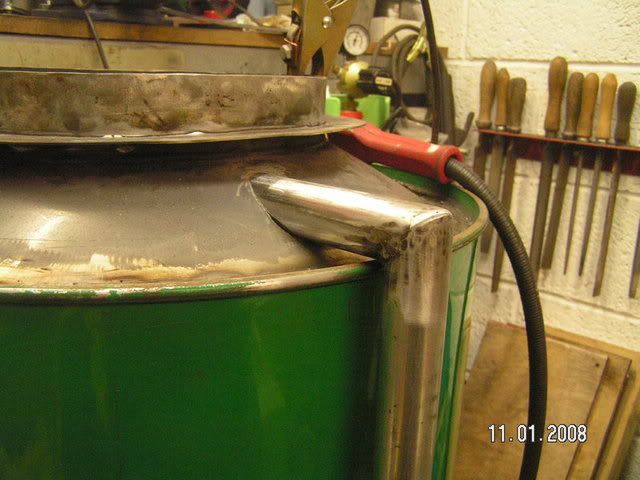
Cutting the bottom out, air nibbler, OK but tends to get stuck.
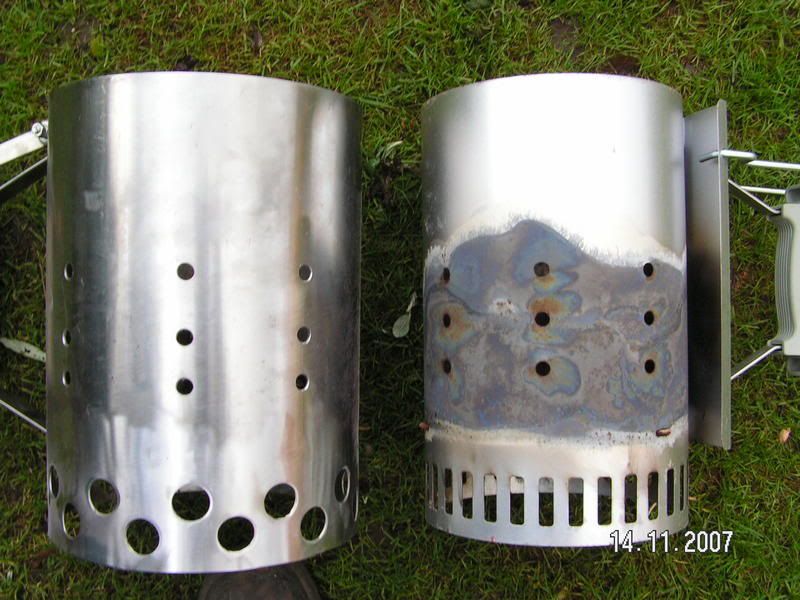
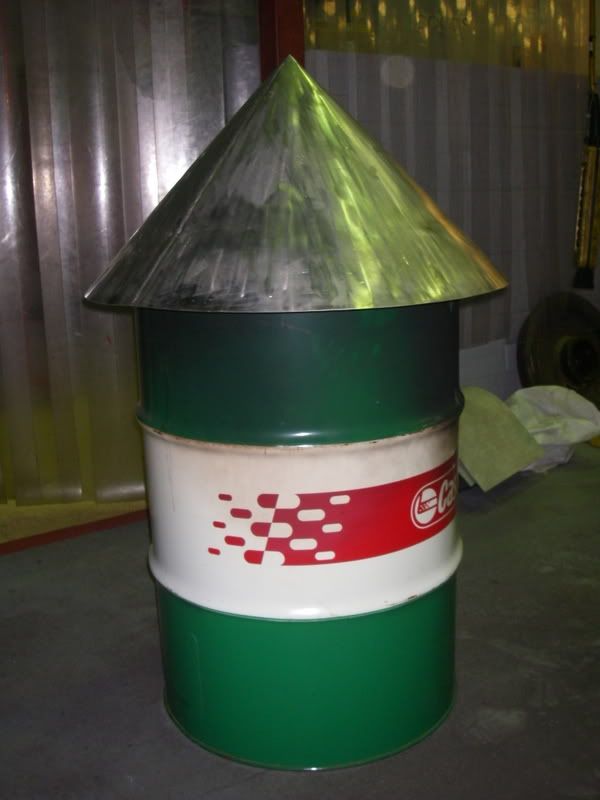
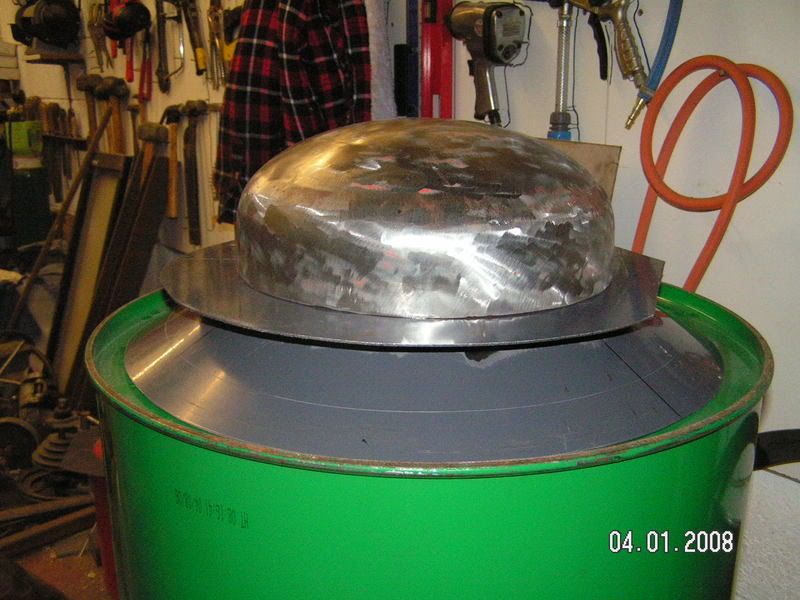
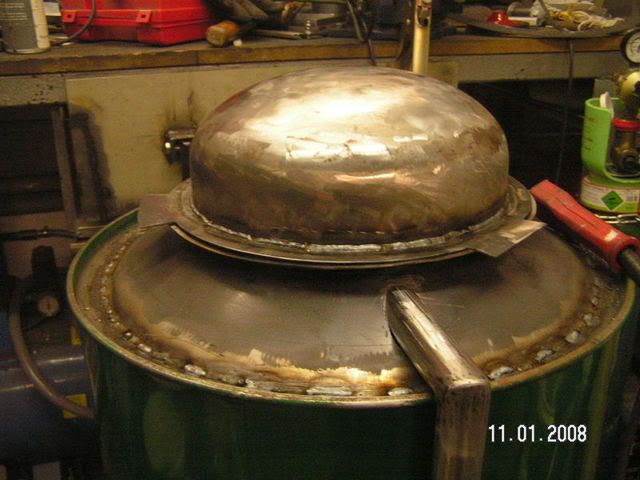
Playing at 'what will it look like'
Decided to be a flash git and make an ash catcher. Here is the raw material being cut;
I made the cone out of a piece of flat sheet cut into a ring, cut out an arc the bent it up by hand. The sealing ring was cut from sheet and the dome is (obviously) the bottom of the above cylinder.
Bottom cone tacked on.
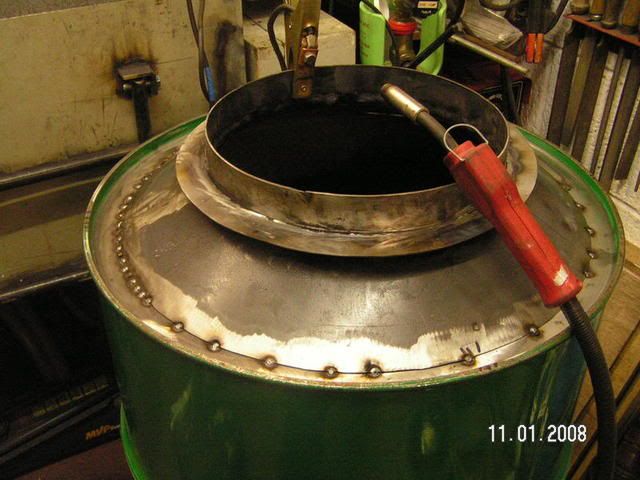
Welding the bottom on consisted of a series of tacks which eventually joined up when I'd done enough. I know this is probably crap practice but it stopped me blowing loads of holes through and it's the best I can do;
I decided to feed the air in through the ash cone so it could come up through the charcoal, so I errm 'obtained' this length of galv tube (fairly thin-walled and about 11/2 dia IIRC), cut & shut two mitred corners, drilled out holes in the cone and welded them in;
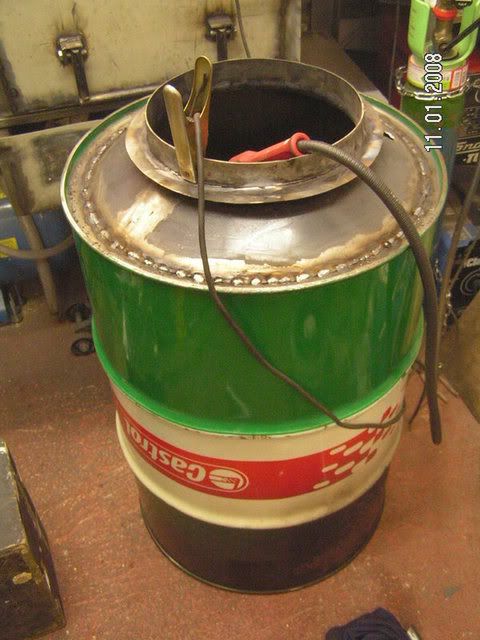
The bottom finished;
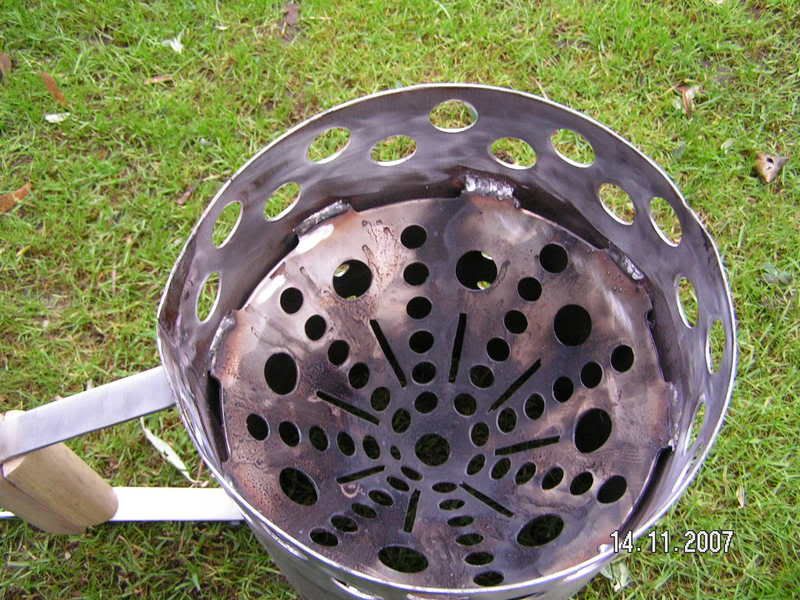
Here's the inside;
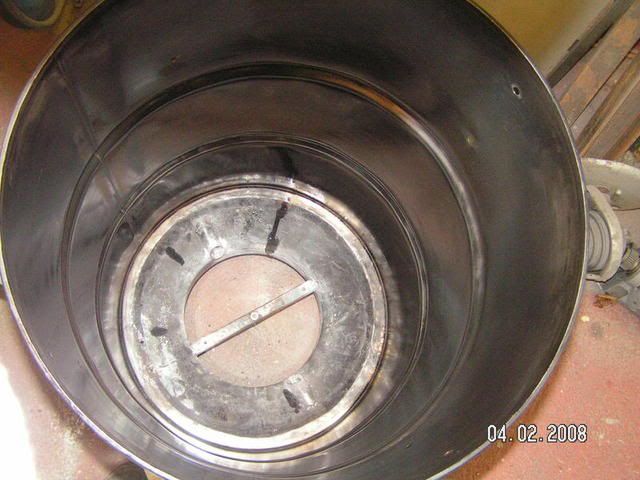
The bar across it is for the ash pan to screw on to (to be explained later).
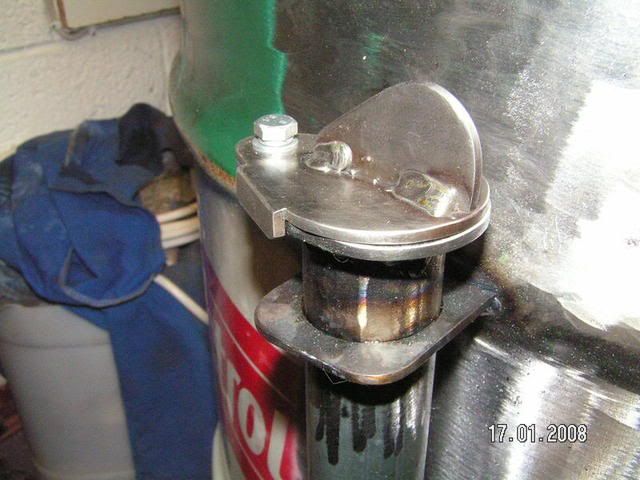
I made two air valves from 3mm stainless, took some faff but look OK, and added air inlet pipe brackets as well;
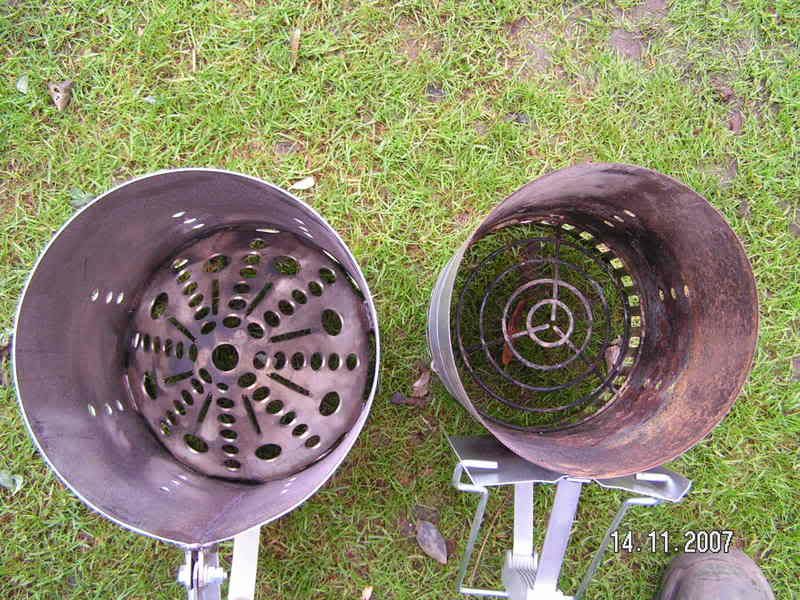
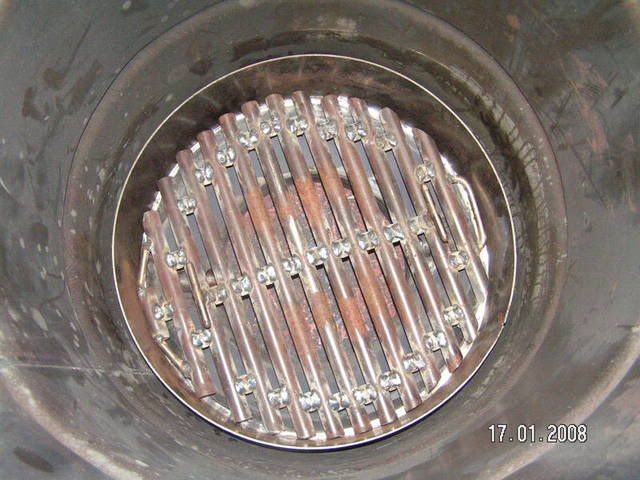
The grate is almost definitely OTT size-wise but it's all I could find lying around (scrap boiler tube) with some thick-ish flat rolled round to make a ring;
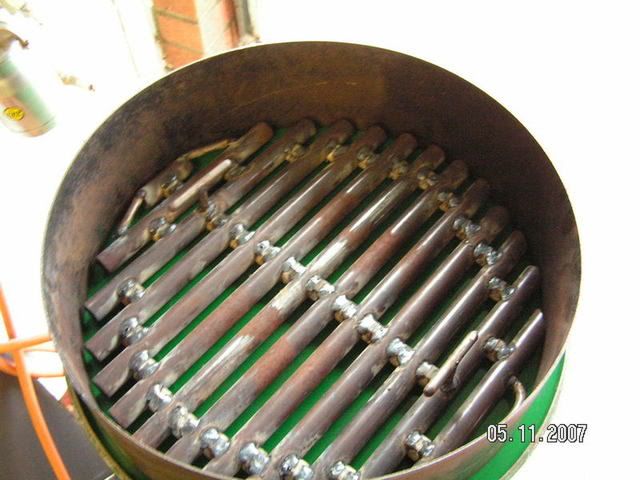
And in the drum;
Thence to the trolley, 'cos I didn't want to have to hump it by hand. Old desk frames are a brilliand source of fairly light-gauge RHS steel tube for this sort of thing , wheels were off a old trolley, again from the skip at work, incredible eh?;
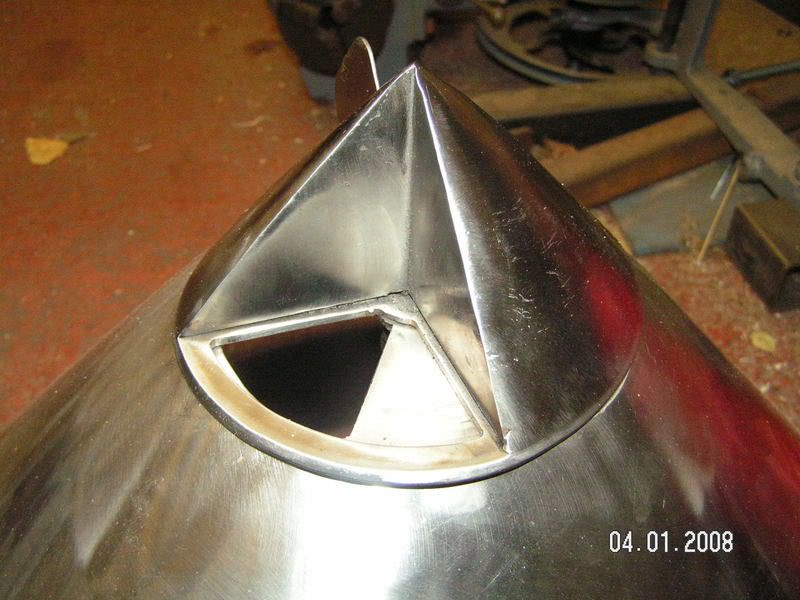
To make an airvent I cut the top off the lid, welded on a flat piece of stainless with two qudrants cut out, welded a flat dics of stainless to the cut-off top and then chopped it to make two matching quadrants et voila, one air vent. Sounds simple and looks nice but were I doing this again this is one of the many things I wouldn't waste time on, it was a real PITA and heavy on (expensive) stainless-capable consumables.
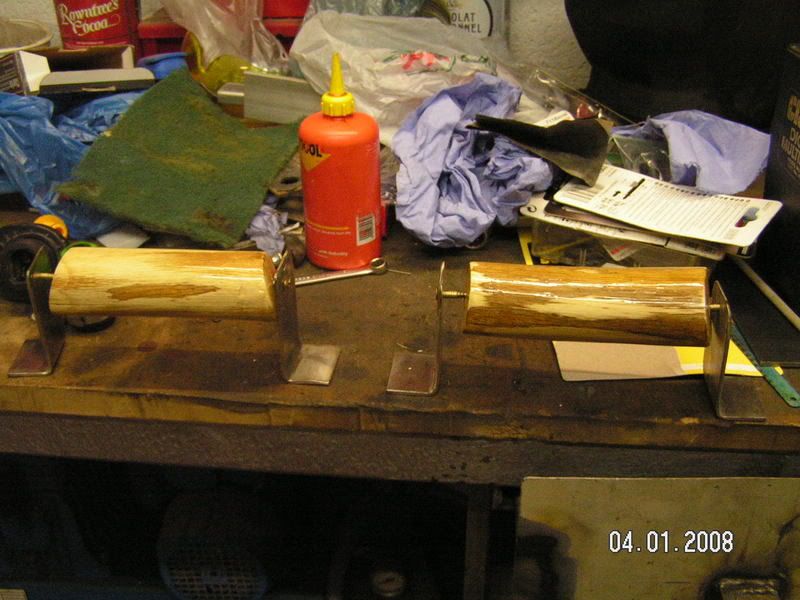
The lid handles were two pieces of cherry my Father-In-Law gave me which I stripped the bark off, smoothed, drilled and screwed to some right-angle stainless brackets I knocked up. Coupla coats of PU varnish and they were good to go;
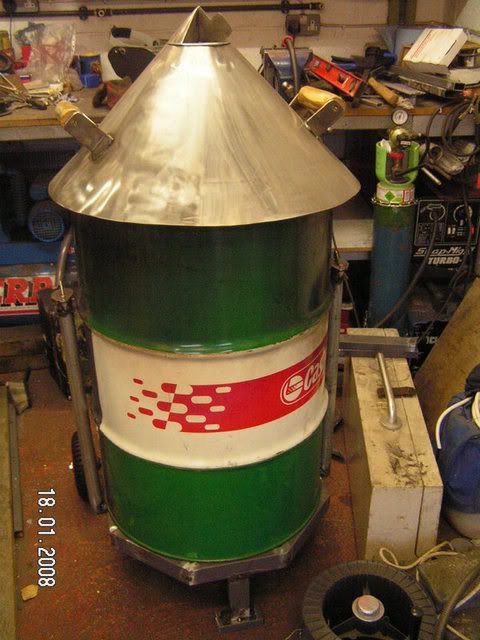
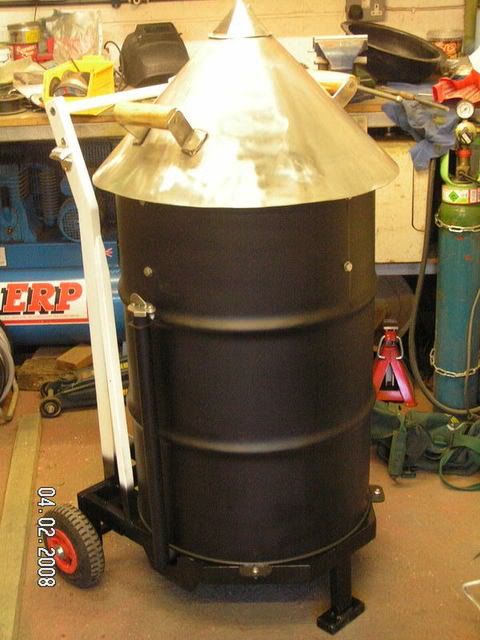
In paint. The smart-**** looking black-drum-merging-into-a-white-handle was brought about by the simple expedient of me using all of the high-temp paint on the drum and having none left for the handle That said I kinda like it ;
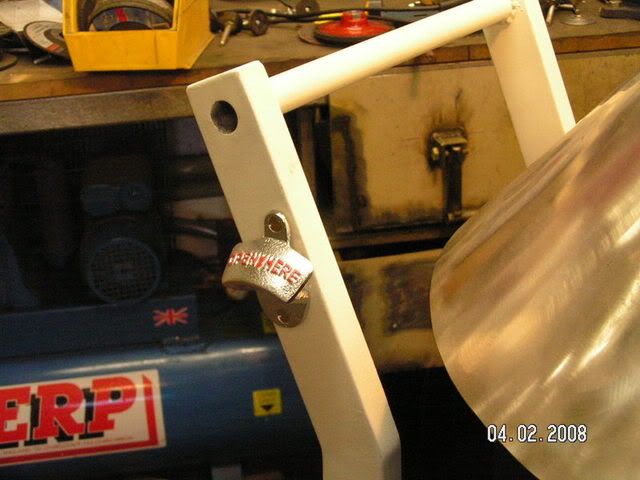
Complete with essential accessory of course!
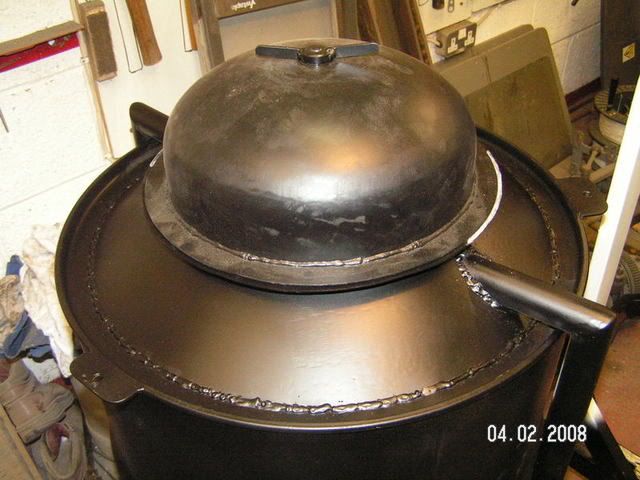
The finished ash catcher. The wing nut in the centre screws into a threaded insert welded into the bar in the ash cone you saw further up. Because my seal rings distorded when they were welded I had to run a bead of high-temp silicone around the drum-bottom one to act as an airtight seal.
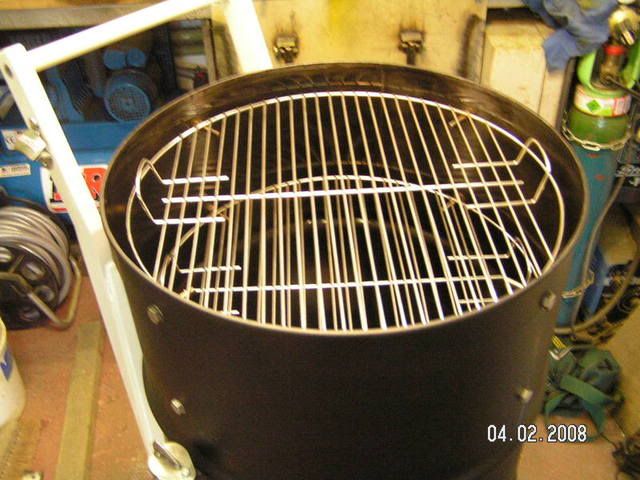
There are two cooking grates, separated by about 8-10 inches. So I have read elsehwere on the 'net, the essential distance is 24 inches from the fire top to the first cooking grate;
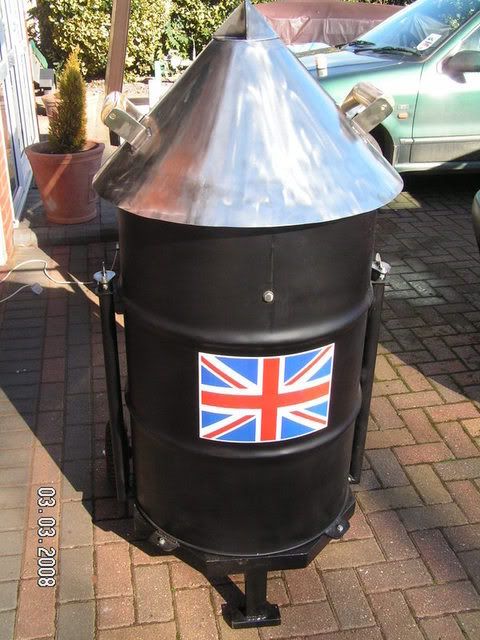
Finished and ready to go! The Union flag is a sticker, I tried masking up and using enamel paints but they ran into one another, so I sanded them off, blacked it and took the easy route ;
;
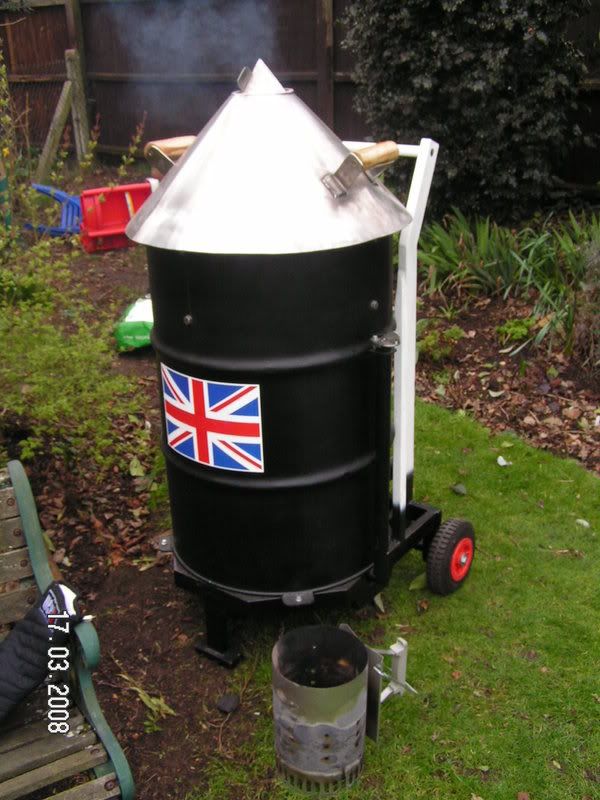
And here's is it's one and only burn, done to season it. I found that the temps went way too high and thought it might be stray air leaking in at the lid (again, sealing surfaces aren't completely flat), so high-temp-siliconed on a cooker door seal onto the drum half (Ebay jobbie I think), but have yet to prove if it did the job, even after 4 years!!!
I'll go away and stop boring you now
).Anyhoo, here goes. The raw materials;
As mentioned elsewhere, the lid was a stainless chinamans hat for a diesel genset exhaust which was incorrectly sized and headed skipwards until I 'caught' it.
Cutting the bottom out, air nibbler, OK but tends to get stuck.
Playing at 'what will it look like'
Decided to be a flash git and make an ash catcher. Here is the raw material being cut;
I made the cone out of a piece of flat sheet cut into a ring, cut out an arc the bent it up by hand. The sealing ring was cut from sheet and the dome is (obviously) the bottom of the above cylinder.
Bottom cone tacked on.
Welding the bottom on consisted of a series of tacks which eventually joined up when I'd done enough. I know this is probably crap practice but it stopped me blowing loads of holes through and it's the best I can do
;
I decided to feed the air in through the ash cone so it could come up through the charcoal, so I errm 'obtained' this length of galv tube (fairly thin-walled and about 11/2 dia IIRC), cut & shut two mitred corners, drilled out holes in the cone and welded them in;
The bottom finished;
Here's the inside;
The bar across it is for the ash pan to screw on to (to be explained later).
I made two air valves from 3mm stainless, took some faff but look OK, and added air inlet pipe brackets as well;
The grate is almost definitely OTT size-wise but it's all I could find lying around (scrap boiler tube) with some thick-ish flat rolled round to make a ring;
And in the drum;
Thence to the trolley, 'cos I didn't want to have to hump it by hand. Old desk frames are a brilliand source of fairly light-gauge RHS steel tube for this sort of thing
, wheels were off a old trolley, again from the skip at work, incredible eh?;
To make an airvent I cut the top off the lid, welded on a flat piece of stainless with two qudrants cut out, welded a flat dics of stainless to the cut-off top and then chopped it to make two matching quadrants et voila, one air vent. Sounds simple and looks nice but were I doing this again this is one of the many things I wouldn't waste time on, it was a real PITA and heavy on (expensive) stainless-capable consumables.
The lid handles were two pieces of cherry my Father-In-Law gave me which I stripped the bark off, smoothed, drilled and screwed to some right-angle stainless brackets I knocked up. Coupla coats of PU varnish and they were good to go;
In paint. The smart-**** looking black-drum-merging-into-a-white-handle was brought about by the simple expedient of me using all of the high-temp paint on the drum and having none left for the handle
That said I kinda like it ;
Complete with essential accessory of course!
The finished ash catcher. The wing nut in the centre screws into a threaded insert welded into the bar in the ash cone you saw further up. Because my seal rings distorded when they were welded I had to run a bead of high-temp silicone around the drum-bottom one to act as an airtight seal.
There are two cooking grates, separated by about 8-10 inches. So I have read elsehwere on the 'net, the essential distance is 24 inches from the fire top to the first cooking grate;
Finished and ready to go! The Union flag is a sticker, I tried masking up and using enamel paints but they ran into one another, so I sanded them off, blacked it and took the easy route
;
And here's is it's one and only burn, done to season it. I found that the temps went way too high and thought it might be stray air leaking in at the lid (again, sealing surfaces aren't completely flat), so high-temp-siliconed on a cooker door seal onto the drum half (Ebay jobbie I think), but have yet to prove if it did the job, even after 4 years!!!
I'll go away and stop boring you now