


lorenzo
Member
- Messages
- 151
I haven't posted in a while.... haven't been doing anything really worth posting. I have a few buckets at the shop that have showed up over the last couple of days so I figured I'd share some pics.
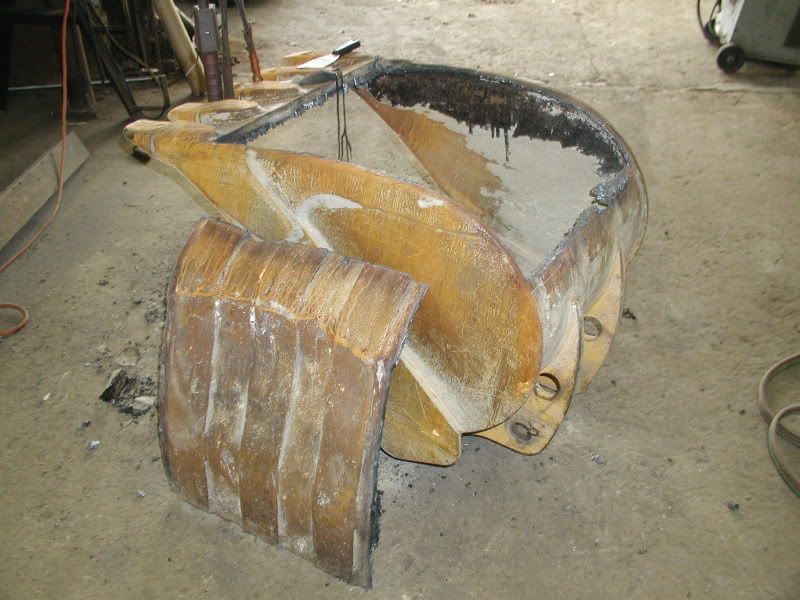
This one is a little guy.... as you can see the bottom is caved in so we'll be replacing the bottom and the wear bars.

First step is to remove the floor..... just cut it out in one piece.. this is after I removed all the hardened asphalt.:realmad:
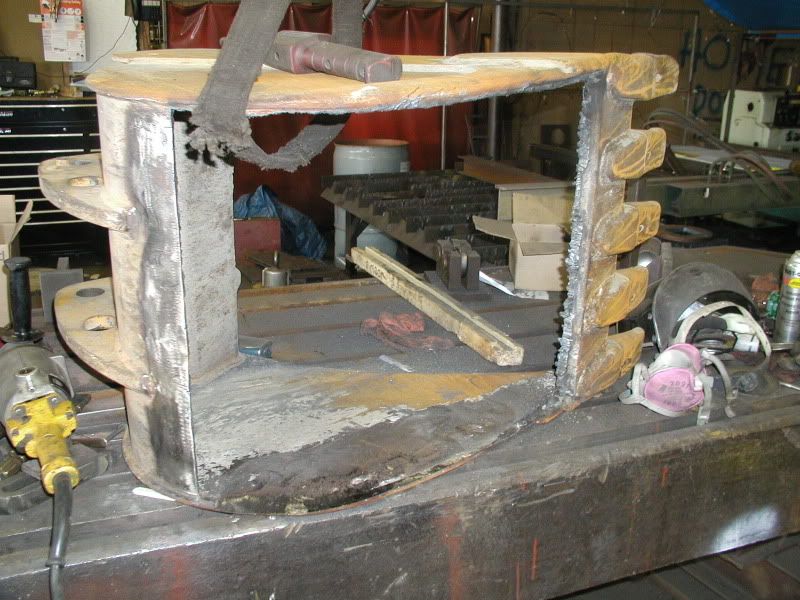
Throw it up on the bench to clean up all the joint areas...
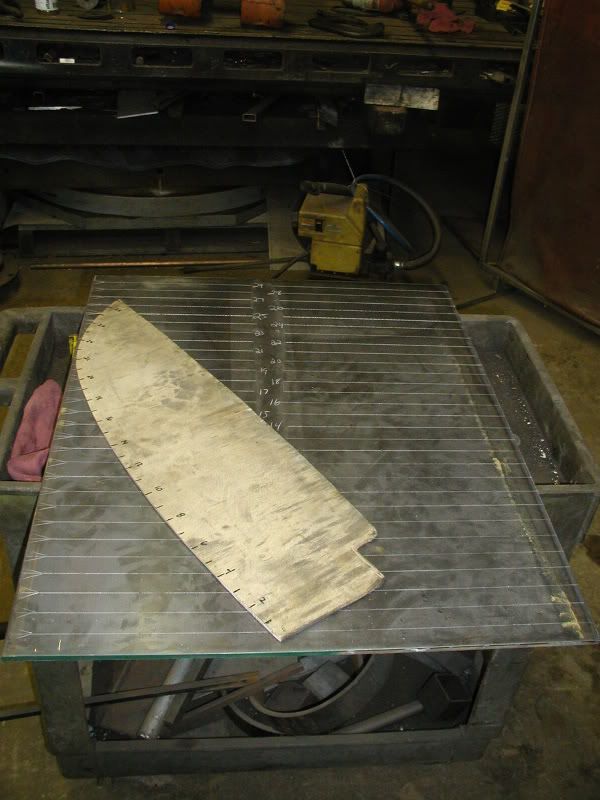
After cleaning it up I make the template and it off to cut the floor material...
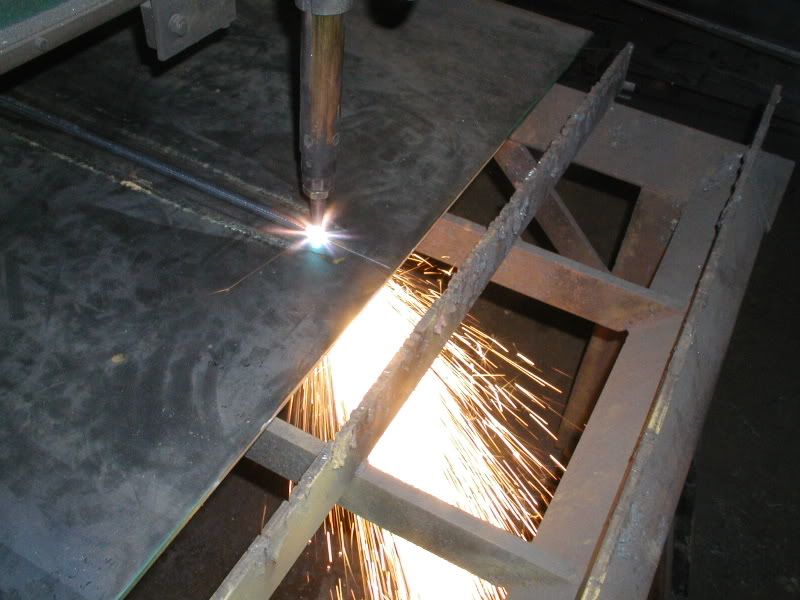
Notice I started the cut just inside the edge of the plate, cutting across and then down.... leaving that little tab attached keeps the piece from peeling from the plate, which could alter the dimensions of the cut piece.
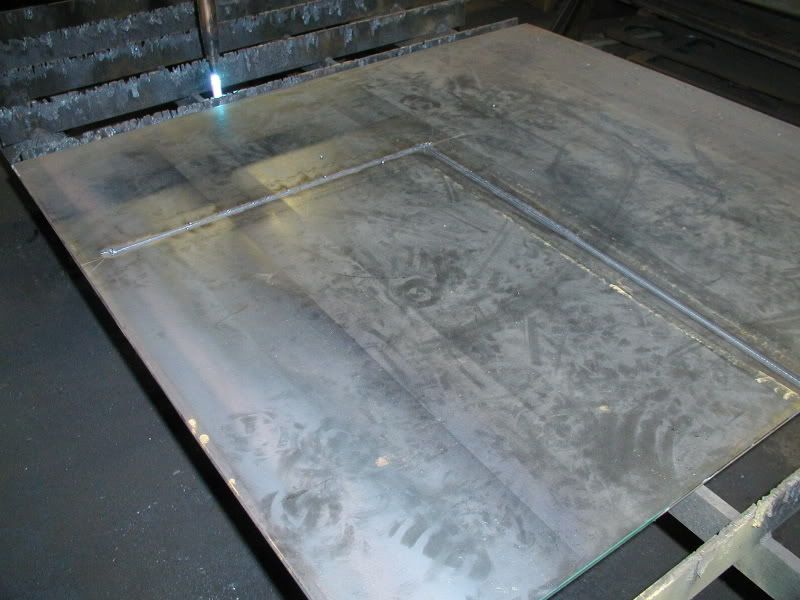
Here is the new floor piece with the template... the floor is marked out to be bump rolled. The lines on the plate and the template are used to reference where to bump the plate.
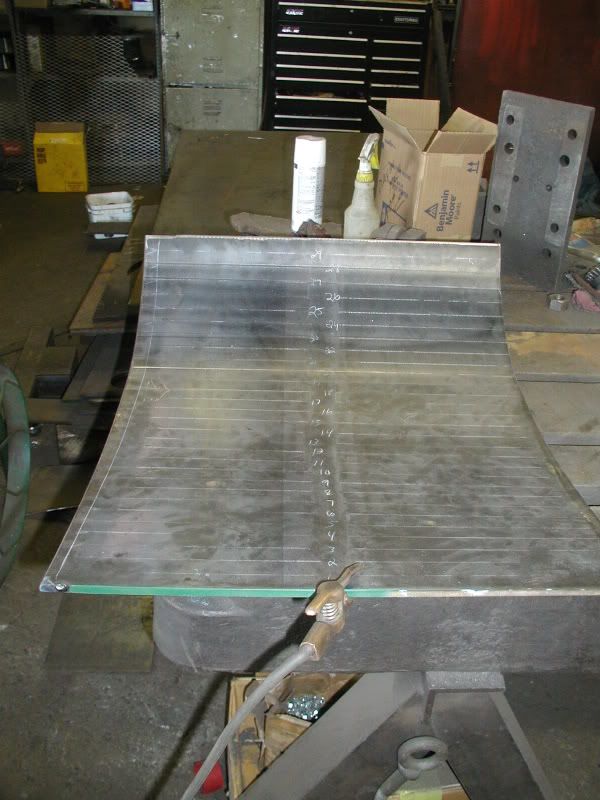
Here is the plate after the rolling is completed.... This is where (I feel) it is important to be able to use a plasma cutter or a torch without the aide of a fence or straight edge. The line running length wise to the left of the plate represents the iside of the bucket. I already trimmed the right side. As you can see it would be difficult to place some type of a guide considering the curve of the plate and the slight arc of the line itself...
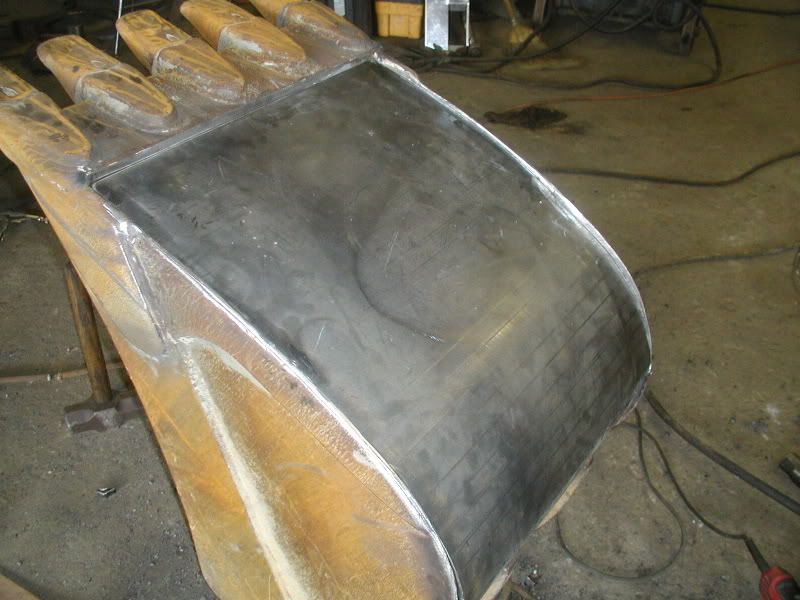
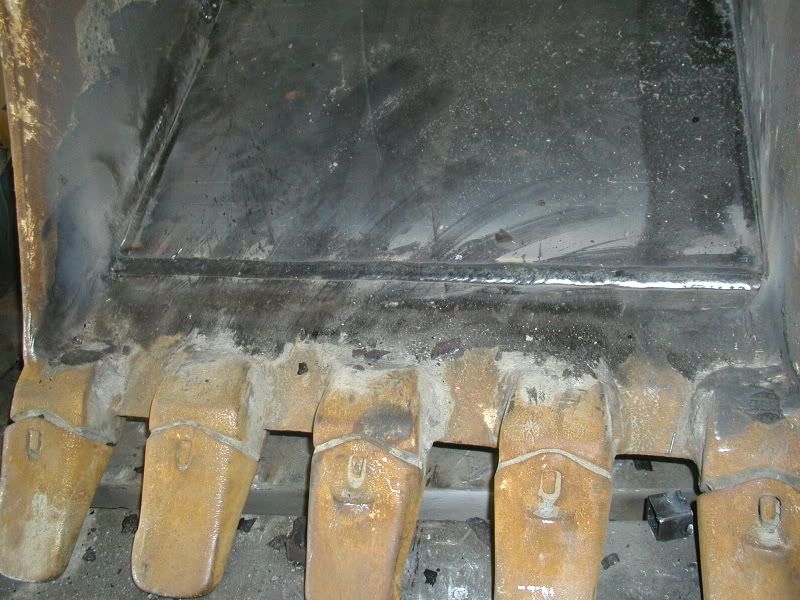
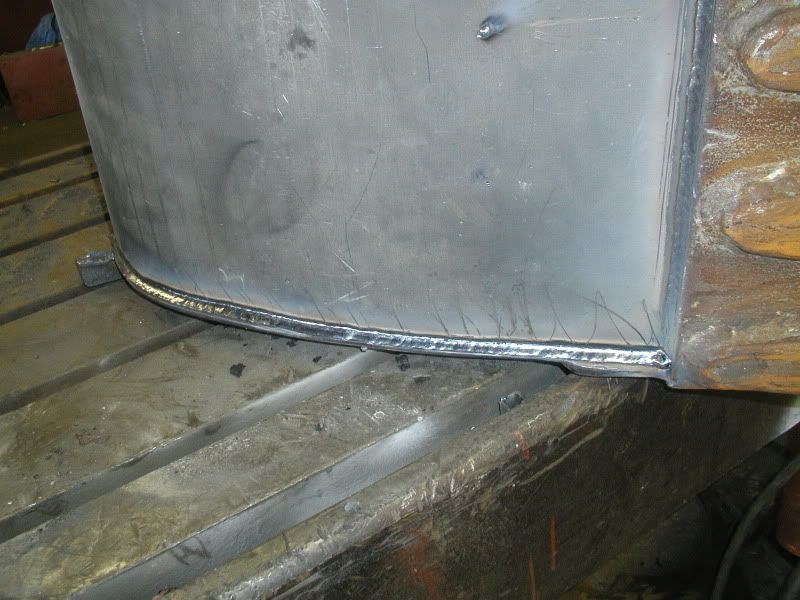
Here is the new floor in place.... pretty nice fit.... I just have to dawg down the roll a little bit..
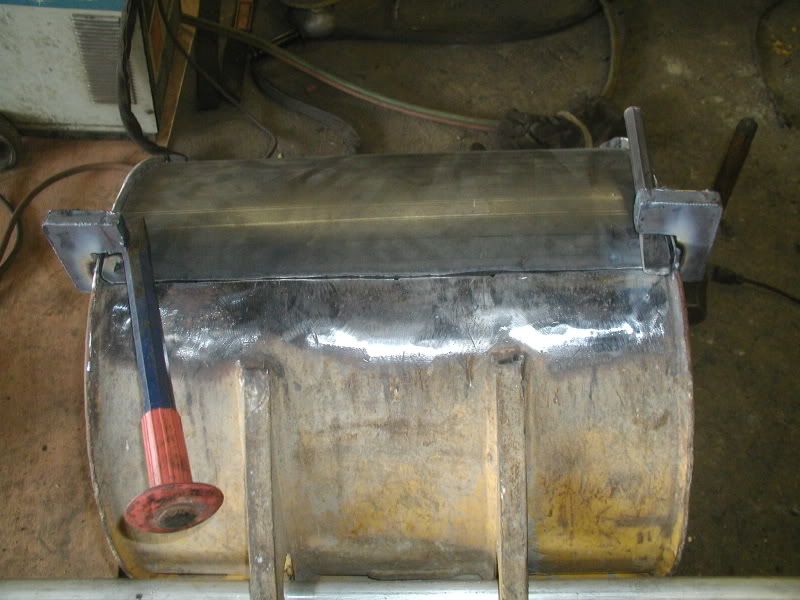
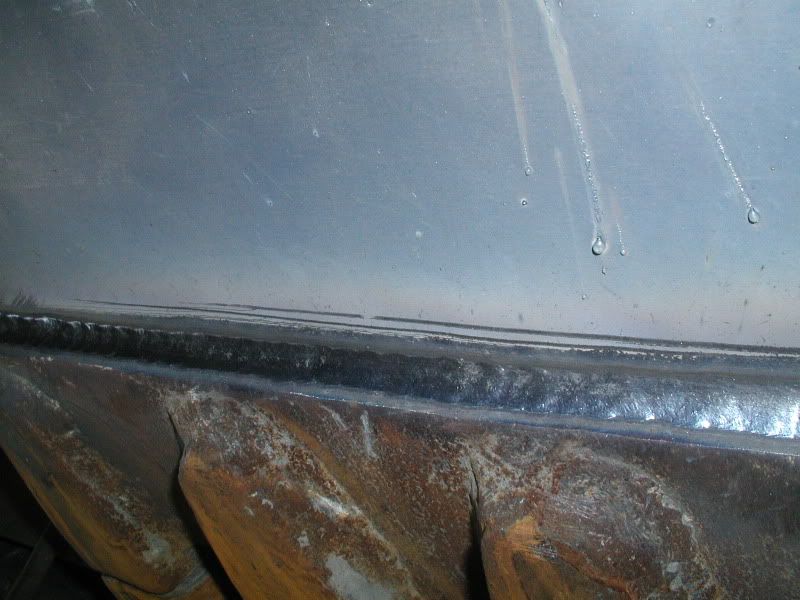
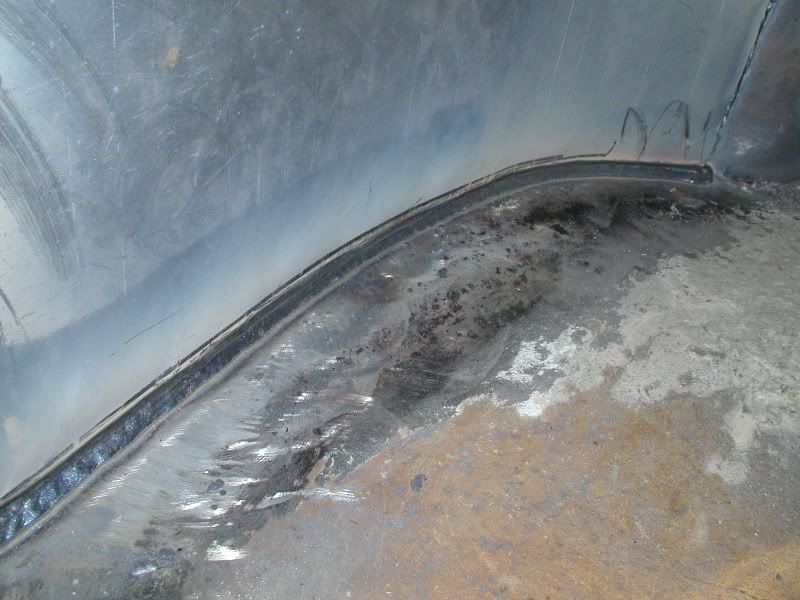
I'll continue with some weld pis in the next post...
Thanks for looking...
This one is a little guy.... as you can see the bottom is caved in so we'll be replacing the bottom and the wear bars.
First step is to remove the floor..... just cut it out in one piece.. this is after I removed all the hardened asphalt.:realmad:
Throw it up on the bench to clean up all the joint areas...
After cleaning it up I make the template and it off to cut the floor material...
Notice I started the cut just inside the edge of the plate, cutting across and then down.... leaving that little tab attached keeps the piece from peeling from the plate, which could alter the dimensions of the cut piece.
Here is the new floor piece with the template... the floor is marked out to be bump rolled. The lines on the plate and the template are used to reference where to bump the plate.
Here is the plate after the rolling is completed.... This is where (I feel) it is important to be able to use a plasma cutter or a torch without the aide of a fence or straight edge. The line running length wise to the left of the plate represents the iside of the bucket. I already trimmed the right side. As you can see it would be difficult to place some type of a guide considering the curve of the plate and the slight arc of the line itself...
Here is the new floor in place.... pretty nice fit.... I just have to dawg down the roll a little bit..
I'll continue with some weld pis in the next post...
Thanks for looking...

 Off hand I'm not sure how deep it is, I'll see if I can do some sample and cut them to see how deep it is at the settings I'm running.
 . looks like you can drop the ocv a bit with the excel. Iv got a couple of 5th wheal couplings to make in the next couple of weeks theres a good few feet of verticals to do with them il avoid the temptation of running a 6013 and give the excel a go, let you know how i get on.