


Colour
Most of the time in painting is spent preparing panels for colour coating, and most of the skill in painting is in applying the colour coats to a good finish. It can be quite cheap to book the car into a professional paint shop for the colour coats where they can be sprayed in a temperature controlled dust-free environment with good equipment and technique.
Solid colours are normally best applied as a colour mixed topcoat rather than a base coat and clear coat as clear coated systems are more vulnerable to UV damage and lifting and are more difficult to repair. Red is often applied with a clear coat to protect from fading due to UV light.
Building colour coats
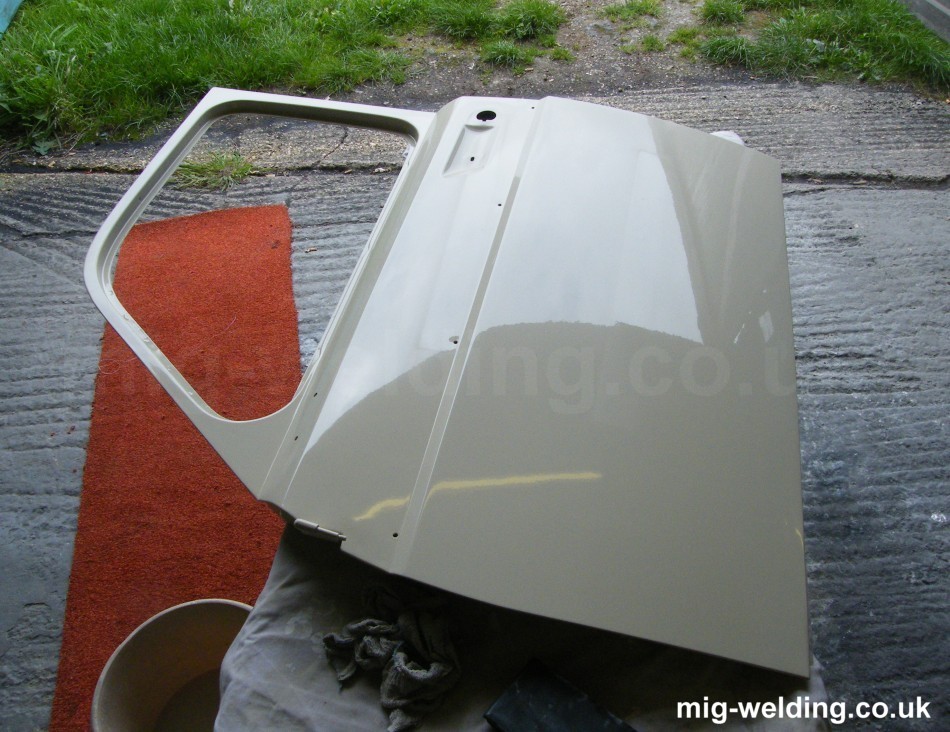
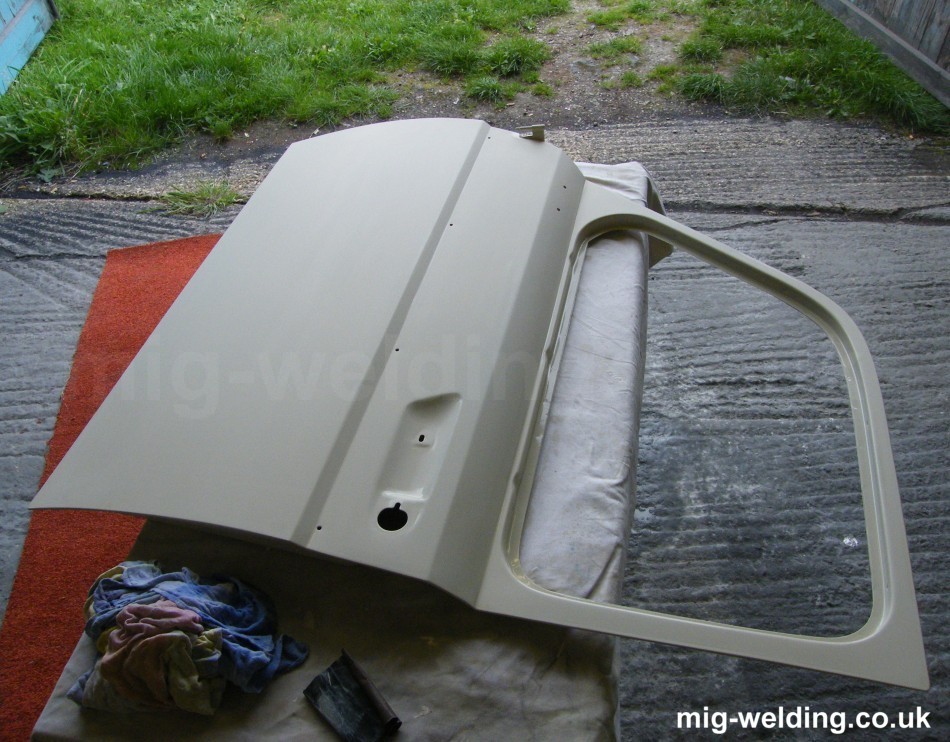
The time between the first and last colour coats should be minimised to reduce the time the colour has to pick up contamination. The number of colour coats required depends on the type and colour of paint. The panel in the photograph was painted in 2-pack paint and required only 2 coats. A light colour in cellulose paint might need 4 coats to build up the full opacity of the paint.
Paint faults such as drips or dust should be rectified prior to spraying subsequent coats. Excessive orange peel might also be lightly sanded between coats.
Colour sanding
It is possible to achieve a decent finish out of the gun, but most DIY painters will sand colour coats to produce an even flat finish. The colour should be allowed to dry overnight before flatting. Before wet sanding rub the sandpaper on a bar of soap to help prevent the paper from clogging. A thorough rinse will be necessary after sanding to remove all traces of the soap.
For a completely flat mirror finish the panels would be wet flatted with 1200 grit, then compounded and polished to a mirror finish. A mirror finish will show every imperfection in panel shape so will not be suitable for every car.
A factory finish would include a slight orange peel texture (have a close look at new cars - the finish can often be quite poor). To achieve this the panel can be wet flatted with 800 grit sandpaper and sprayed with a final colour coat which can then be polished.
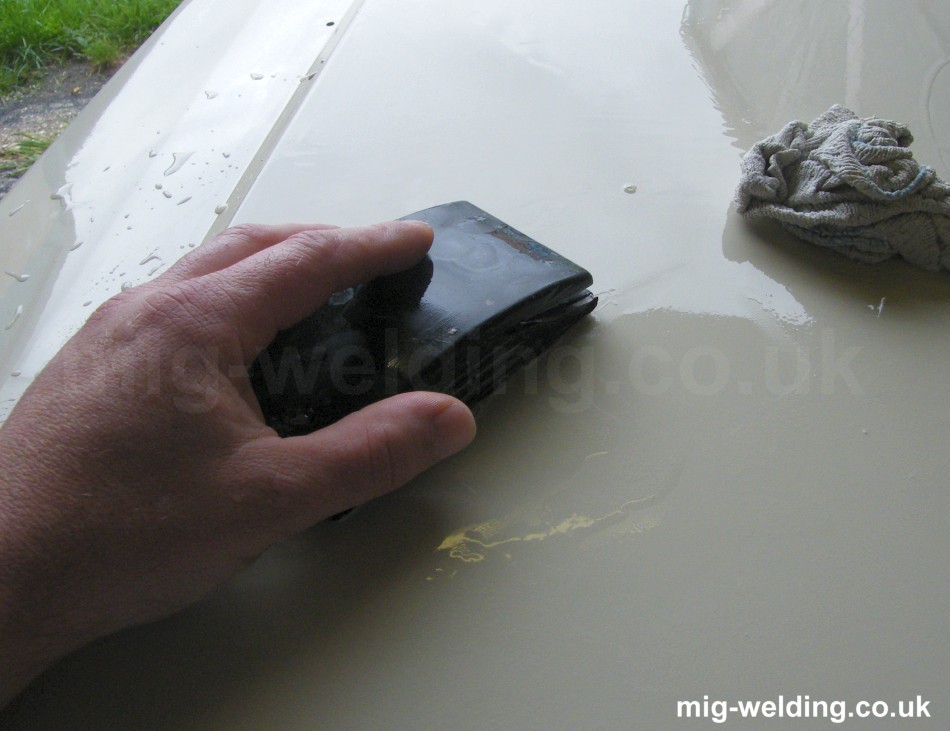
Be careful not to sand through to the primer - that creates the hassle of further coats and more sanding. Assuming the primer was wet flatted with a guide coat the top coat will not sand through until it is completely flat, though it's still easy to sand through at the edges.
Spraying sequence
Spraying sequence is important in colour coating to avoid spraying on top of over-spray. If the inside, outside, and underneath of a shell is to be painted it is sensible to flat and top coat the insides of the shell prior to flatting the outside of the shell.
Paint the door shuts, boot shuts and engine bay before the main body panels. After the paint has dried the engine bay and interior can be masked off. Any overspray on the shuts can be melted in by spraying with a coat of thiners after the exterior coats have been sprayed.
Doing things right is a good first step, but most of the work in colour coating is avoiding doing things. There's more information about spray technique and prep for colour coats in the paint faults page.
This page isn't completely finished for the reason that the paint work on the car hasn't been finished. I ran into silicone contamination problems after leaving the panels for too long while waiting for a weather window to paint, and ended up booking the car into a paint shop. More updates later.