


Practical MIG welding - Chassis Welding
This is an example chassis repair from the Aston Martin V8 restoration.
Ultimately I will replace the sills on this car, but this is a small part of the restoration to demonstrate some techniques in preperation, alignment, metal bending and template making.
Cutting away the rust
The rust was quite extensive in this car. I've cut off the sills, the lower suspension mounting, and the side and bottom of the chassis. The metal that's left is in good condition.
I used a metal cutting disc on an angle grinder to roughly remove the rusty metal, then used a grinding disc for removing the rusty parts from flanges. I try to maintain the original construction as far as possible.
The shiny metal at the edges was prepared by lightly grinding off the rust and paint. It's really important to weld to clean, shiny metal - this is electric welding after all so there needs to be a good electrical contact between the torch and the metal you are welding.

Positioning
I've clamped the sill into position as that dictates the shape of the repair section I'll need to make. The photograph shows me using a square to position the new sill at a right angle to the top of the chassis.

Making a template
Cardboard pizza boxes are an ideal source of material for making templates.
Card behaves in a very similar way to sheet steel - it is very difficult to bend into a compound curve. The advantage over steel is it is very easy to cut, so if you get it wrong you can quickly make another template.

Creating the repair section
I used 2mm steel for the chassis repair (the original thickness). I drew around the template, then cut the steel using an angle grinder cutting disc.
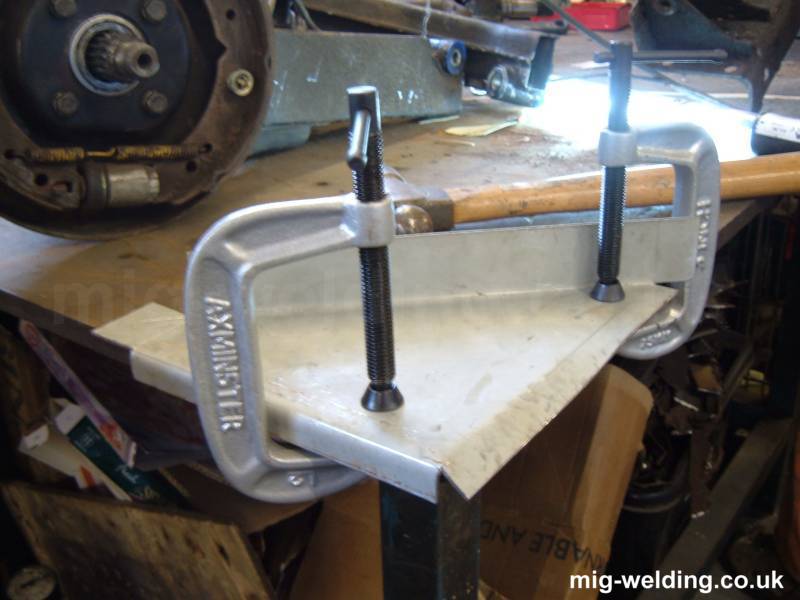
There are a variety of ways to make the bends. My favourite is my 4 foot metal bender. but I also make use of a vice. The photograph shows a further technique: I have a 1/2 inch thick steel work bench. If I clamp the steel to the bench I can make a neat bend by hammering the steel over the edge of the bench.
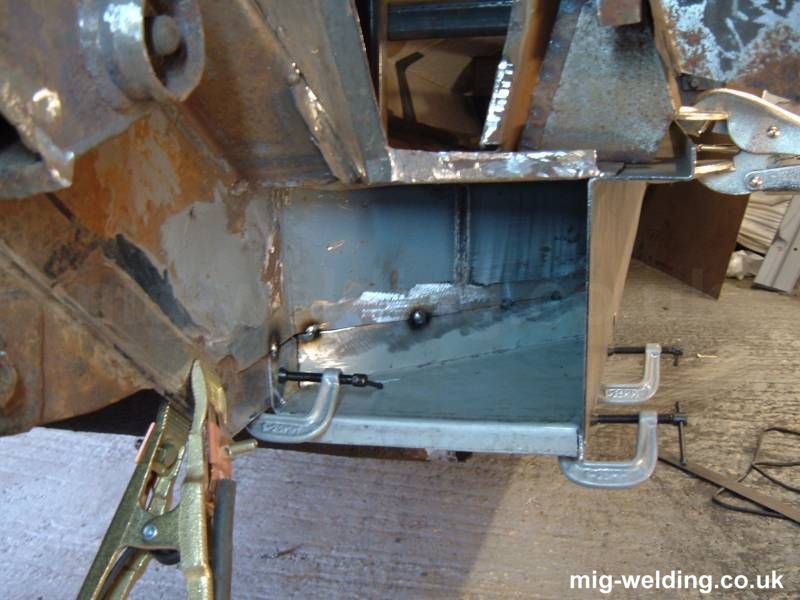
Tack Welding the Repair Section
The repair section was tacked in place at 2 inch intervals. That was enough to hold the repair section in the correct position and allowed me to remove the sill so I could get some decent access to weld the repair panel into place.
Seam Welding
Any chassis part should be fully seam welded. I've butt jointed the repair panel as an overlap joint would trap water and rust.
Distortion isn't really an issue in a thick folded panel like this one, so the seam weld could be made quickly.

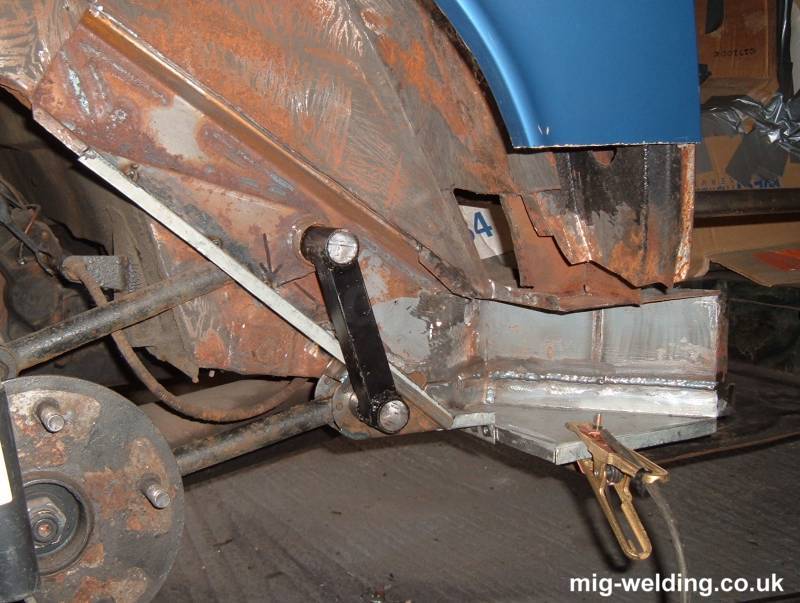
Later:
The lower part of the chassis and the suspension mounting have been positioned using a really simple chassis jig.
Jigs are essential for positioning suspension mountings. I once welded some suspension mountings on my Renault 4 without a jig, and while everything was pretty close the car sagged to one side. I ended up using a jig to re-drill the holes and make the car perfect.